

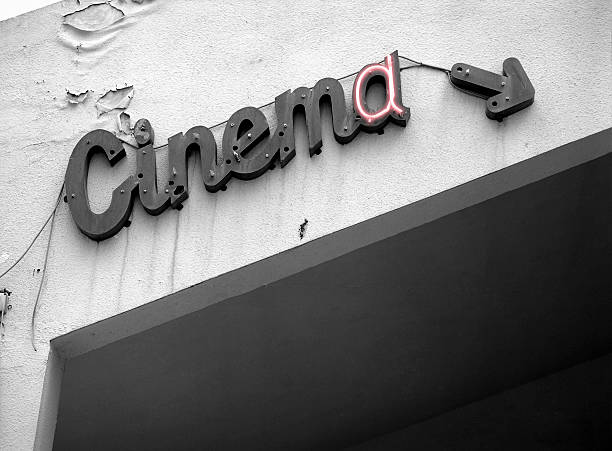
There’s something undeniably captivating about neon lights. Their enduring appeal is evident, gracing everything from timeless diners to modern gaming areas, adding a special flair wherever they appear. Wondering how to display these luminous wonders properly? You’re in the right spot. We’re not only exploring the aspects and facets of neon signs but also delving into the intricate particulars of installing neon lights.

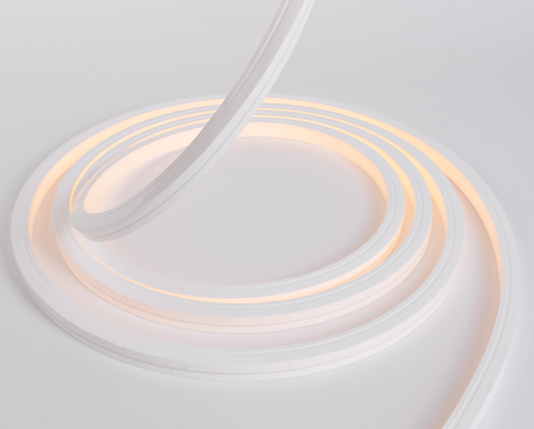
Mention “neon,” and most likely, the classic glass neon signs come to mind. While these signs carry a rich history, they’re also somewhat delicate. Contrastingly, LED neon presents a robust and energy-savvy choice. Often mounted on acrylic backboards, LED neon signs not only gain added sturdiness but also an aesthetic boost. Whether you’re drawn to the vintage glass charm or the sleek LED modernity, grasping your neon sign’s nature is pivotal for optimal installation. (DIY Tutorial: How to Make LED Neon Signs?)
| Aspect | LED Neon Signs | Classic Glass Neon Signs |
| Material | · Made from flexible silicone or plastic tubes | · Made from glass tubes |
| Durability | · More durable and resistant to breakage | · Fragile and prone to breakage |
| Energy Efficiency | · Generally more energy-efficient | · Consumes more energy |
| Lifespan | · Typically longer lifespan | · Shorter lifespan compared to LED |
| Safety | · Operate at cooler temperature· Safer to touch | · Can get hot· Risk of mercury exposure if broken |
| Installation | · Easier and more versatile installation | · Requires more careful installation |
| Maintenance | · Low maintenance | · May require periodic refilling of gas |
| Brightness and Clarity | · Bright and clear, but may be less “vibrant” | · Vibrant and distinct glow |
| Color Range | · Wide range of colors available | · Colors determined by gas and phosphor coatings |
| Environmental Impact | · More eco-friendly· No harmful gases | · Contains gases like neon or argon, and sometimes mercury |
| Flexibility | · Highly flexible in design and shape | · Limited flexibility in design due to glass nature |
| Cost | · Generally less expensive initially | · More expensive due to craftsmanship and materials |
Before we leap in and begin puncturing the wall, it’s vital to be well-equipped. This means having every tool and piece of equipment lined up and ready to go. You’ll need a dependable screwdriver, the right drill bits for your wall, and a hammer. If you’re opting for LED, don’t forget about the acrylic backplate. And certainly, remember to have the provided wall mount kit nearby. Having these necessities at your disposal will make installing your neon light as smooth as a fresh batch of peanut butter.
Elstar – High-Quality LED Neon Light
Alright, so you’ve got your neon sign, and you’re raring to go. But, where should it go? Location, location, location! Picking the right spot for your neon sign isn’t just about aesthetics. You also have to consider factors like the stability of the surface (you don’t want your sign crashing down, do you?) and proximity to a power source. Man caves, home gyms, and even wedding venues can be spruced up with neon signs. Just ensure it’s a spot where your sign can truly shine.

So, safety is paramount, especially when dealing with electrical items like neon signs. It might seem obvious, but ensure that your sign is unplugged while you’re hanging it up—no one wants any shocking surprises. You might be eager to see your neon sign light up the wall, but it’s crucial to read the manual first. Getting acquainted with the manufacturer’s instructions can help avoid any unpleasant scenarios down the line. Also, remember that if you’re feeling unsure at any point, there’s no harm in consulting with a qualified electrician. This step is essential if you’re figuring out how to hang neon sign without drilling, as it may involve different mounting methods that require special attention to safety.
Acrylic backing serves multiple purposes—it supports your neon sign, enhances its luminance, and protects it from dust and other elements. It’s usually a no-brainer to use it, especially with LED neon signs. However, some may prefer the look of a neon sign without the acrylic backboard for a more rustic appearance. It all boils down to personal preference and where you intend to hang your neon light. For instance, if it’s going to adorn the hollow walls of game rooms or man caves, the added stability of acrylic backing might be non-negotiable.

We’re diving into the hands-on part now—drilling and mounting. After marking the spots where the pre-drilled holes of the acrylic backboard align with the wall, it’s drilling time! When making pilot holes, the size of your drill bit matters. It should correspond with the supplied wall mount kit to ensure a snug fit. You’d want to avoid swinging neon signs, trust me. After drilling, insert the screws using a screwdriver or, if available, a stable power drill. Duco cement can be used for added security and stability, especially when dealing with uneven surfaces. And there you have it, a securely mounted neon sign ready to brighten your space!
Now that your neon sign is hanging securely, the next step is to consider the electrical aspects. Ensuring that the sign is near a power source is crucial—you don’t want cords stretching across the room, creating a tripping hazard. It’s also important to assess the sign’s voltage and wattage to avoid overloading your circuits. Again, if you’re unsure, it’s always best to consult an electrician. They can provide insights and suggestions on how to power your neon sign safely and efficiently.

A well-maintained neon sign is a happy neon sign! Over time, dust and grime can dim the shine of your beloved neon light. It’s a good idea to incorporate regular cleaning into your routine to keep your sign looking its best. For cleaning, a soft cloth and some gentle cleaner should do the trick. Steer clear of abrasive materials, as they can scratch the surface, especially if you’re working with an acrylic backboard. And before any cleaning spree, always unplug the sign to ensure safety. Besides cleaning, it’s wise to periodically check for any wear or damage to the power cords and connections. Taking these simple steps ensures your neon sign stays in tip-top condition and serves as the glowing centerpiece of your space for years to come.
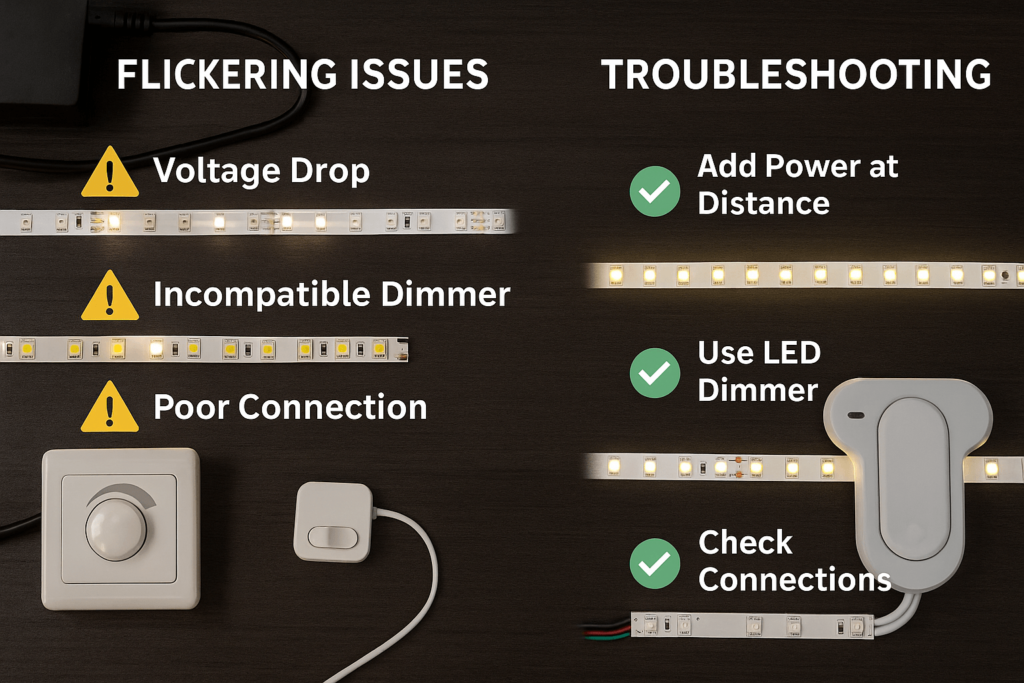
Every now and then, you might encounter a hiccup with your neon sign. Maybe it’s flickering or not lighting up at all. Before panicking and declaring it a lost cause, consider some common troubleshooting steps. First, check the power source. Sometimes, it’s as simple as a plug that’s become slightly dislodged. If it’s an LED neon sign, inspecting the LEDs for any damage is a good idea. Replacement might be in order for damaged sections. (How to Replace Neon Lights With LED Neon Rope Lights?) For signs with acrylic backing, ensure that none of the mounting screws are putting undue pressure on the neon tubing, which can affect its function. And remember, when in doubt, reaching out to the manufacturer or an expert in neon lights installation can provide specialized advice to get your sign glowing again.
So you’ve got this stunning neon sign, but the thought of drilling into your pristine walls makes you wince. Don’t worry; you’re not alone. For folks who want to know how to hang neon sign without drilling, there are alternative methods to consider. Adhesive strips and hooks are popular choices. They can securely hold up signs, especially if they’re on the lighter side. Another option is hinge suspension for neon signs, which involves hanging your sign from the ceiling or other overhanging fixtures. Whatever method you choose, ensure it provides adequate support, and periodically check the sign to ensure it remains stable.
And there you go! From mulling over glass versus LED, to pinpointing just the right spot, drilling it in place, and even nipping little issues in the bud, you’ve now got the know-how to put up a neon sign. Whether it’s for that comfy corner of your living room, giving an edge to your personal retreat, or stealing the show in a business space, neon signs sprinkle magic wherever they hang. So, connect it, turn it on, and lose yourself in the enchanting shine of your neon gem.
