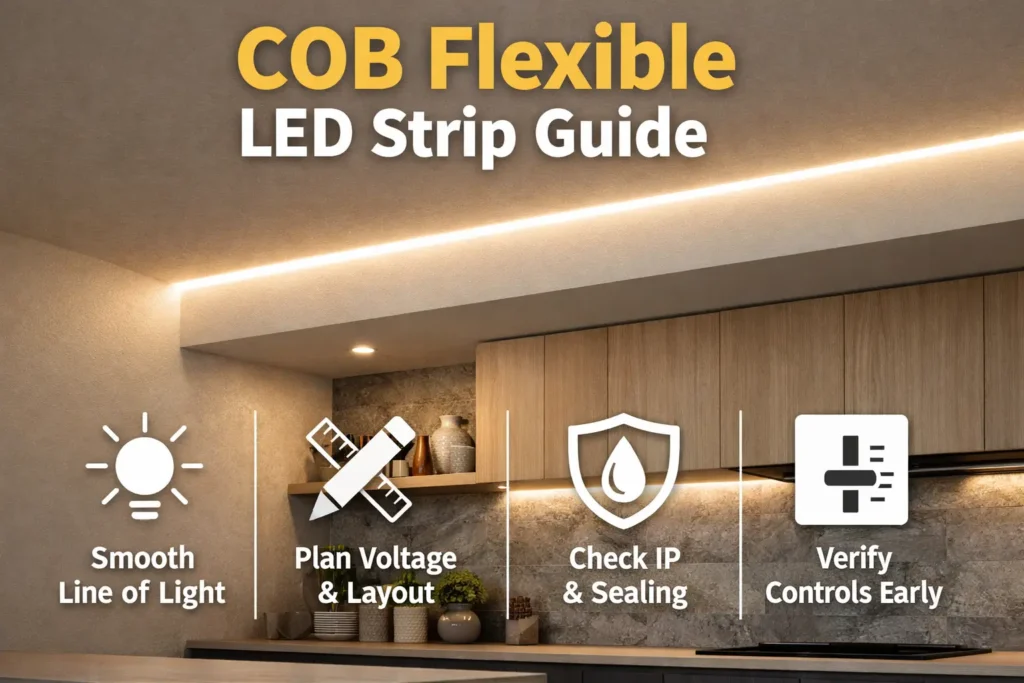
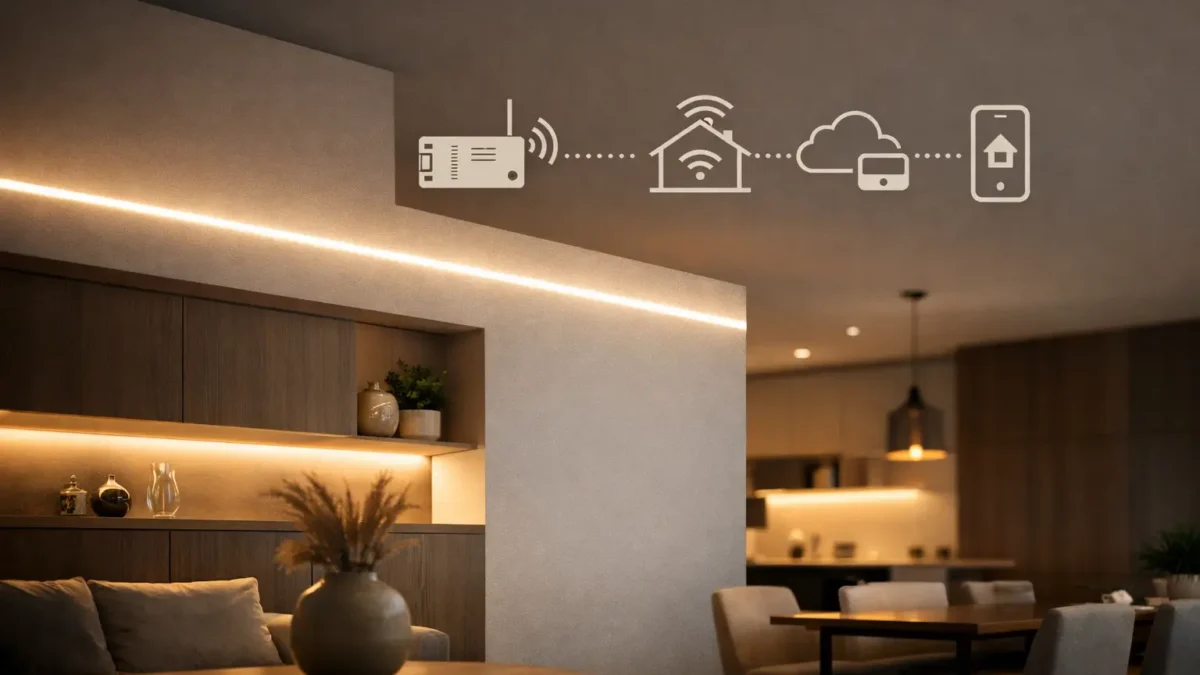
If you are searching for a Zigbee COB LED strip, it helps to separate two ideas. First, COB describes the strip’s smooth line of light. Next, Zigbee describes how the strip is controlled, usually through a Zigbee LED strip controller.
Therefore, treat the product as a system: COB strip, power supply, Zigbee controller, hub or platform, and wiring plan. As a result, you can avoid the most common project issues, such as wrong channel mode, poor dimming, hub mismatch, and unstable power.
A Zigbee COB LED strip setup usually includes a COB LED strip, a constant-voltage power supply, a Zigbee controller, and sometimes a Zigbee hub. In most cases, the strip itself is not Zigbee. Instead, the controller adds Zigbee control.
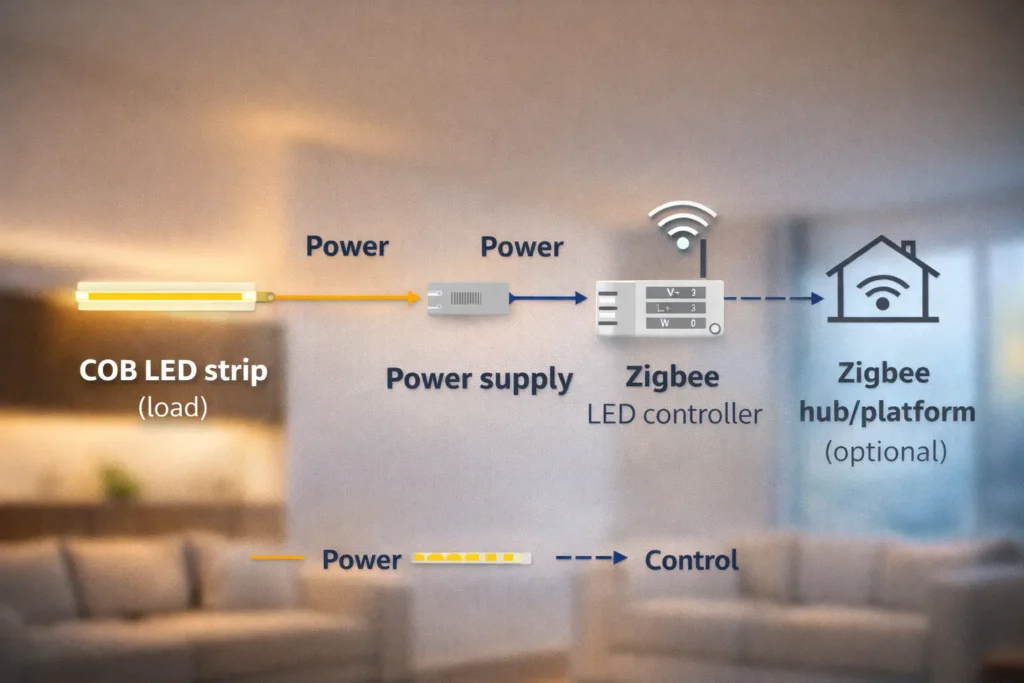
Most Zigbee COB LED strip setups use channel-based control. In other words, the controller changes brightness, white tone, or color channels. However, it usually does not create true per-pixel animations.
| Requirement | Typical Zigbee strip setup | Addressable pixel setup |
|---|---|---|
| Dimming | Yes, when the controller supports it | Yes |
| Tunable white | Yes, with a CCT controller | Yes, depending on system |
| RGB / RGBW color | Yes, with matching channel mode | Yes |
| Pixel chasing or rainbow effects | Usually no | Yes, with pixel control |
| Main buying risk | Wrong controller mode or hub mismatch | Wrong pixel protocol or software |
Some buyers say “effects” when they mean scenes, fades, or color changes. Those can often work through Zigbee. However, if the project needs moving pixel effects, choose a pixel-capable system instead.
Boundary conditions: Therefore, define the control goal before you lock the controller, hub, and strip type.
Controller choice depends on strip channel type. Therefore, start by asking what the strip must control: brightness only, warm and cool white, RGB color, or RGB plus white channels.
| COB strip type | What it controls | Typical controller need | What to verify |
|---|---|---|---|
| Single color | Brightness | 1-channel dimmer mode | Output type, terminal labels, dimming behavior |
| CCT | Warm + cool white | 2-channel CCT mode | CCT mode, channel map, pairing steps |
| RGB | R, G, B channels | 3-channel RGB mode | RGB mode, wiring diagram, platform color control |
| RGBW | RGB + one white | 4-channel RGBW mode | RGBW mode, terminal map, app control display |
| RGBWW / RGBCCT | RGB + warm and cool whites | 5-channel RGBWW/RGBCCT mode | Exact mode name, wiring diagram, platform support |
Boundary conditions: Mode names vary by seller. Therefore, confirm the exact output map before ordering.
Stable control depends on good power and wiring, not only on Zigbee signal. Therefore, plan the system as zones, feed points, controller locations, and wiring paths.
| Pitfall | What it looks like | What to do instead |
|---|---|---|
| Long run fed from one end | Uneven brightness or dimming | Plan zones and more feed points |
| Loose terminal | Flicker or random behavior | Use secure connections and check continuity |
| Wrong channel map | Wrong colors or reversed warm/cool | Follow the wiring diagram and label channels |
| All zones tested at once | Faults are hard to find | Commission one zone at a time |
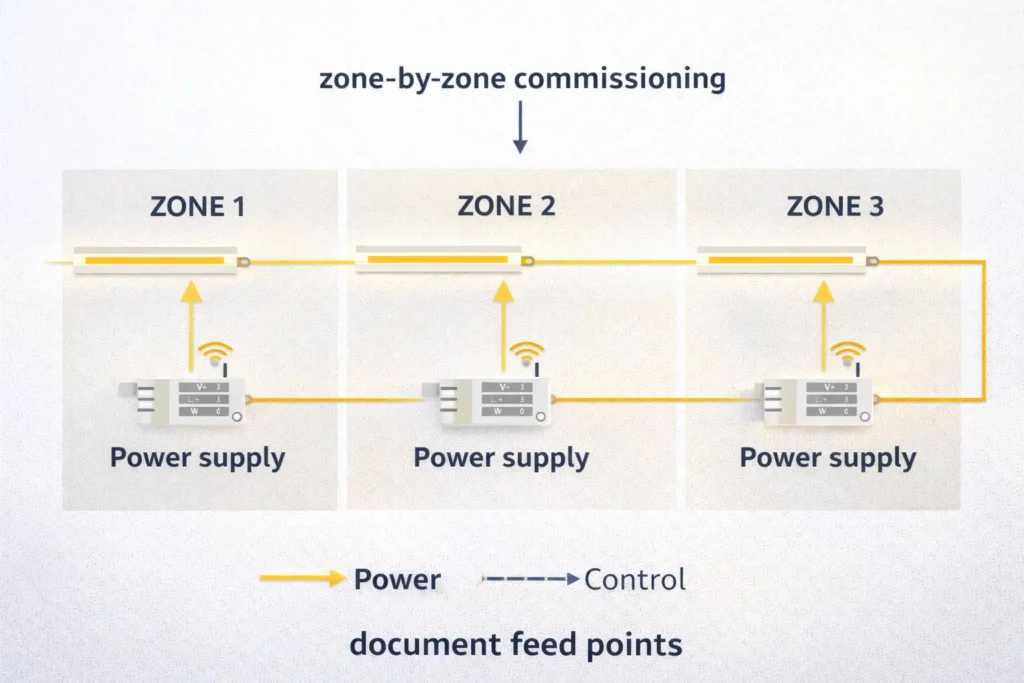
Long runs can lose voltage along the strip and wiring. As a result, one end may look dimmer or respond differently. For this reason, long runs need a power feed plan, not only a controller choice.
Boundary condition: There is no universal run-length rule. Instead, use the datasheet and project layout to validate the plan.
A Zigbee label does not guarantee every hub or app will work the same way. Therefore, confirm the hub, device type, and controls before you commit to a controller.
Commissioning goes faster when you follow a repeatable process. Also, it becomes easier to hand over the project when installers record mode, zone, wiring, and test results.
Boundary condition: Do not guess reset steps. Instead, use the exact controller manual.
Most issues come from power, wiring, or setup mismatch, not Zigbee itself. Therefore, use a symptom-first check before replacing parts.
| Symptom | Likely cause | Verify first |
|---|---|---|
| Flicker or blinking | Loose terminal, weak power, or wrong mode | Check terminals, controller mode, and a short test segment |
| Uneven dimming | Long-run power issue | Check feed points and compare near/far behavior |
| Wrong colors or reversed CCT | Channel map error | Follow the terminal map and label channels |
| Dropouts | Pairing issue, network placement, or unstable power | Check hub behavior and stable power |
| One zone acts differently | Zone-specific wiring or feed issue | Compare that zone to the plan |
Boundary condition: If the project is camera-critical, request controller notes and run a project-specific test.
Kits can help when the project repeats the same setup. However, separate strip and controller specs often work better for custom projects because every assumption can be written down.
| Decision factor | Kit approach | Component approach |
|---|---|---|
| Standardization | Easier to repeat a known bundle | Easier to define by spec across jobs |
| Flexibility | Limited to the kit contents | Higher, because strip and controller are chosen separately |
| Fit risk | Lower if the kit is truly tested as a set | Lower when you verify controller and platform support |
| Documentation | Varies by kit | Can be made clear on the PO |
| Replacement | May need the same kit | Parts can be replaced with controlled substitutes |
Boundary condition: Kit contents vary widely. Therefore, confirm whether the kit includes controller, power supply, connectors, and hub needs.
A complete spec sheet reduces delays and prevents substitutions that break control fit. Therefore, include strip type, controller mode, hub target, zone plan, and documents.
If you want a procurement-ready recommendation, prepare strip types, zoning plan, hub target, environment notes, and commissioning needs. Then, request a configuration proposal and document pack before bulk ordering.
Environment affects strip choice and controller placement. Therefore, plan protection and access before installation.
Boundary condition: Do not assume one protection method fits every site. Instead, match the model, enclosure, and install location.
Answer: Usually, no. Zigbee usually comes from the controller. Therefore, treat the setup as COB strip plus Zigbee controller plus hub or platform when needed.
Answer: It depends on the ecosystem. Many Zigbee setups need a hub or gateway. Therefore, confirm the target platform before ordering.
Answer: Usually, Zigbee strip control is channel-based, not pixel-based. However, scenes, fades, and color changes can often work. For true pixel effects, choose a pixel-control system.
Answer: Choose by channel type. CCT needs warm and cool outputs, while RGBW and RGBWW need more channels. Also, verify the exact wiring diagram before purchase.
Answer: Flicker usually comes from wiring, weak terminals, poor power feed, or the wrong controller mode. Therefore, test a short zone and confirm the channel mode first.
Answer: Choose a kit for repeat standard installs. However, specify strip and controller separately for custom zones, strict platform needs, or detailed project documents.
A Zigbee COB LED strip setup works best when you specify it as a system. First, define the strip type. Next, choose the correct Zigbee controller. Then, confirm hub support, wiring, power, and install conditions.
For project support or customization, share these inputs so a complete configuration and document pack can be prepared before buying and installation.
 English
  Spanish
  French
  Arabic