LED strip dimming usually happens because of voltage drop, weak power supply sizing, poor wiring, loose connections, or long strip runs without power injection. If the end of the strip looks dimmer than the start, the power is not reaching the full run evenly.
Therefore, do not replace the strip immediately. First, check the power supply. Next, inspect the wiring and connectors. Then, add power injection or split long runs into shorter sections when needed.
For related internal resources, review Elstar’s LED strip lights, LED power supplies, LED controllers, and LED aluminum profiles. For external background on voltage and power basics, see SparkFun’s voltage, current, and resistance guide and the U.S. Department of Energy’s LED lighting overview.
Introduction to LED Strip Dimming Issues
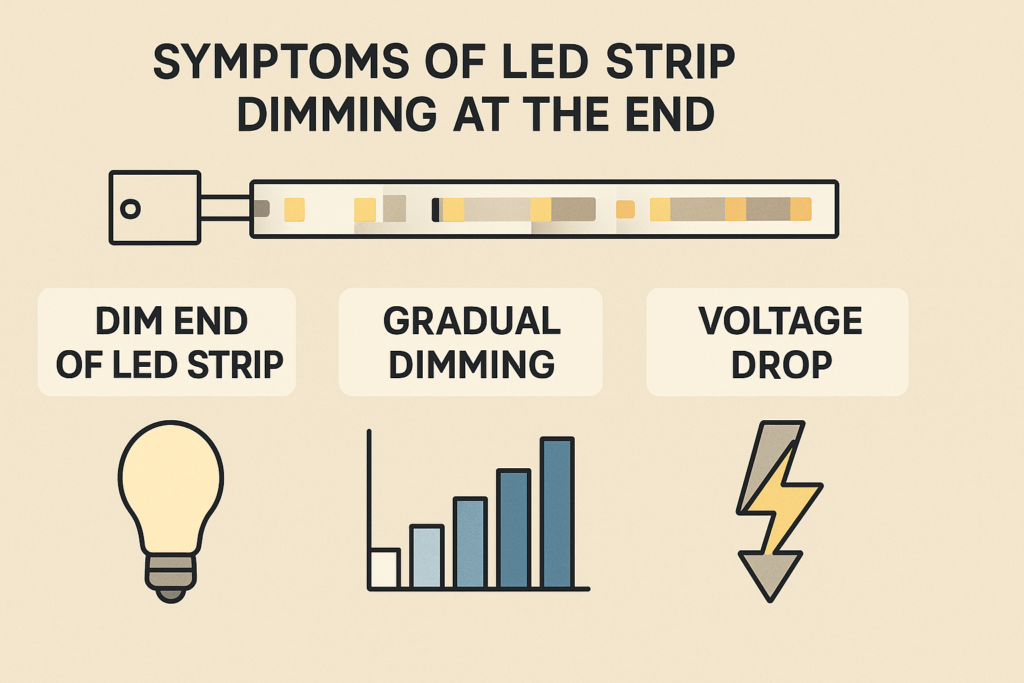
LED strip dimming at the end means the far end of the strip looks weaker than the section near the power supply. In many cases, this points to voltage drop or power delivery problems.
What is LED strip dimming at the end?
LED strip dimming is a visible drop in brightness along the strip length. It often appears at the end farthest from the power supply because voltage drops as the run gets longer.
Why fix LED strip dimming quickly?
Fixing the issue helps restore even brightness. Also, it can reduce flicker, protect components, and improve the look of the installation.
Quick answer
To fix LED strip dimming, check voltage, wattage, wiring, connectors, and run length. Then, add power injection or upgrade the power supply when the layout needs it.
Common Causes of LED Strip Voltage Drop
Most LED strip dimming problems come from a few clear causes. Therefore, check length, power supply size, wiring, connectors, and component matching before changing the whole strip.
First, check the strip length because long runs often show the problem first.
Excessive strip length without power injection
- Issue: long strips powered from one end can lose voltage along the run.
- Sign: the strip starts bright but fades toward the far end.
- Fix: add power injection or split the strip into shorter parallel runs.
Next, review the power supply because weak wattage can affect the full run.
Insufficient or incorrect power supply
- Issue: a weak power supply cannot support the full wattage load.
- Sign: the strip dims, flickers, or changes brightness when more sections turn on.
- Fix: choose a supply that matches strip voltage and has enough wattage headroom.
After that, inspect the wiring because small connection issues can create visible dimming.
Poor wiring or loose connections
- Issue: thin wire, loose joints, or poor connectors can add resistance.
- Sign: the strip flickers, dims at random, or changes when the cable moves.
- Fix: use thicker wire, secure connectors, or soldered joints where suitable.
Finally, check part compatibility because mismatched parts can keep the strip unstable.
Wrong strip, controller, or dimmer match
- Issue: mismatched voltage, wattage, controller type, or dimmer type can cause unstable output.
- Sign: the strip stays uneven even after the power supply seems large enough.
- Fix: match the strip, controller, dimmer, and power supply by voltage and load rating.
Use this quick table after the first visual check.
Cause and fix table
| Cause |
Symptoms |
Quick solution |
| Long run without power injection |
End of strip is dim |
Add power injection points |
| Insufficient power supply |
Bright near power, dim at end |
Upgrade the power supply |
| Poor wiring or connectors |
Flicker or random dimming |
Secure or replace wiring |
| Wrong component match |
Uneven brightness or flicker |
Match strip, driver, and controller specs |

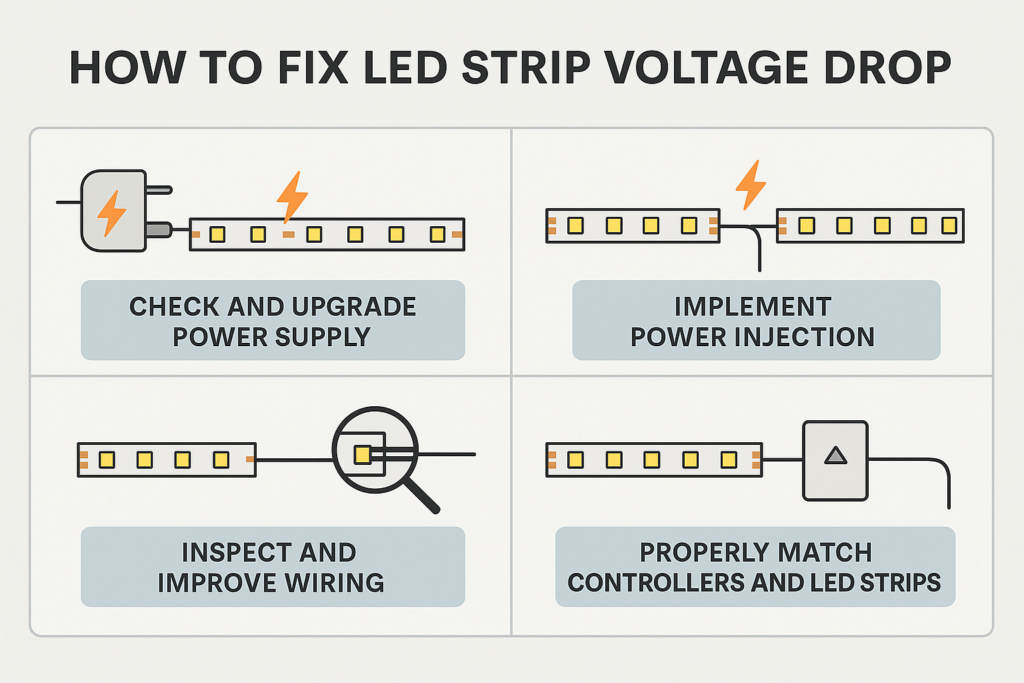
Step-by-Step Guide to Fixing LED Strip Voltage Drop
Use a simple check order so you do not miss the real cause. In most cases, power delivery and wiring checks solve the problem.
To begin the repair, start at the power source before changing the strip.
Step 1: check the power supply
- Confirm the strip voltage, such as 12V or 24V.
- Then, calculate total strip wattage from watts per meter and length.
- After that, choose a power supply with enough headroom for the full load.
Step 2: add power injection
- Add power feeds on long runs, often around every 5 meters for many layouts.
- Also, feed from both ends when the strip is long and high output.
- Also, use the same voltage and observe polarity at every feed point.
Step 3: improve wiring and connectors
- Inspect all wires and connectors for heat, looseness, or damage.
- Next, replace thin or weak wire with a suitable wire size.
- Then, secure joints so movement does not cause flicker.
Step 4: match controllers and dimmers
- Confirm that the controller supports the strip voltage and load.
- Also, check that the dimmer type matches the power supply and strip.
- Replace incompatible parts if LED strip dimming continues after power checks.
Quick answer: LED strip dimming can often be fixed by sizing the power supply correctly, improving wiring, and adding power injection on longer runs.
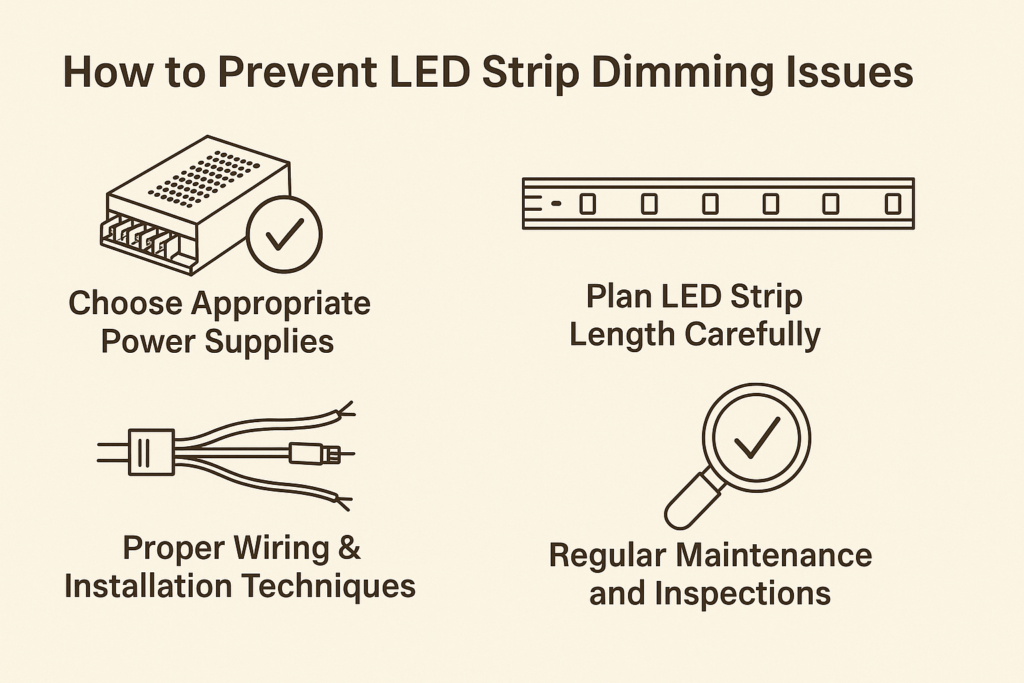
How to Prevent LED Strip Dimming Issues
Prevention starts before installation. Therefore, plan strip length, power supply size, wiring route, and injection points before sticking the strip down.
Before installation, build enough power capacity into the plan.
Choose the right power supply
- Match the supply voltage to the strip voltage.
- Also, choose enough wattage for the full strip load.
- Add practical headroom so the power supply does not run at its limit.
Plan strip length carefully
- Avoid very long single-end feeds.
- Then, split long layouts into shorter sections when possible.
- Use power injection when the run is long or high output.
Use proper wiring
- Select wire size based on current and distance.
- Also, keep connections tight and protected.
- Use quality connectors or soldered joints where the project needs stronger reliability.
Inspect regularly
- Inspect strips, power supplies, connectors, and wires every few months.
- Then, fix loose sections or flicker before the issue becomes larger.
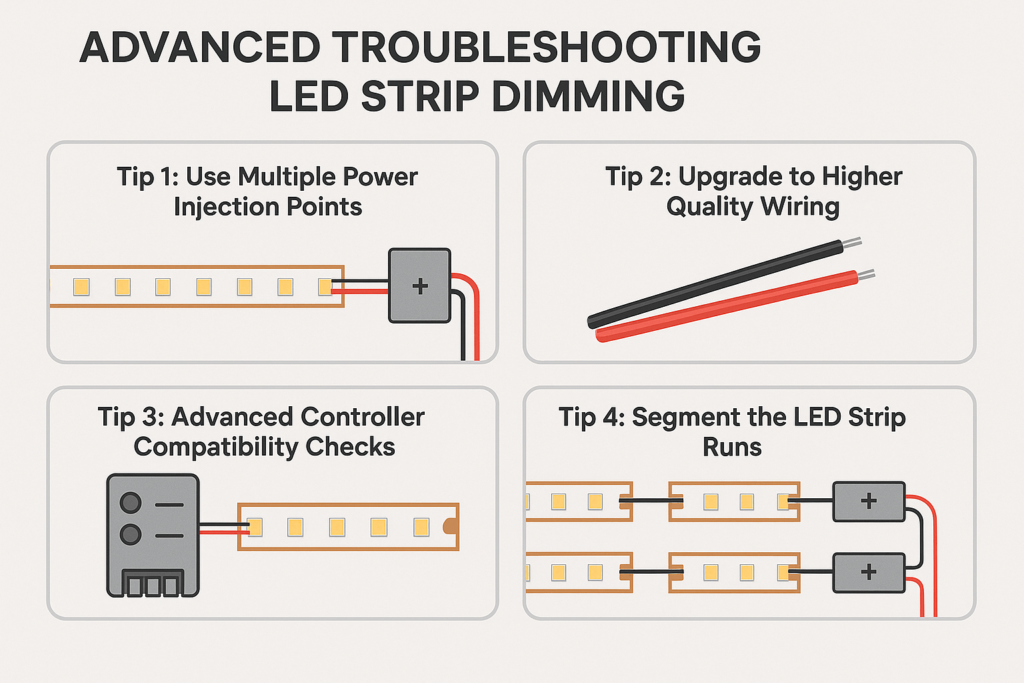
Advanced Troubleshooting for Persistent LED Strip Dimming
If basic fixes do not solve the issue, look deeper at the layout. Also, test voltage at several points along the strip.
If dimming continues, move from basic checks to layout fixes.
Use multiple power injection points
- Measure voltage near the power supply and at the far end.
- If the far end is lower, add another feed point.
- For very long runs, use several shorter branches instead of one long chain.
Upgrade wiring
- Replace thin wire with a thicker gauge for long or high-current runs.
- Also, shorten feed wires when possible.
- Then, use secure connectors that fit the strip current rating.
Check controller compatibility
- Confirm the controller supports the total strip load.
- Then, check dimmer and controller type if flicker happens at low brightness.
- Replace weak controllers with better-rated parts when needed.
Segment the strip runs
- Split long LED strips into shorter powered sections.
- As a result, each section receives more stable voltage.
- This also makes service and troubleshooting easier.
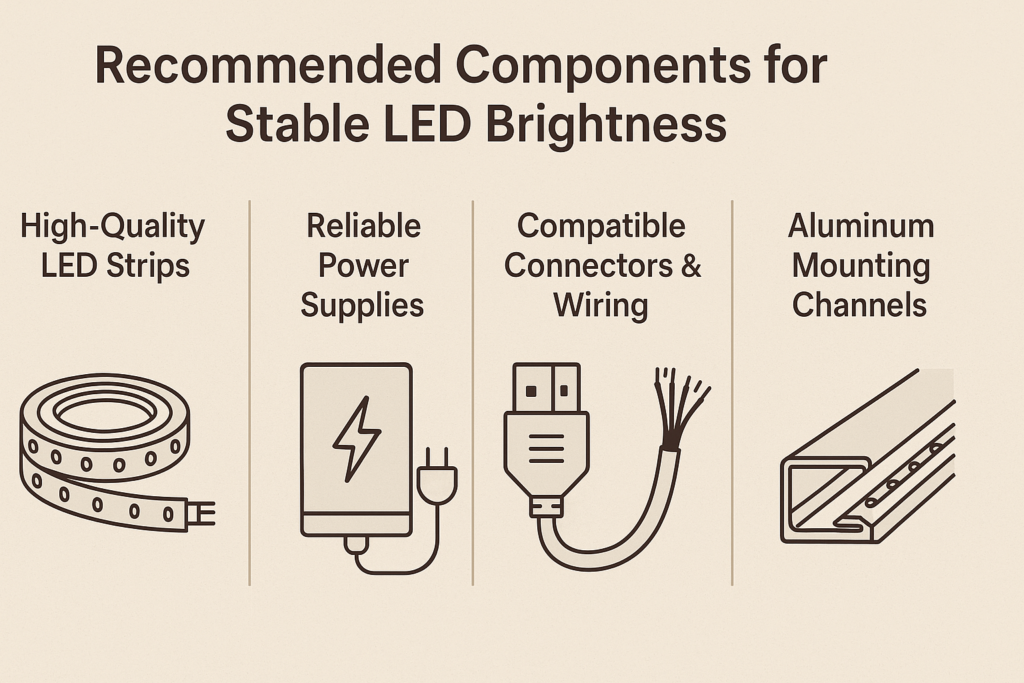
Recommended Components for Stable LED Brightness
Good parts reduce voltage drop and help the strip stay even. Therefore, do not choose the power supply, controller, or connectors only by price.
For best results, pair the repair steps with better parts.
Quality LED strips
- Select strips from reliable suppliers with clear wattage and voltage data.
- Also, choose the right strip for indoor, outdoor, or wet-area use.
Reliable power supplies
- Select a supply that matches the voltage and exceeds the required wattage.
- In addition, use supplies with stable output and protection features when possible.
Compatible controllers and dimmers
- Pick controllers that match strip voltage, color type, and load.
- Also, confirm dimming support before final installation.
Quality wiring and connectors
- For longer or higher-current runs, use thicker wire.
- Then, use connectors that hold firmly and carry the required current.
Aluminum mounting channels
- Add channels to support the strip and improve heat control.
- In addition, use diffusers if glare or visible dots are a concern.
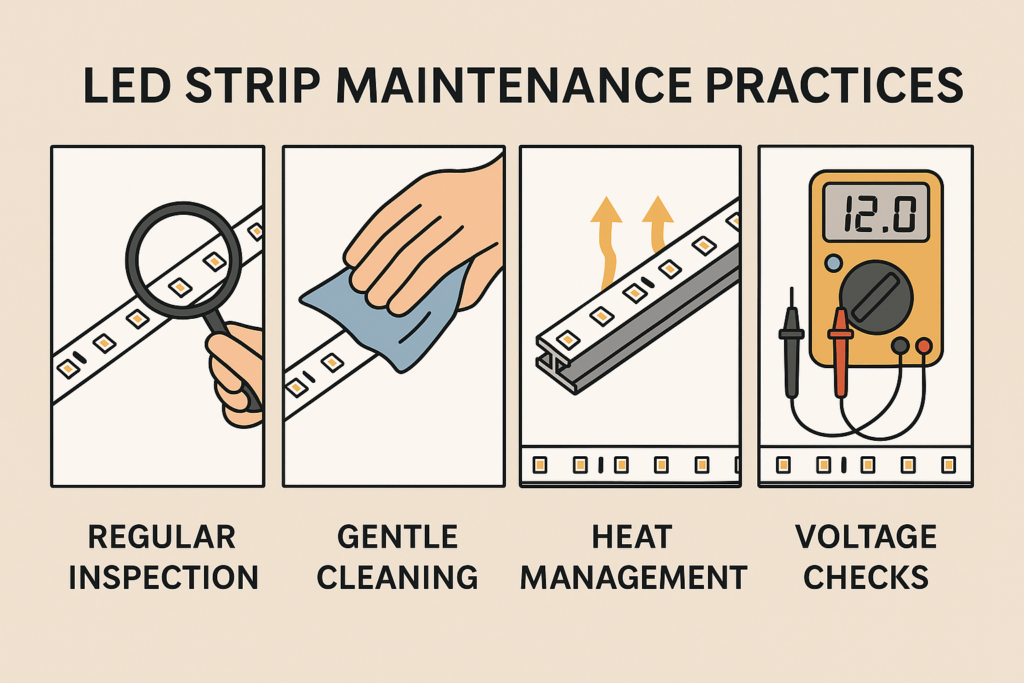
Maintenance and Long-Term Care
Even a good install should be checked over time. As a result, you can catch loose connections, dust, heat, and power issues early.
After installation, simple care helps keep brightness even.
Regular inspection
- Inspect LED strips, wiring, connectors, controllers, and power supplies.
- Also, look for dim areas, flicker, heat marks, or loose joints.
Gentle cleaning
- Clean dust with a soft dry cloth.
- Avoid harsh cleaners and excess moisture.
Heat management
- Check that strips and power supplies do not run too hot.
- Then, add channels or improve airflow when needed.
Voltage checks
- For long runs, use a multimeter to check voltage.
- If voltage drops too much, add injection or upgrade wiring.
FAQs About LED Strip Dimming
Why do my LED strip lights dim at the end?
In most cases, LED strips dim at the end because of voltage drop, weak power supply sizing, poor wiring, loose connectors, or excessive strip length without power injection.
How can I quickly fix LED strip voltage drop?
Add power injection, upgrade the power supply, improve wiring, and confirm that the controller matches the strip. Also, test voltage at the start and end of the run.
Can voltage drop damage LED strips?
At first, voltage drop usually causes dimming before it causes damage. However, poor wiring, overheating, or wrong power parts can reduce strip life and cause flicker.
How often should I inspect LED strips?
Check visible strips every few months and clean them about twice per year. For long or high-output runs, check voltage and heat more often.
Conclusion: Fixing LED Strip Dimming
LED strip dimming is usually fixable once you find the cause. First, check the power supply and total wattage. Next, inspect wiring and connectors. Then, add power injection or split long runs if voltage drop is the problem.
As a result, with the right power supply, wiring, controller, and maintenance plan, your LED strip lighting can stay bright and even from start to end.
Ready to improve your LED strip lighting? Browse Elstar’s LED strip lights, LED power supplies, or contact Elstar for project support.

