“LED strip lights failing to stick typically occurs due to poor surface preparation, weak adhesives, or improper installation methods. Clearly identifying these issues and applying quick solutions ensures your LED strips remain secure
Introduction to LED Strip Adhesion Problems
Having personally installed many LED strips, I clearly understand how frustrating it can be when they won’t stick properly. When your LED strips repeatedly fall or peel off, it not only disrupts your lighting design but also creates ongoing maintenance headaches.
What Causes LED Strips Not to Stick?
Typically, LED strip adhesion problems occur due to inadequate surface preparation, poor-quality adhesive backing, improper installation techniques, or challenging environmental conditions such as humidity and heat.
Why Fix Adhesion Issues Promptly?
Clearly addressing adhesion issues quickly helps maintain consistent, secure, and visually appealing LED lighting installations. Preventing these issues saves time, reduces maintenance, and prolongs the lifespan of your LED strips.
Clients frequently ask me, “Why are my LED strips falling off?” Clearly understanding common reasons and simple solutions helps you easily maintain stable, long-lasting adhesion.
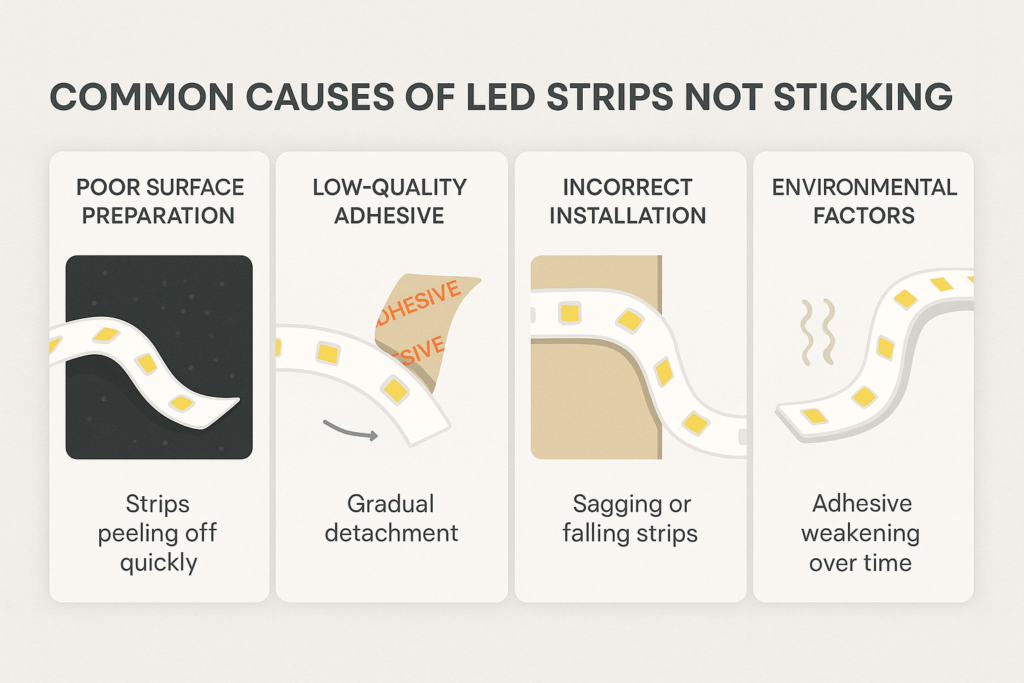
Common Causes of LED Strips Not Sticking
From my hands-on experience installing LED strips, I clearly recognize the typical reasons they fail to stick. Here’s a straightforward guide to quickly identifying and addressing these common adhesion problems:
Poor Surface Preparation
- Issue Explained:
Dust, grease, moisture, or uneven surfaces prevent proper adhesive bonding.
- How to Identify:
LED strips start peeling off quickly, often shortly after installation.
Low-Quality or Weak Adhesive Backing
- Issue Explained:
Inferior adhesive backing is often insufficient for reliable, long-term adhesion.
- How to Identify:
Strips gradually detach over time, even without external disturbances.
Improper Installation Techniques
- Issue Explained:
Incorrect installation methods or insufficient pressure applied during installation can cause strips to lose adhesion quickly.
- How to Identify:
LED strips sag or detach, particularly at corners or curved sections.
Environmental Factors (Humidity, Heat)
- Issue Explained:
Heat, humidity, or moisture weaken adhesive strength over time.
- How to Identify:
LED strips begin to peel or sag noticeably in humid or high-temperature environments.
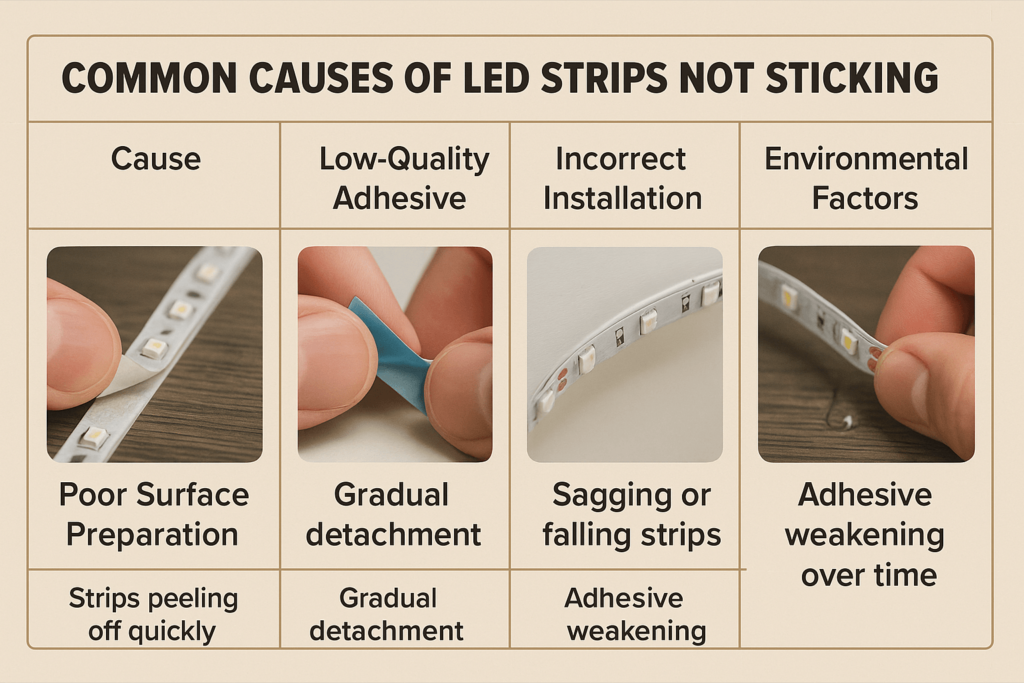
Comparison Table:
| Cause |
Symptoms |
Quick Solutions |
| Poor Surface Preparation |
Strips peeling off quickly |
Proper cleaning and surface preparation |
| Low-Quality Adhesive |
Gradual detachment |
Use high-quality adhesive or mounting clips |
| Incorrect Installation |
Sagging or falling strips |
Follow proper installation methods clearly |
| Environmental Factors |
Adhesive weakening over time |
Use aluminum channels or additional mounting |
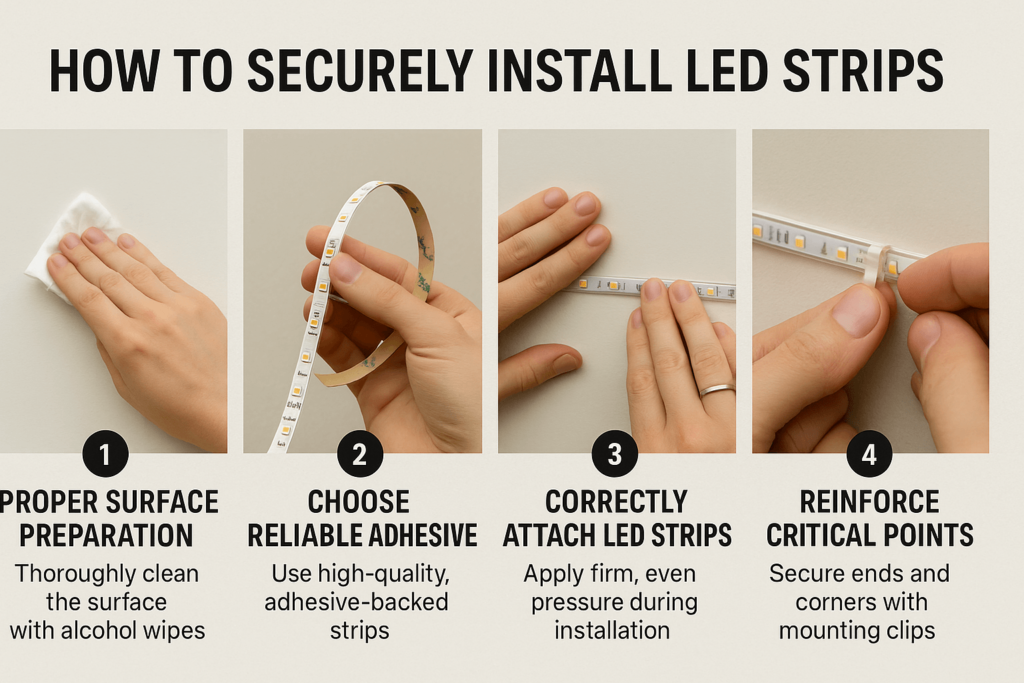
Step-by-Step Guide to Securely Install LED Strips
Drawing from my hands-on experience installing numerous LED strips, I clearly understand how crucial proper installation techniques are. Here’s a clear, practical step-by-step guide to ensure your LED strips stay securely attached:
Step 1: Proper Surface Preparation
- Thoroughly clean the surface using alcohol wipes or a mild cleaning agent.
- Clearly remove all dust, dirt, moisture, and oils from the surface and let it dry completely.
Step 2: Choose Reliable Adhesive or Mounting Solutions
- Use high-quality adhesive-backed LED strips specifically designed for secure, long-term installation.
- Clearly consider supplemental mounting methods like clips or aluminum channels for extra stability.
Use aluminum channels for extended installations or challenging environments clearly to enhance durability and adhesion.
Clients often ask me, “What’s the easiest way to securely install LED strips?” Clearly, following these simple steps—proper surface preparation, selecting strong adhesive solutions, careful installation, and reinforcing key points—ensures stable and reliable LED strip installations.
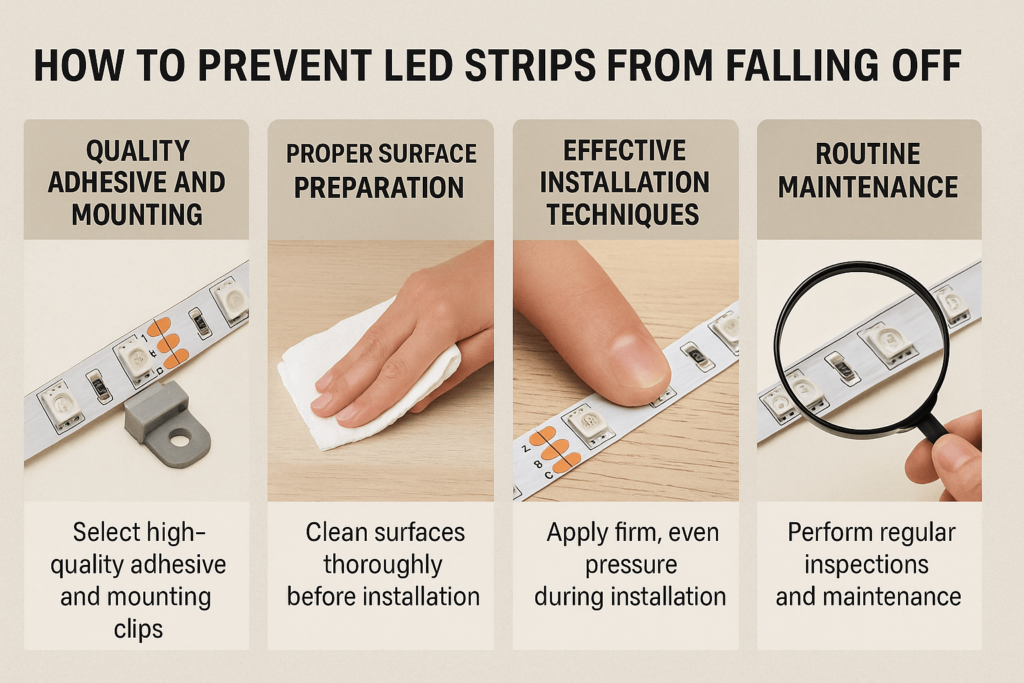
How to Prevent LED Strips from Falling Off
From my extensive experience installing LED strip lights, I clearly understand the importance of preventing adhesion problems before they happen. Here’s straightforward guidance on effective measures you can take to ensure your LED strips stay securely attached long-term:
Choose Quality Adhesive and Mounting Solutions
- Clearly select high-quality adhesive-backed LED strips designed for reliable, long-term installations.
- Supplement clearly with robust double-sided tape or durable mounting clips for added security.
Proper Surface Preparation
- Clearly clean surfaces thoroughly, removing dust, oil, and moisture before installing LED strips.
- Clearly ensure surfaces are smooth and fully dry to significantly improve adhesive performance.
Effective Installation Techniques
Step 3: Correctly Attach LED Strips
- Clearly apply firm, even pressure as you adhere the LED strip to the prepared surface.
- Clearly avoid sharp bends; use connectors or clips to securely hold strips around corners or turns.
Step 4: Reinforce Critical Points
- Clearly secure endpoints, corners, and connection points with mounting clips or additional adhesive.
- Apply even, firm pressure clearly along the entire strip during installation to maximize adhesion.
- Clearly reinforce strips at bends, corners, and endpoints using mounting clips or aluminum channels.
Regular Inspection and Maintenance
- Clearly schedule periodic inspections to ensure all LED strips remain securely attached.
- Quickly address any weakened adhesion by reinforcing or replacing adhesive materials as needed.
Clients frequently ask me, “What’s the best way to prevent LED strips from falling off?” Clearly, following these preventive guidelines—proper surface prep, using strong adhesives, correct installation methods, and regular maintenance—will significantly reduce adhesion issues.
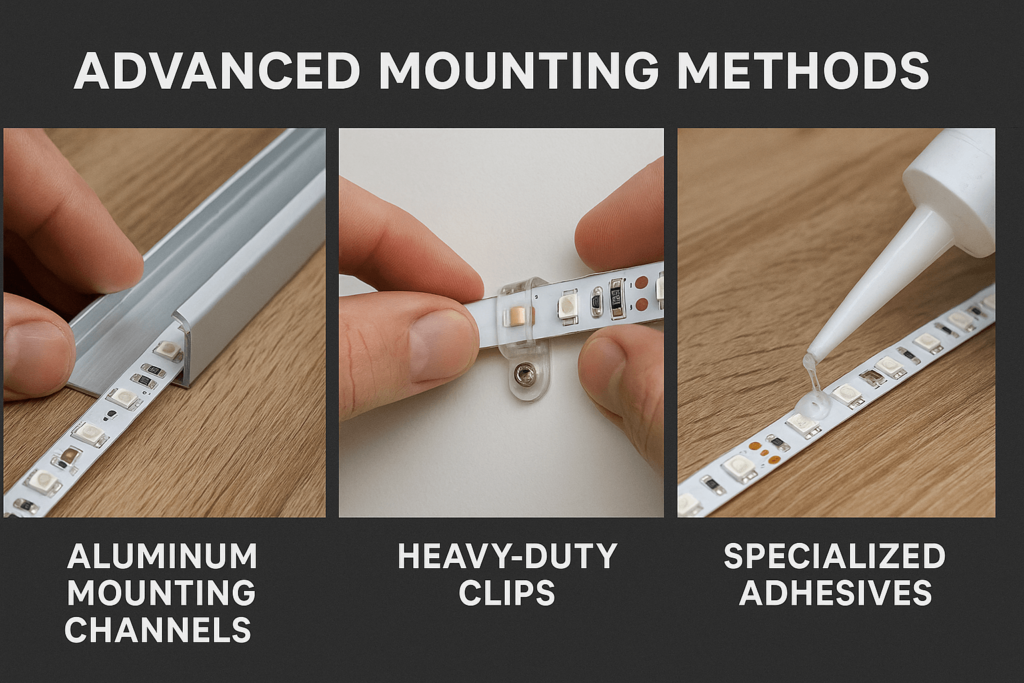
Advanced Tips for Persistent Adhesion Issues
From my extensive experience dealing with stubborn LED strip adhesion problems, here are clear, practical advanced tips to help secure LED strips firmly, even in challenging situations:
Advanced Tip 1: Use Aluminum Mounting Channels
- Clearly install aluminum mounting channels designed specifically for LED strips to provide durable, stable support, better heat dissipation, and improved aesthetics.
Advanced Tip 2: Reinforce with Heavy-Duty Clips
- Clearly secure LED strips using robust mounting clips, particularly in critical areas like bends, corners, and endpoints, to prevent adhesion failure.
Advanced Tip 3: High-Performance Adhesive Solutions
- Clearly apply specialized double-sided adhesive tapes or silicone adhesives that provide superior bonding strength, especially in challenging environments.
Advanced Tip 4: Additional Mechanical Fasteners
- Clearly use small screws or additional mechanical fasteners where applicable (like wood or drywall) for extra security, clearly preventing strips from detaching over time.
Clients frequently ask me, “How can I permanently secure LED strips that keep falling off?” Clearly, implementing these advanced strategies—mounting channels, heavy-duty clips, specialized adhesives, and additional fasteners—effectively resolves persistent adhesion problems.
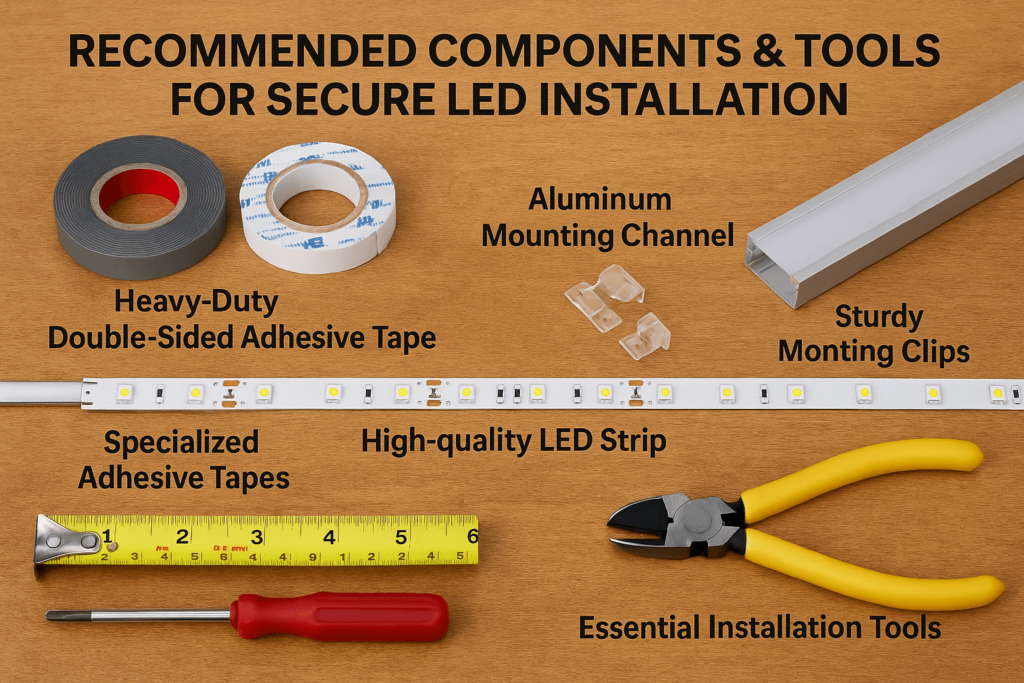
Recommended Components & Tools for Secure LED Installation
Drawing from my hands-on experience installing and maintaining LED strips, I clearly understand the importance of using high-quality components and tools for reliable adhesion. Here’s straightforward advice on what to use to ensure your LED strips remain securely attached:
High-Quality LED Strips
- Clearly select LED strips from reputable brands featuring strong, durable adhesive backing designed specifically for long-term installations.
Reliable Adhesive Solutions
- Clearly choose heavy-duty double-sided adhesive tapes or specialized adhesive strips designed specifically for electronics and LED installations.
Aluminum Mounting Channels
- Clearly use aluminum mounting channels for secure, stable attachment, enhanced heat dissipation, and a clean, professional appearance.
Sturdy Mounting Clips
- Clearly employ robust mounting clips, particularly around corners and bends, to reinforce adhesive backing and prevent detachment.
Essential Installation Tools
- Clearly have essential tools such as surface cleaning supplies, tape measure, wire cutters, and screwdrivers on hand for proper, secure LED strip installation.
Clients frequently ask me, “Which components ensure secure LED strip installation?” Clearly, selecting quality LED strips, reliable adhesives, robust aluminum channels, mounting clips, and proper installation tools significantly improves adhesion reliability and installation durability.
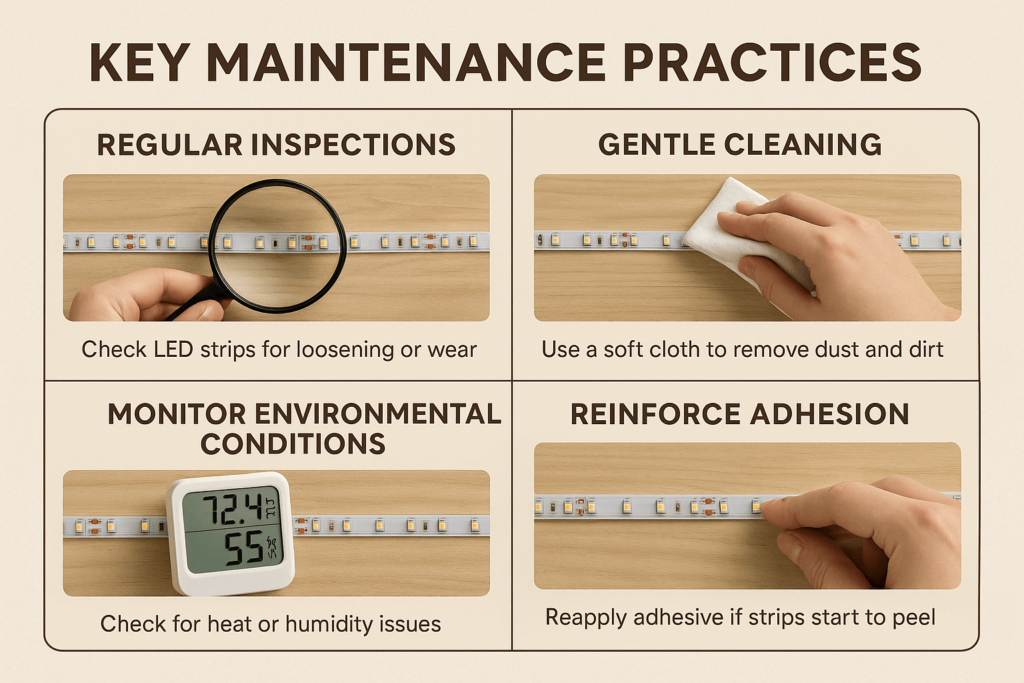
Expert Maintenance & Long-term Care Recommendations
From my extensive experience installing and maintaining LED strips, I clearly recognize the importance of regular care to ensure your LED strips remain securely attached and reliable over time. Here’s clear, practical guidance on long-term maintenance and care:
Regular Inspections
- Clearly schedule regular visual inspections to check LED strips, connectors, adhesives, and mounting clips for signs of loosening or wear.
- Quickly reinforce or replace any compromised components clearly identified during inspections.
Gentle Cleaning
- Periodically and gently clean LED strips with a soft, dry cloth to clearly remove dust, dirt, and debris that can weaken adhesion.
- Clearly avoid harsh chemicals or excessive moisture to protect strip integrity and adhesive strength.
Monitor Environmental Conditions
- Clearly ensure proper heat dissipation using aluminum channels or heat sinks, especially important in high-heat or high-humidity areas.
- Regularly check LED strips clearly for signs of environmental stress, adjusting installation or reinforcing adhesion as needed.
Reinforce Adhesion as Necessary
- Clearly reapply high-quality adhesive or use additional mounting clips promptly if you notice strips beginning to peel or loosen.
- Clearly consider using more durable mounting solutions (channels, clips, mechanical fasteners) in areas prone to repeated adhesion issues.
Clients frequently ask me, “How often should I maintain my LED strip installations?” Clearly, conducting regular inspections every few months, gentle cleaning at least twice a year, and reinforcing adhesive promptly will significantly enhance the longevity and reliability of your LED strips.
FAQs About LED Strip Adhesion Issues
Drawing from extensive hands-on experience troubleshooting and installing LED strips, here are clear and practical answers to common questions about LED strip adhesion problems to help you effectively maintain secure installations:
Why won’t my LED strips stick properly?
LED strips usually fail to stick properly due to poor surface preparation, low-quality adhesive backing, improper installation techniques, or environmental factors like humidity or heat.
What adhesive is best for LED strips?
The best adhesives for LED strips clearly include strong double-sided tapes specifically designed for electronic installations, silicone-based adhesives, or specialized LED mounting clips and aluminum channels.
Can I reuse LED strips after they fall off?
Yes, clearly you can. To securely reuse LED strips, thoroughly remove old adhesive, clean the surface carefully, and reapply fresh high-quality adhesive or secure the strips using mounting clips or aluminum channels.
Conclusion & Next Steps
Clearly understanding the common reasons why LED strips fail to stick—such as poor surface preparation, low-quality adhesives, and improper installation methods—is crucial for ensuring reliable, long-lasting lighting installations. Based on my extensive hands-on experience, taking proactive measures like thorough surface cleaning, selecting quality adhesives, and reinforcing installations with mounting clips or channels will significantly reduce adhesion issues.
By following these practical guidelines and maintaining regular inspections, you can confidently secure your LED strips for stable, long-term performance.
Ready to ensure your LED strips remain securely installed?
Explore Elstar’s LED Lighting Solutions →


