“LED strip lights failing to stick can result from poor surface preparation, ineffective adhesives, or installation errors. Clearly understanding how to quickly fix and prevent these issues ensures reliable, lasting LED installations.”
Introduction to LED Strip Adhesion Problems
Having personally installed LED strips in numerous projects, I clearly understand how frustrating it can be when they fail to stick properly. Adhesion issues can disrupt your lighting design, cause repeated maintenance, and reduce overall effectiveness.
Why Do LED Strips Not Stick Properly?
Commonly, LED strips fail to stick due to inadequate surface preparation, low-quality adhesive backing, incorrect installation methods, or environmental factors such as moisture and heat. Clearly recognizing these problems can help you quickly achieve secure and reliable installations.
Importance of Secure LED Strip Installation
Ensuring your LED strips adhere properly helps maintain consistent lighting performance, prolong the lifespan of your LED strips, and significantly reduce maintenance time and effort.
Clients frequently ask me, “Why are my LED strips falling off?” Clearly identifying common reasons and quickly resolving them ensures stable, secure lighting installations.
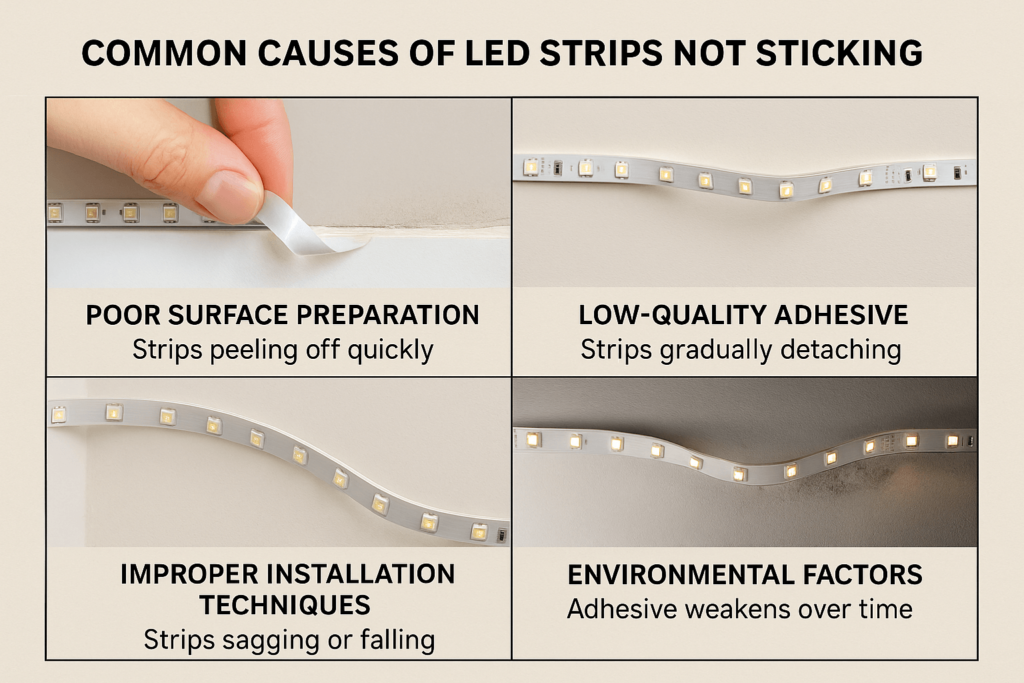
Common Causes of LED Strips Not Sticking
Based on my hands-on experience installing LED strips, I clearly recognize the common reasons they often fail to adhere properly. Here’s a straightforward guide to identifying and quickly resolving these common adhesion problems:
Poor Surface Preparation
- Issue Clearly Explained:
Surfaces that are dusty, oily, wet, or uneven significantly reduce adhesive effectiveness.
- How to Identify:
LED strips easily peel off soon after installation or detach when lightly touched.
Low-Quality or Weak Adhesive
- Issue Clearly Explained:
Inferior adhesive backing often loses grip quickly, causing strips to detach or sag prematurely.
- How to Identify:
Strips gradually detach even without external interference, clearly indicating weak adhesive.
Improper Installation Techniques
- Issue Clearly Explained:
Incorrect installation methods or inadequate pressure application during installation can lead to poor adhesion.
- How to Identify:
LED strips sag or fall off clearly at corners, bends, or connection points shortly after installation.
Environmental Factors
- Issue Clearly Explained:
Heat, humidity, or moisture clearly weaken adhesive strength over time, especially in bathrooms, kitchens, or outdoor installations.
- How to Identify:
LED strips lose adhesion gradually, especially noticeable in humid or high-temperature environments.
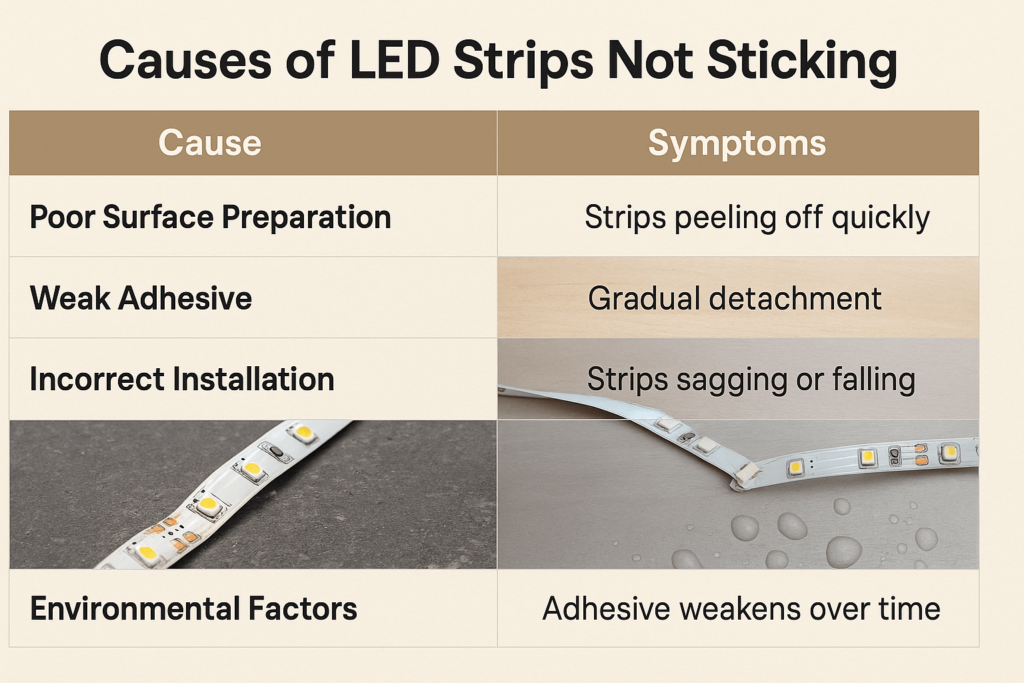
Comparison Table:
| Cause |
Symptoms |
Quick Solutions |
| Poor Surface Prep |
Strips peeling off quickly |
Clean and prepare surfaces clearly |
| Weak Adhesive |
Gradual detachment |
Use high-quality adhesive backing |
| Incorrect Installation |
Strips sagging or falling |
Follow proper installation methods |
| Environmental Factors |
Adhesive weakens over time |
Use mounting clips or aluminum channels |
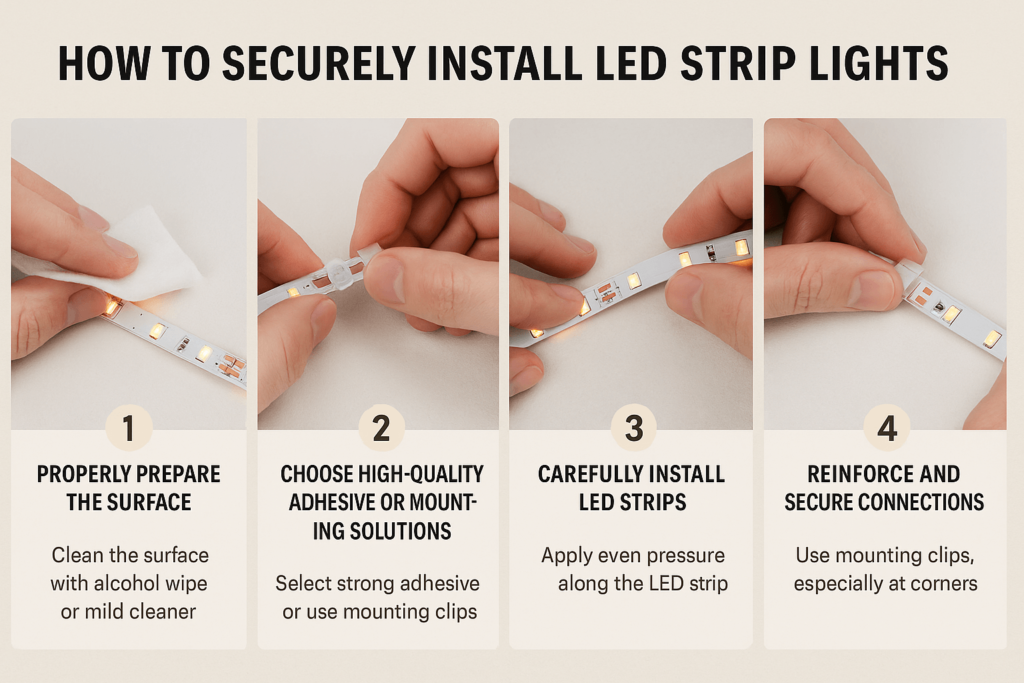
Step-by-Step Guide to Securely Install LED Strips
From my extensive hands-on experience installing LED strips, here’s a clear, practical guide to help you securely and reliably attach your LED strip lights, ensuring long-lasting adhesion:
Step 1: Properly Prepare the Surface
- Clean the installation surface clearly with alcohol wipes or a mild cleaner.
- Remove all dust, grease, moisture, and dirt clearly to ensure maximum adhesion.
Step 2: Choose High-Quality Adhesive or Mounting Solutions
- Select LED strips clearly equipped with strong, reliable adhesive backing.
- Use supplemental mounting methods clearly, like double-sided adhesive tape, mounting clips, or aluminum channels, for added security.
Step 3: Carefully Install LED Strips
- Clearly apply even pressure when attaching LED strips, firmly pressing along the entire length.
- Avoid clearly placing LED strips at sharp angles or bends without proper reinforcement.
Step 4: Reinforce and Secure Connections
- Clearly use mounting clips or channels at critical points, especially around corners or endpoints, to prevent strips from sagging or falling off.
- Clearly ensure connection points and power supply attachments are securely fastened.
Clients often ask me, “What’s the easiest way to securely install LED strips?” Clearly, following these straightforward steps—proper surface prep, using high-quality adhesives or mounting clips, careful installation, and secure reinforcement—ensures durable, long-lasting LED strip installations.
How to Prevent LED Strips from Falling Off’
Having personally installed numerous LED strips, I clearly understand how crucial preventive measures are to maintaining secure, long-lasting adhesion. Here’s clear, practical advice to ensure your LED strips remain firmly in place:
Choose Reliable, High-Quality Adhesives
- Select LED strips clearly equipped with strong adhesive backing.
- Supplement adhesive clearly with robust mounting clips or aluminum channels for enhanced security.
Proper Surface Preparation
- Clearly clean surfaces thoroughly before installation to remove dirt, dust, grease, and moisture.
- Ensure surfaces are completely dry and smooth clearly to improve adhesive effectiveness.
Effective Installation Practices
- Apply even, consistent pressure clearly along the entire length of the LED strip during installation.
- Clearly avoid sharp angles and tight bends, or reinforce these areas clearly with mounting clips.
Regular Inspection and Maintenance
- Conduct regular checks clearly to ensure LED strips remain securely attached.
- Clearly re-secure or replace any sections showing signs of weakened adhesion promptly.
Clients frequently ask me, “How can I keep my LED strips securely attached long-term?” Clearly, careful preparation, using quality adhesives, proper installation, and regular maintenance effectively prevents adhesion problems.

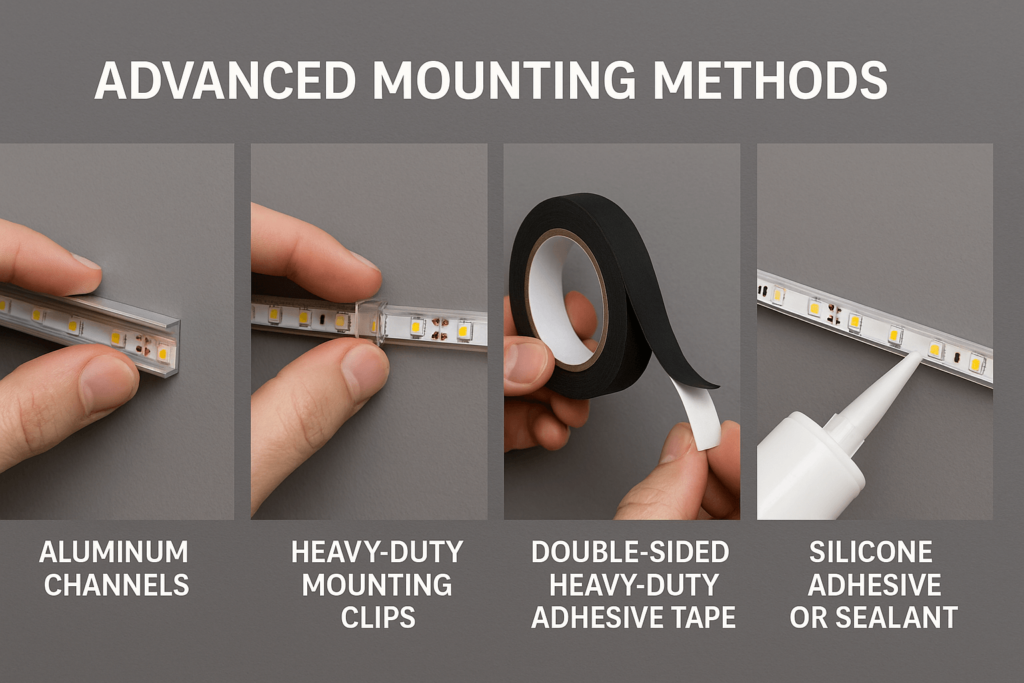
Advanced Tips for Persistent Adhesion Issues
Drawing from my extensive hands-on experience resolving persistent LED strip adhesion problems, here are clearly outlined advanced strategies to ensure reliable, long-lasting installations:
Advanced Tip 1: Aluminum Mounting Channels
- Use clearly defined aluminum channels specifically designed for LED strips. They ensure secure adhesion, provide better heat dissipation, and offer a professional, durable finish.
Advanced Tip 2: Heavy-Duty Mounting Clips
- Clearly reinforce adhesion by using durable mounting clips to securely hold LED strips, especially around bends, corners, and endpoints.
Advanced Tip 3: Double-Sided Heavy-Duty Adhesive Tape
- Clearly consider adding an extra layer of strong double-sided tape explicitly designed for electronic and lighting installations to enhance strip adhesion.
Advanced Tip 4: Silicone Adhesive or Sealant
- Clearly apply silicone adhesive or sealant in challenging environments (humid, hot, outdoor) to secure LED strips effectively and prevent detachment.
Clients frequently ask me, “How can I secure LED strips that repeatedly fall off?” Clearly, these advanced tips—aluminum mounting channels, heavy-duty clips, robust adhesives, and silicone sealants—ensure stable, reliable adhesion even in challenging scenarios.
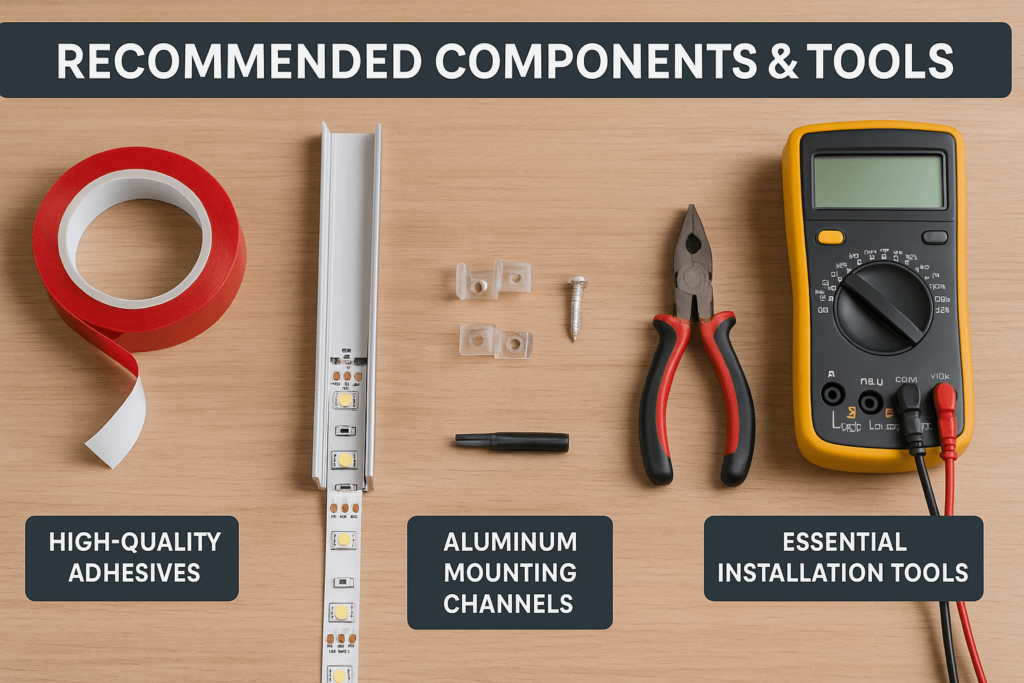
Recommended Components & Tools for Secure LED Installation
Having installed numerous LED strips, I clearly understand that selecting high-quality components and tools is essential for reliable adhesion and long-lasting performance. Here’s clear, practical guidance to help you select the best items for your installation:
High-Quality LED Strips
- Choose reputable LED strips with strong, reliable adhesive backing clearly designed for lasting installations.
Reliable Adhesive Solutions
- Select heavy-duty double-sided tape or strong adhesive strips specifically formulated for LED installations, clearly providing superior grip and stability.
Aluminum Mounting Channels
- Clearly use aluminum channels designed for LED strips, offering secure mounting, enhanced adhesion, and improved heat dissipation.
Mounting Clips
- Reinforce your LED strips with clearly reliable mounting clips, especially at bends and endpoints, for secure, long-term adhesion.
Essential Installation Tools
- Ensure you have clearly defined essential tools such as a voltage meter (multimeter), wire cutters, and soldering equipment for secure, effective LED strip installations.
Clients often ask me, “What components ensure my LED strips stay securely attached?” Clearly, using quality adhesives, aluminum channels, reliable mounting clips, and appropriate tools ensures stable, long-lasting LED strip adhesion.
Expert Maintenance & Long-term Care Recommendations
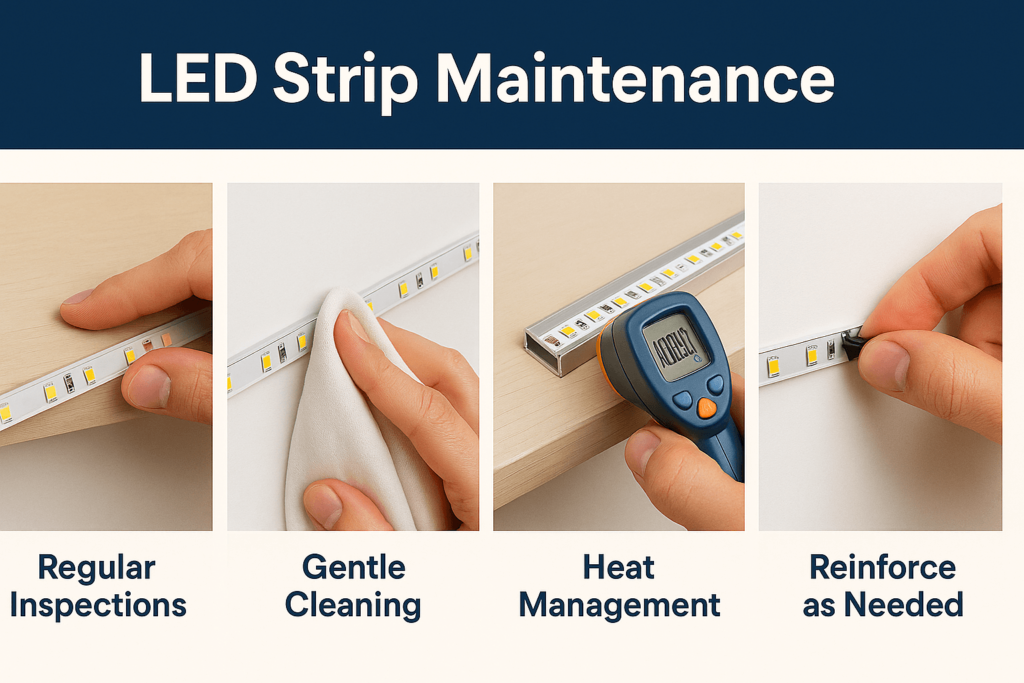
Drawing from my personal experience installing and maintaining LED strips, I clearly understand the importance of regular care to ensure secure adhesion and stable performance over the long term. Here’s straightforward guidance for reliable maintenance:
Regular Visual Inspections
- Clearly schedule regular inspections of LED strips, connectors, mounting clips, and adhesive points.
- Quickly reinforce any loose or weakened sections clearly identified during inspections.
Gentle Cleaning & Dust Removal
- Gently clean LED strips periodically using a soft cloth clearly to remove dust, dirt, or grime, preserving adhesive strength.
- Clearly avoid harsh cleaners or excessive moisture, which could degrade adhesive effectiveness.
Proper Heat Management
- Clearly ensure adequate heat dissipation through aluminum mounting channels or heat sinks, especially for higher-output strips, to maintain adhesion integrity.
- Regularly monitor LED strips clearly for signs of heat stress or adhesive weakening due to temperature fluctuations.
Reinforce and Re-secure as Needed
- Clearly reinforce adhesion with additional mounting clips or adhesive tape as soon as signs of loosening appear.
- Clearly replace or reapply adhesive promptly when necessary, ensuring long-term stability.
Clients frequently ask me, “How often should I maintain my LED strips to prevent adhesion issues?” Clearly, regular visual inspections every few months and gentle cleaning twice per year help ensure long-lasting, stable LED installations.
FAQs About LED Strip Adhesion Issues
Drawing from extensive hands-on experience installing and maintaining LED strip lighting, here are clear, practical answers to frequently asked questions about adhesion issues, helping you easily ensure stable installations:
Why won’t my LED strips stick properly?
LED strips typically fail to stick due to inadequate surface preparation, low-quality adhesive, incorrect installation techniques, or environmental factors like humidity and heat.
What adhesive works best for LED strips?
Clearly, high-quality double-sided adhesive tapes, specifically designed LED mounting clips, and aluminum mounting channels provide the strongest, most reliable adhesion.
Can I reattach LED strips after they fall off?
Yes, you can clearly reattach LED strips. Remove old adhesive carefully, thoroughly clean and prepare the surface again, and apply fresh high-quality adhesive or mounting clips to securely reinstall.
Conclusion & Next Steps
Clearly understanding why your LED strips may not stick properly—and knowing exactly how to fix and prevent this issue—ensures reliable and lasting installations. Drawing from extensive hands-on experience, using proper surface preparation, high-quality adhesive solutions, secure mounting techniques, and regular maintenance ensures stable adhesion for your LED strip lighting.
Take proactive steps such as regular inspections, gentle cleaning, proper heat management, and using recommended mounting tools to maintain secure LED installations long-term.
Ready to confidently install and maintain your LED strip lighting?
Explore Elstar’s LED Lighting Solutions →


