Need something taliored in a short time? We've got a plan for you.
Name
Email Tel Product Need
Your Message
Table of Contents What Addressable COB Is + How to Choose Voltage What “Addressable COB” Means (Pixel vs Zone) 5V vs 12V vs 24V Addressable COB Controllers, IC/Protocol, and Wiring Power Planning for Addressable COB IP Rating and Waterproof Build RFQ & Acceptance Checklist FAQ Summary & Next Steps
Table of Contents
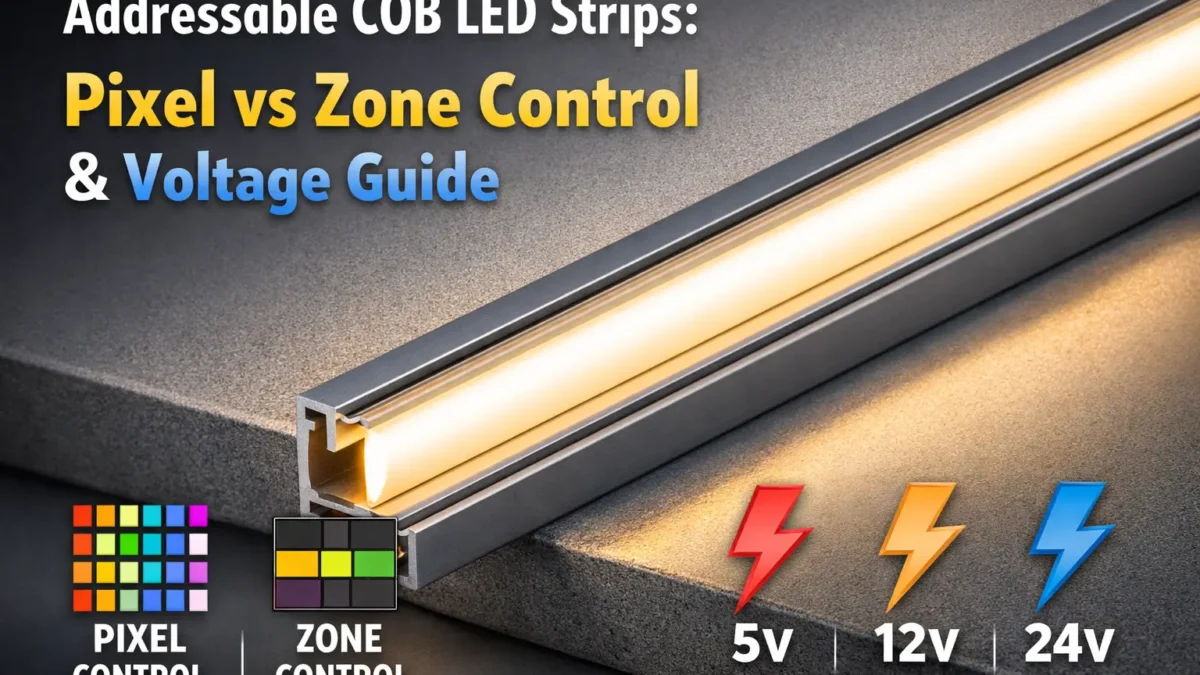
An addressable COB LED strip combines a smooth COB-style light line with digital control. As a result, effects can change along the strip instead of the whole strip acting as one single light.
However, buyers should check one point first: how detailed the control really is. Some strips offer pixel-level control. Others use larger zones or segments. Therefore, the pixel or zone map matters before price, voltage, or reel length.
An addressable COB LED strip gives you a COB-style line plus digital control along the length. Still, the biggest mistake is to assume every small LED point has its own control. In many products, one control point may cover a larger strip zone.
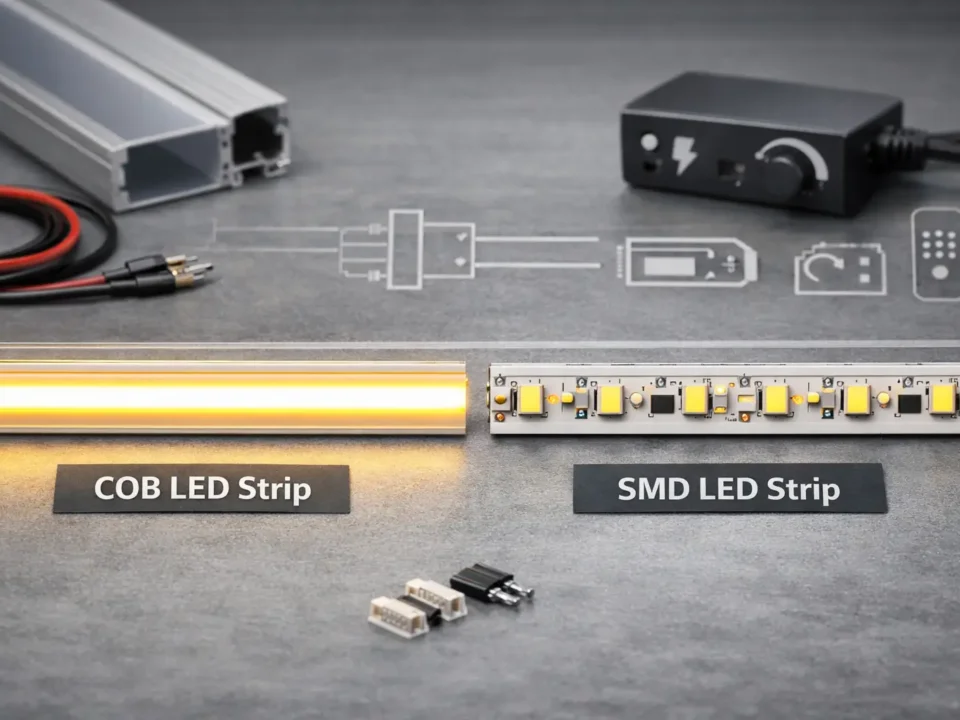
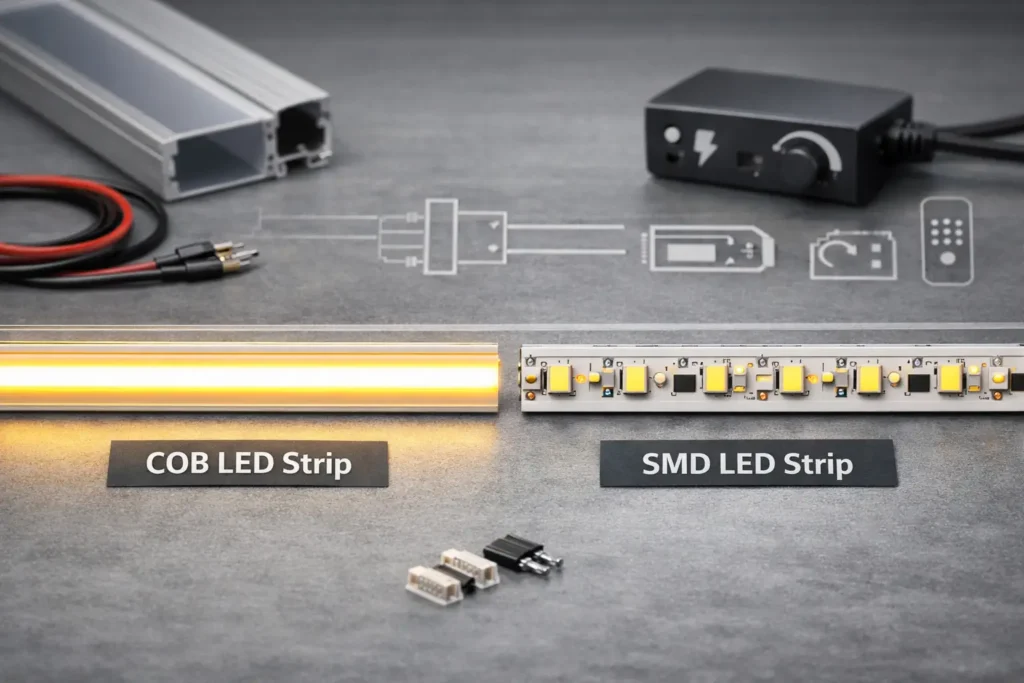
COB describes the light output. In simple terms, the strip places many small emitters close together so the line looks smoother.
Addressable describes the control method. In other words, the strip can change colour or brightness along its length through IC-based control.
Because both terms appear in the same listing, buyers often treat them as one feature. However, they are separate. A strip can look smooth but still use large control zones.
Also, “RGBIC” often appears as a broad sales term. Therefore, use it only as a clue, not as proof of pixel-level control.
Pixel control gives finer effects. For example, gradients and chase patterns can move with more detail.
Zone control looks more block-based. However, it can be easier to use for long runs when fine animation is not the main goal.
To avoid the wrong product, ask for these items before you buy samples:
Choose voltage by starting with the project layout. First, define the run length. Next, decide how much effect detail you need. After that, check how many feed points the site can support.
Higher voltage often lowers current for the same power. Therefore, it can make long-run wiring easier in many cases. Still, it does not remove the need for a power plan. For background, see All About Circuits – voltage drop concept.
For long building lines, 24V zone control can be the more practical choice. It can reduce wiring strain and make power planning easier.
However, you give up fine effect detail. The light may move in larger steps rather than smooth pixel-level motion.
For short or controlled runs, 5V pixel control can give richer effects. It is useful for detailed patterns, small signs, and effects where each point matters.
However, it often needs more feed planning. Therefore, check power, controller load, and data stability before rollout.
A controller must match the strip’s data signal, voltage, pinout, and pixel or zone count. Therefore, do not treat controller choice as “close enough.”
Use this checklist before ordering:
Some sellers use different names for similar control ideas. Also, one “addressable” controller may not support the strip’s IC. Therefore, rely on the datasheet and wiring diagram, not the listing title.
For larger projects, teams may use DMX control with an SPI decoder. In this setup, the decoder turns the control signal into the addressable signal the strip needs.
If you use this path, confirm these points:
Plan power from the datasheet, not from a guess. You need the strip power per length, the run layout, and the chosen control plan.
Voltage drop is tied to current and wire resistance. Therefore, feed points, cable size, and load all matter. For a simple background, see Fluke – what Ohm’s law validates.
Put injection points where people can inspect them later. Also, label the pinout and keep connector types consistent. As a result, field teams can avoid reversed polarity, data faults, and slow repair work.
Use the symptom to find the likely cause:
IP rating helps describe protection against dust and water. However, it does not automatically cover UV, chemicals, heat, bending, or field cuts. Use IP as a starting point, then confirm the actual strip build and install limits. See IEC – IP ratings overview.
Ask for construction details, sealing method, cable entry notes, and field-cut rules. Also, ask whether the IP claim applies to the strip body only or to the finished assembly with the stated accessories.
A good RFQ turns vague words into clear fields. Therefore, define control detail, voltage, protocol, IP build, and the documents you need.
To make addressable COB work well, treat it as a full system. First, define the control detail. Next, choose voltage. Then, lock the controller, protocol, wiring, and power plan.
As a next step, request the datasheet, wiring diagram, and pixel/zone map upfront. This usually reduces mismatch risk and speeds up setup.
Back to top
Your email address will not be published. Required fields are marked *
Comment *
Name *
Email *
Website


