

How to Specify a COB RGBW LED Strip (Quick Checklist)
To specify a COB RGBW LED strip correctly, confirm the strip type, control type, voltage, IP need, layout, and supplier documents. Also, test a sample before you approve a large order.
Quick checks before you buy
- First, confirm that the product is truly COB plus RGBW, not RGB only.
- Next, confirm whether the strip is analog RGBW or addressable RGBW.
- Also, match the strip voltage with the power supply and controller.
- Then, choose IP level based on the real site, such as dry indoor, splash, wet, or outdoor use.
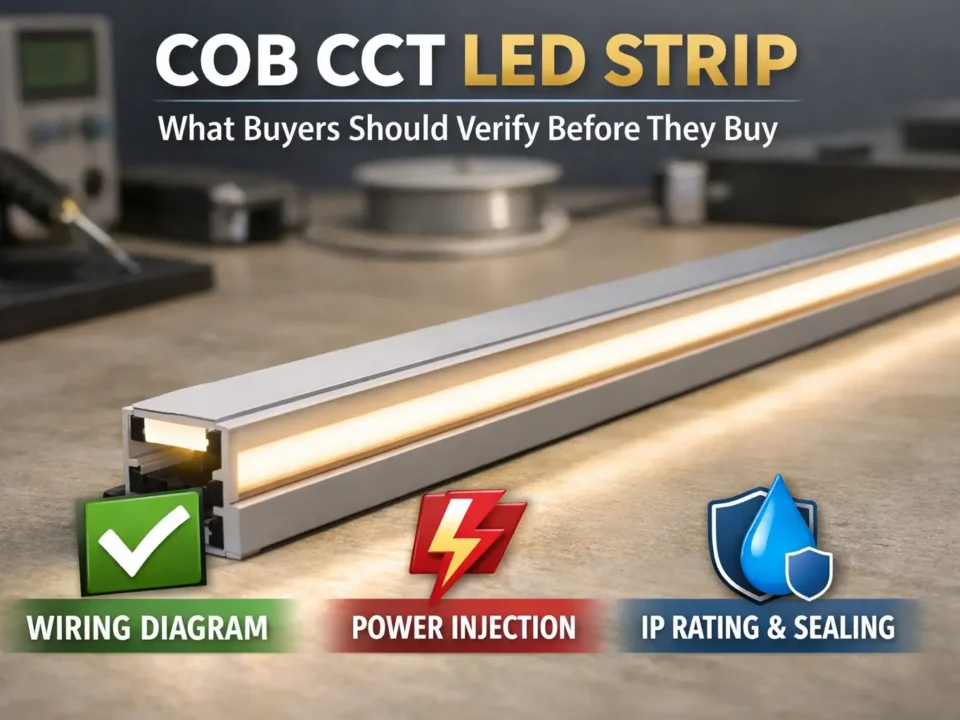
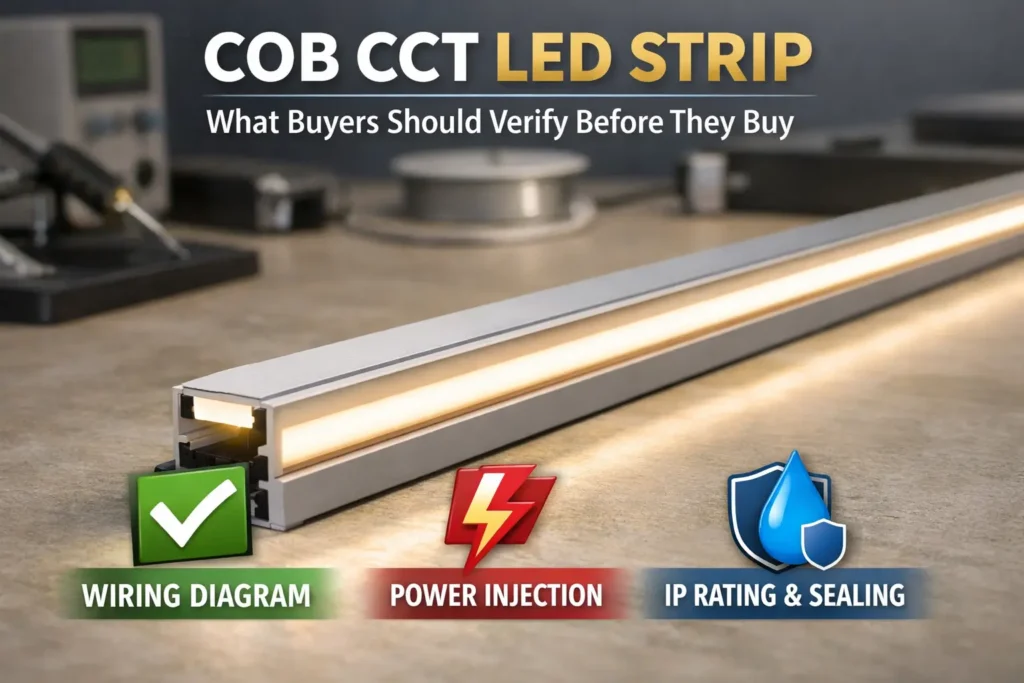
- Finally, ask for the datasheet, wiring diagram, controller notes, and install notes.
Fast selection table
| Decision point | What to confirm | Why it matters |
|---|---|---|
| Strip type | COB RGBW | Confirms smooth light plus RGB and white channel |
| Control type | Analog or addressable | Prevents wrong controller choice |
| Voltage | 12V or 24V | Affects long-run planning and power feeds |
| IP level | IP20, IP65, IP67, or IP68 | Matches dry, damp, wet, or outdoor sites |
| Documents | Datasheet and wiring diagram | Reduces guessing and rework |
Boundary notes
- However, there is no one-size-fits-all max run length.
- Also, “dotless” depends on view distance, profile depth, diffuser, and mounting.
- Therefore, confirm IP and certificate claims for the exact model or series.
What a COB RGBW LED Strip Is (and When It’s the Right Choice)
A COB RGBW LED strip is a flexible strip made for a smoother line of light. It also has red, green, blue, and white channels. As a result, it can create color scenes and a more useful white than RGB-only strips in many projects.
What COB means
COB usually means many small LED chips are placed close together. Because of this dense layout, the light line can look smoother than a strip with widely spaced LED dots.
What RGBW means
RGBW means the strip has red, green, blue, and a separate white channel. Therefore, the white light does not rely only on mixing RGB colors, which can sometimes look tinted.
Where COB RGBW fits well
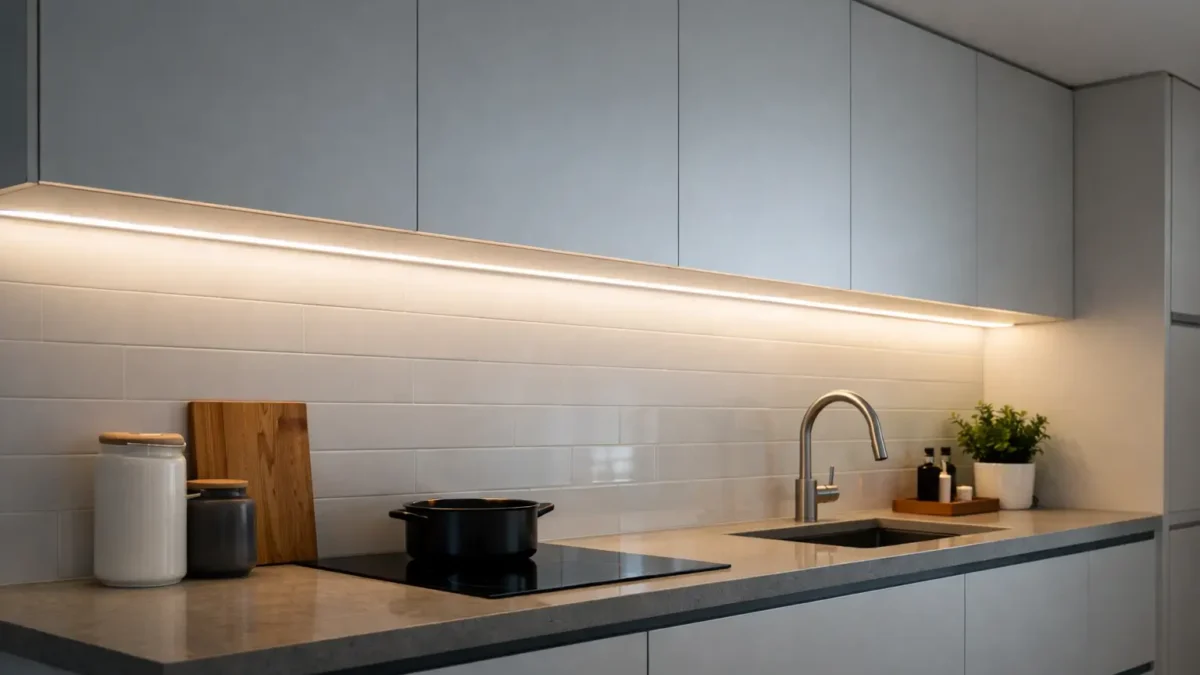
- Use it for visible coves, shelves, cabinets, and feature lines.
- Also, use it near reflective surfaces where dots may stand out.
- In addition, choose it when one strip must handle both color scenes and white light.
When another option may be enough
However, COB RGBW may not be needed if the strip is fully hidden behind strong diffusion. Also, RGB-only or SMD strips may be enough when the project only needs simple color effects.
| Option | Best when | What to check |
|---|---|---|
| COB RGBW strip | Visible strip, color scenes, and usable white | Control type, channel order, profile, and IP build |
| SMD RGBW strip | Dots are hidden or cost is the main concern | LED spacing, diffuser, and view distance |
| RGB strip plus white strip | White quality needs a separate system | Extra space, wiring, and control zones |
Boundary conditions: Final appearance still depends on the diffuser, profile, and view angle. Therefore, test a sample for visible or high-value areas.
RGBW vs RGB for COB Strips: How to Get “Usable White” Without Surprises

RGBW is often the safer choice when the project needs white light from the same strip. This is because RGBW uses a separate white channel, while RGB creates white by mixing red, green, and blue.
Why RGB white can disappoint
RGB white can look tinted or uneven. Also, it may shift when dimming changes. Therefore, RGB is usually better for color effects than daily-use white light.
Why RGBW helps
RGBW adds a white channel. As a result, whites and pastel colors often look cleaner. However, RGBW needs more channel checks, because the controller must support R, G, B, and W outputs.
RGB vs RGBW comparison
| Criteria | RGB | RGBW |
|---|---|---|
| White look | Mixed white can look tinted | White channel often looks cleaner |
| Control | Usually fewer channels | Needs RGBW channel mapping |
| Best use | Color accents and effects | Color plus usable white |
| Main check | RGB controller support | RGBW controller and wiring order |
Buying tip
Before ordering, define what “white” means for the project. For example, note whether the space needs warm white, neutral white, or cooler task white. Then, ask the supplier to confirm the white channel type for the quoted strip.
Boundary conditions: The quality of the white channel depends on the exact model. Therefore, use the datasheet and sample test, not only the product name.
Addressable vs Analog COB RGBW: How to Identify the Right Type (Before You Order)
COB RGBW strips can be analog or addressable. Because these two types use different control methods, you should identify the type before you order controllers.
Analog COB RGBW
Analog RGBW uses four channels: red, green, blue, and white. Usually, one controller adjusts the whole zone. Therefore, analog is often simpler for cove lighting, shelves, and clean architectural lines.
Addressable COB RGBW
Addressable RGBW can create effects by segment or pixel. However, it needs a matching controller, data wiring, and correct protocol support. As a result, it needs more planning than analog RGBW.
How to identify the type
- First, look for words such as “addressable,” “pixel,” “IC,” “data,” or “segment.”
- Next, check whether the wiring diagram shows a data line.
- Also, check whether the product only lists R, G, B, and W channel outputs.
- Finally, ask the supplier to confirm analog or addressable in writing.
Addressable vs analog comparison
| Topic | Addressable COB RGBW | Analog COB RGBW |
|---|---|---|
| What it controls | Segments, pixels, or effects | Whole zone |
| Controller | Needs matching protocol | Needs RGBW channel outputs |
| Wiring | Power plus data | Power plus R/G/B/W channels |
| Best for | Moving effects and patterns | Uniform color and white scenes |
| Main risk | Wrong protocol or data wiring | Wrong channel order |
Controller match checklist
- First, match controller voltage to strip voltage.
- Next, match the controller type to analog or addressable use.
- Then, confirm channel order for RGBW strips.
- Also, test dimming and color output before final mounting.
- Finally, keep the wiring diagram with the project records.
Boundary conditions: Compatibility depends on the exact strip and controller. Therefore, do not buy from photos alone.
12V vs 24V for COB RGBW: Plan for Long Runs and Avoid Voltage Drop

For longer runs, 24V often helps reduce voltage drop risk compared with 12V. However, voltage alone does not solve long-run issues. You still need a layout-based power plan.
Why voltage drop matters
Voltage drop can make the far end look dimmer. Also, on RGBW strips, it can make colors or white look uneven. For a simple background on voltage, current, and resistance, see SparkFun’s guide: Voltage, Current, Resistance, and Ohm’s Law.
12V vs 24V table
| Decision cue | 12V system | 24V system |
|---|---|---|
| Typical fit | Shorter runs or existing 12V systems | Longer runs and easier power spread |
| Main watch-out | More drop risk on long runs | Still needs feed planning |
| What to check | Controller, power supply, and layout | Controller, power supply, and layout |
Power planning steps
- First, sketch run lengths, zones, and possible feed points.
- Next, confirm analog or addressable type and rated voltage.
- Then, size the power supply from datasheet values with safe headroom.
- After that, choose feed points at the start, middle, both ends, or several points.
- Also, add power injection where long runs may dim or shift color.
- Finally, test at full load before sealing or closing channels.
When to add power injection
- Add injection when the far end looks dimmer.
- Also, add it when white changes across the run.
- In addition, use it when wires are long or many zones branch from one supply.
Boundary conditions: Do not assume a universal run length. Instead, test your real layout, wire path, and controller setup.
IP20 vs IP65 vs IP67 vs IP68: Choose the Right Protection (and Protect the Ends)

Choose IP level based on site exposure. Then, plan how cut ends, joints, and cable exits will be sealed. This matters because many wet-area failures happen at the ends, not the middle of the strip.
IP basics
IP ratings describe protection against solids and water. For an official overview, see IEC: IP ratings. Also, Intertek explains ingress protection testing for lighting products here: Intertek ingress protection.
Which IP level fits?
- Use IP20 direction for dry indoor locations with no splash risk.
- Next, consider IP65-style builds for damp or splash areas.
- Then, consider IP67-style builds for stronger wet or outdoor exposure.
- Finally, consider IP68-style builds only when immersion-style protection is needed and confirmed by the supplier.
Protect cut ends and joints
- First, plan cut points before installation.
- Next, seal end caps and joints using the recommended method.
- Also, test wiring before sealing.
- Then, add strain relief so cables do not pull on seals.
- Finally, avoid placing joints where water can pool.
Boundary conditions: IP labels do not automatically cover field cuts. Therefore, ask for the termination method for the exact strip model.
Profiles, Diffusers, Mounting, and Handling: Make COB RGBW Reliable
Profiles and good mounting help the strip look better and last longer. Also, they can support straight lines, reduce glare, protect the strip, and help with heat control.
Why profiles help
- First, profiles keep long visible runs straighter.
- Also, diffusers soften the light and reduce harsh spots.
- In addition, channels protect the strip from touch, dust, and minor impact.
- Finally, aluminum profiles may help with heat, depending on the project.
Mounting checklist
- Clean and dry the surface before mounting.
- Next, confirm the strip width fits the profile.
- Then, avoid sharp bends and creases.
- Also, support wires and connectors so they do not pull on pads.
- Finally, test the full run before closing covers or panels.
When adhesive alone may fail
Adhesive-only mounting can fail on dirty, rough, hot, or damp surfaces. Therefore, use clips, channels, or other support when the site is demanding.
Boundary conditions: The need for a profile depends on power level, site heat, surface type, and the selected model.
Common Problems (Flicker, Dim Ends, Wrong Colors): Causes and Fixes
Most COB RGBW problems come from power, wiring, controller mismatch, or weak joints. Therefore, troubleshoot by symptom before replacing the strip.
Problem table
| Symptom | Likely cause | First check | Typical fix |
|---|---|---|---|
| Flicker at high brightness | Power or loose connection | Power supply, polarity, connectors | Improve joints, check supply, add injection |
| Dim or odd color at far end | Voltage drop | Near feed vs far end | Add feed points or improve wiring |
| Wrong colors or no white | Channel mapping error | RGBW order and controller setup | Rewire or reset mapping |
| Works then fails outdoors | Joint or seal problem | Ends, joints, moisture, cable pull | Re-seal and add strain relief |
Fast troubleshooting order
- First, power down before checking joints.
- Next, confirm voltage and polarity.
- Then, check RGBW channel order.
- Also, inspect connectors, solder points, and strain relief.
- Finally, test again before sealing or closing the profile.
Boundary conditions: In wet installs, test electrically before final sealing. Also, follow local electrical practice and project safety rules.
RFQ Template: What to Send a Supplier (and What Documents to Request)
A good RFQ helps the supplier quote the right COB RGBW LED strip and matching parts. Therefore, include the site, control type, voltage, layout, IP need, and document requests.
RFQ details to send
- Application: cove, cabinet, feature line, grazing, signage, or another use.
- Site: dry indoor, splash risk, wet area, or outdoor exposure.
- Visual goal: dotless line, glare control, or visible-strip use.
- Color need: RGB only, RGBW, warm white, cool white, or daily-use white.
- Control type: analog RGBW or addressable RGBW.
- Voltage: 12V, 24V, or supplier recommendation.
- Layout: run lengths, zones, cut points, and power supply locations.
- IP target: dry, splash, wet, or outdoor protection need.
- Accessories: profiles, diffusers, connectors, clips, and mounting notes.
- Quantity: sample request, trial batch, or project volume.
Documents to request
- First, request the datasheet for the quoted model.
- Next, request the wiring diagram for the strip and controller type.
- Also, request RGBW channel mapping or controller notes.
- Then, request mounting and handling notes.
- In addition, request waterproof termination steps if cutting or joining is planned.
- Finally, request certificate scope for the exact model or series if needed.
Conversion block (data-nosnippet)
If your project includes long runs, wet or outdoor exposure, or custom lengths, share your layout sketch, site notes, and intended controller type. Then, request a recommended setup plus the datasheet and wiring diagram before ordering.
Boundary conditions: Numeric specs should come from the quoted datasheet. Also, certificate scope must match the exact model or series.
FAQ: COB RGBW LED Strip Selection and Installation
What is a COB RGBW LED strip?
Answer: It is a flexible LED strip made for a smoother line of light, with RGB color channels plus a separate white channel. Therefore, it can support both color scenes and more useful white light.
When should you choose COB RGBW?
Answer: Choose it when the strip is visible, hotspots would be distracting, and you need both colors and white from one strip. However, simpler strips may work if the strip is fully hidden.
How do you tell if a COB RGBW strip is addressable or analog?
Answer: First, check the datasheet and wiring diagram. Analog RGBW usually uses four channel outputs. Addressable RGBW usually mentions data, IC, pixel, segment, or effects.
Should you choose 12V or 24V for longer runs?
Answer: Usually, 24V is easier for longer runs because it can reduce current for the same power. However, layout, wire length, feed points, and power injection still decide the final result.
How do you reduce flicker or dim ends?
Answer: First, check power supply size, polarity, and loose connections. Next, add feed points or power injection where the run dims. Then, test at full brightness before final mounting.
What IP rating should you choose for kitchen, bathroom, or outdoor use?
Answer: Choose IP based on real exposure. For example, dry areas may use lower protection, while splash or outdoor areas need stronger protection. Also, seal cut ends, joints, and cable exits correctly.
What controller do you need for COB RGBW?
Answer: Analog RGBW usually needs a 4-channel RGBW controller. Addressable RGBW needs a matching data controller. In both cases, confirm voltage, channel order, and wiring before final install.
What should you include in an RFQ?
Answer: Include application, site exposure, control type, voltage, layout, IP target, accessories, and sample quantity. Also, request the datasheet, wiring diagram, controller notes, and waterproof termination notes if needed.
Summary: Your COB RGBW Spec Checklist (and What to Confirm Next)
Finally, a successful COB RGBW project depends on matching the strip, controller, voltage, IP build, power plan, and mounting method. As a result, clear documents and a short sample test can prevent many common failures.
Key takeaways
- First, confirm COB RGBW fits the visual goal.
- Next, decide analog or addressable before buying controllers.
- Then, choose 12V or 24V based on layout and long-run risk.
- Also, treat IP as both a product choice and an install method.
- Finally, request the datasheet, wiring diagram, and controller notes before bulk orders.
Next steps
- Sketch the layout and mark run lengths, zones, and cut points.
- Choose control type and confirm controller match.
- Plan feed points and power injection if needed.
- Confirm profile, diffuser, and mounting method.
- Test a sample before final install or large-volume purchase.
Conversion block (data-nosnippet)
For custom projects, long runs, or wet/outdoor installs, provide site notes, layout concept, and intended controller type. Then, request a recommended setup and document pack for review.

