LED strip adhesion problems usually happen when the surface is dusty, oily, damp, rough, too hot, or paired with weak adhesive. If LED strips keep falling off, start with surface prep, then add stronger tape, clips, or aluminum channels for better support.
Therefore, do not blame the strip right away. First, check the surface. Next, check the adhesive backing. Then, review heat, moisture, cable pull, corners, and connector stress.
For related internal resources, review Elstar’s LED strip lights, LED aluminum profiles, LED power supplies, and contact page. For general adhesive surface-prep guidance, see 3M’s adhesive bonding resources.
Introduction to LED Strip Adhesion Problems
LED strip adhesion affects how clean and stable the final lighting looks. When the strip peels, sags, or falls, the light line becomes uneven and the wiring may get stressed.
Why do LED strips fall off?
LED strips often fall off because the surface was not cleaned well, the adhesive is weak, or the install method does not match the space. Also, heat, humidity, and cable pull can weaken the bond over time.
Why fixing adhesion matters
A secure strip stays straighter, looks better, and needs less repair. In addition, secure mounting helps protect connectors, wires, and solder joints from pulling force.
Quick answer
To improve LED strip adhesion, clean and dry the surface, press the strip evenly, support corners and cable ends, and use clips or channels when adhesive alone is not enough.
Common Causes of LED Strip Adhesion Failure
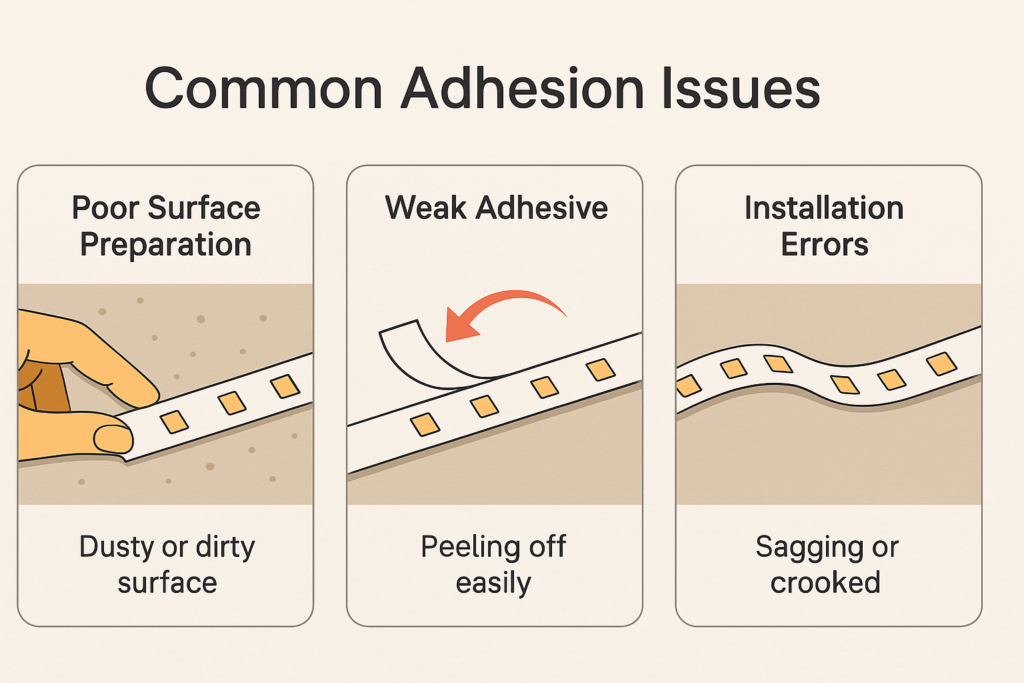
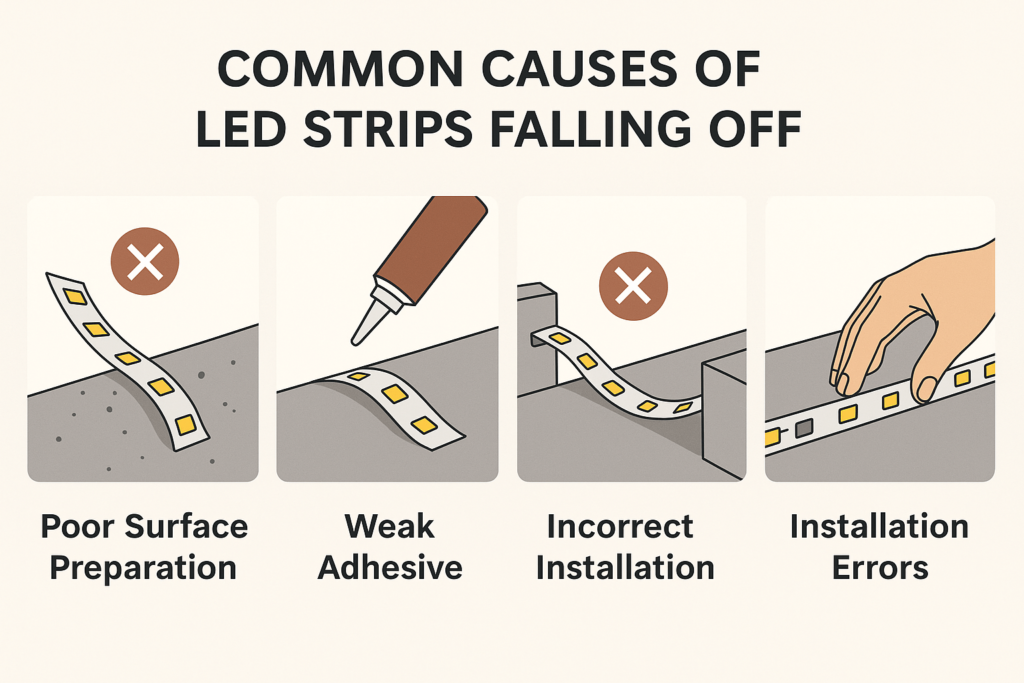
Most adhesion failures come from four main causes. Therefore, check surface prep, adhesive quality, installation method, and room conditions before replacing the strip.
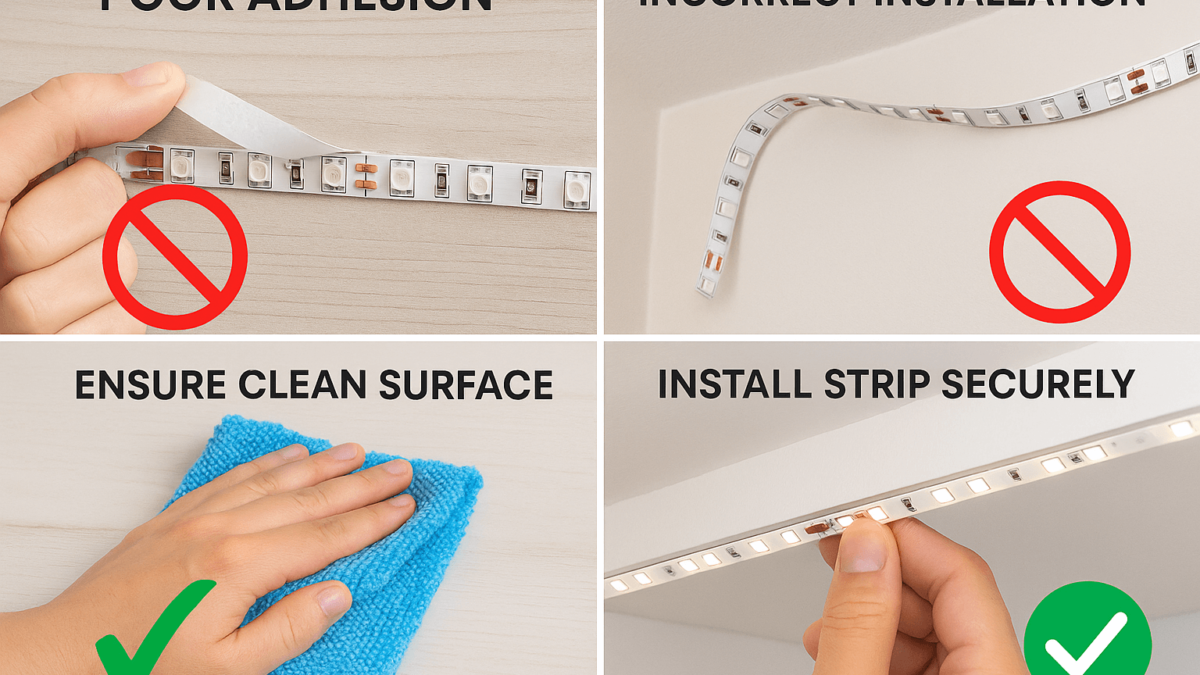
Poor surface preparation
- Issue: dust, oil, water, loose paint, or texture can stop the tape from bonding.
- Sign: the strip peels soon after installation or falls when lightly touched.
- Fix: clean the surface, let it dry fully, and test a small section first.
Weak adhesive backing
- Issue: low-quality tape may lose grip quickly.
- Sign: the strip slowly detaches even when nothing pulls on it.
- Fix: add stronger double-sided tape, clips, or aluminum channels.
Incorrect installation method
- Issue: rushed mounting, tight bends, and poor pressure create weak contact.
- Sign: the strip sags at corners, connectors, or cable ends.
- Fix: press along the full run and reinforce stress points.
Heat, moisture, and room conditions
- Issue: heat, humidity, steam, or outdoor exposure can weaken adhesive.
- Sign: strips fall more often in kitchens, bathrooms, cabinets, or warm areas.
- Fix: use clips, channels, or a mounting method made for that environment.
Cause and fix table
| Cause |
Symptoms |
Quick solution |
| Poor surface prep |
Strip peels soon after mounting |
Clean and dry the surface first |
| Weak adhesive |
Slow peeling or full detachment |
Add stronger tape, clips, or channels |
| Poor installation |
Sagging at bends or corners |
Press evenly and support stress points |
| Heat or moisture |
Adhesive weakens over time |
Use channels, clips, or moisture-safe support |
How to Fix LED Strips That Keep Falling Off
Use a simple repair order before adding more tape. In many cases, the surface needs cleaning or the strip needs mechanical support.
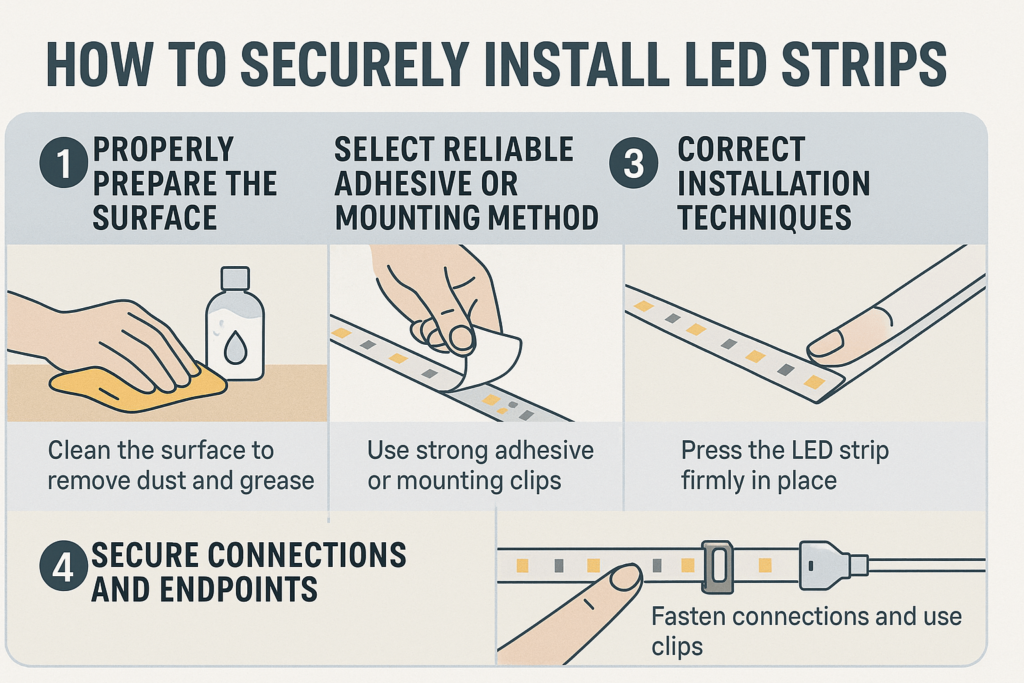
Step 1: prepare the surface
- Remove dust, oil, and loose paint from the mounting area.
- Then, wipe the surface with a suitable cleaner and let it dry.
- After that, test a short section before mounting the full strip.
Step 2: choose the mounting method
- Use the original adhesive only on smooth, dry, clean surfaces.
- Also, add stronger tape if the backing is weak.
- For long or vertical runs, use clips or aluminum channels.
Step 3: install with steady pressure
- Peel the backing in short sections instead of all at once.
- Next, press the strip firmly along the full run.
- Then, avoid sharp bends that pull the strip away from the surface.
Step 4: support ends and cables
- Add clips near strip ends, corners, and connectors.
- Also, route cables so they do not pull on the strip.
- Finally, test the setup before hiding wires or closing covers.
Quick answer: The best LED strip adhesion fix is clean surface prep plus support at stress points. If the strip still falls, use clips or aluminum channels instead of tape alone.
How to Prevent LED Strip Adhesion Problems
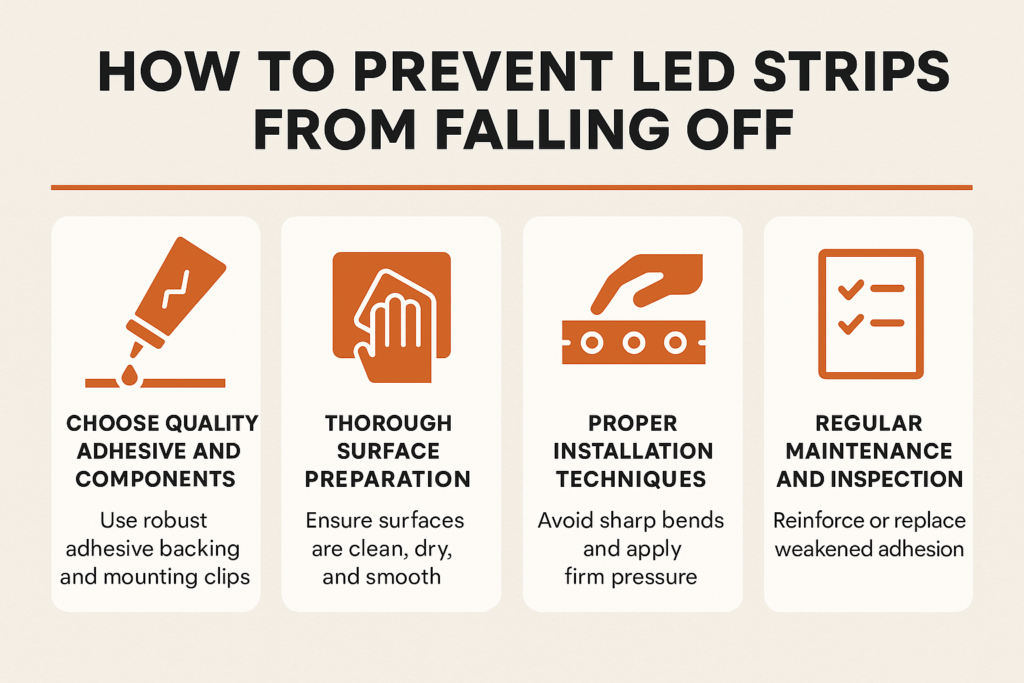
Prevention starts before installation. Therefore, choose the right strip, surface, tape, and support method before sticking anything in place.
Use better adhesive and support
- Choose strips with reliable adhesive backing.
- Also, use strong double-sided tape where the original backing is not enough.
- For warm, vertical, or long runs, add clips or channels.
Prepare the surface well
- Make sure the surface is clean, dry, smooth, and stable.
- Then, avoid dusty, damp, rough, or peeling surfaces.
- If the surface is textured, use clips or channels instead of tape only.
Install without tension
- Keep the strip path smooth and straight where possible.
- Also, avoid tight bends near corners and connectors.
- Use strain relief so the cable does not pull the strip down.
Inspect the strip later
- Check the strip after the first day.
- Next, check it again after heat or moisture exposure.
- Then, re-secure small loose sections before they fully detach.
Advanced Fixes for Persistent LED Strip Adhesion Issues
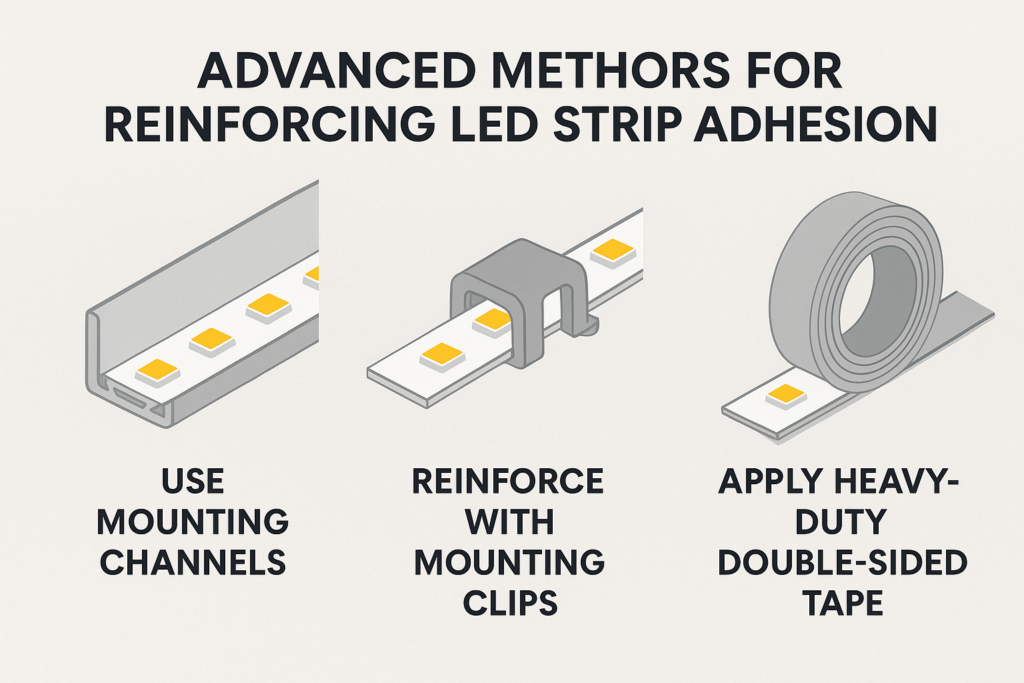
If the strip keeps falling after basic fixes, adhesive alone may not suit the surface or room. Instead, use a stronger mechanical support method.
Use aluminum mounting channels
- Channels hold the strip in place and create a cleaner line.
- In addition, they help with heat control on brighter strips.
Add mounting clips
- Use clips at corners, endpoints, and connector areas.
- Also, add more clips on vertical or overhead runs.
Apply heavy-duty double-sided tape
- Use tape made for the surface and room conditions.
- However, test a small hidden area first if the finish is delicate.
Seal ends in damp areas
- Use suitable caps, sealant, or wet-area support when moisture is present.
- Then, keep power supplies and connectors away from water unless rated for the location.
Recommended Parts for Better LED Strip Adhesion
Good parts make installation more stable. As a result, you spend less time fixing loose strips later.
High-quality LED strips
- Choose strips with reliable adhesive and clear product data.
- Also, choose the right strip for dry, damp, or outdoor areas.
Mounting clips
- Use clips for corners, ends, and cable-heavy areas.
- Then, add clips where gravity or cable pull creates stress.
Aluminum mounting channels
- Use channels for long runs, visible runs, and warm areas.
- In addition, use diffusers when glare or dust protection matters.
Reliable adhesives and tape
- Use strong double-sided tape when the original backing is weak.
- Also, choose tape that suits the wall, cabinet, metal, or plastic surface.
Basic installation tools
- Keep cleaner, cloth, clips, tape, small level, and wire cutters ready.
- For electrical work, use proper tools and follow the product guide.

Maintenance for Long-Term LED Strip Adhesion
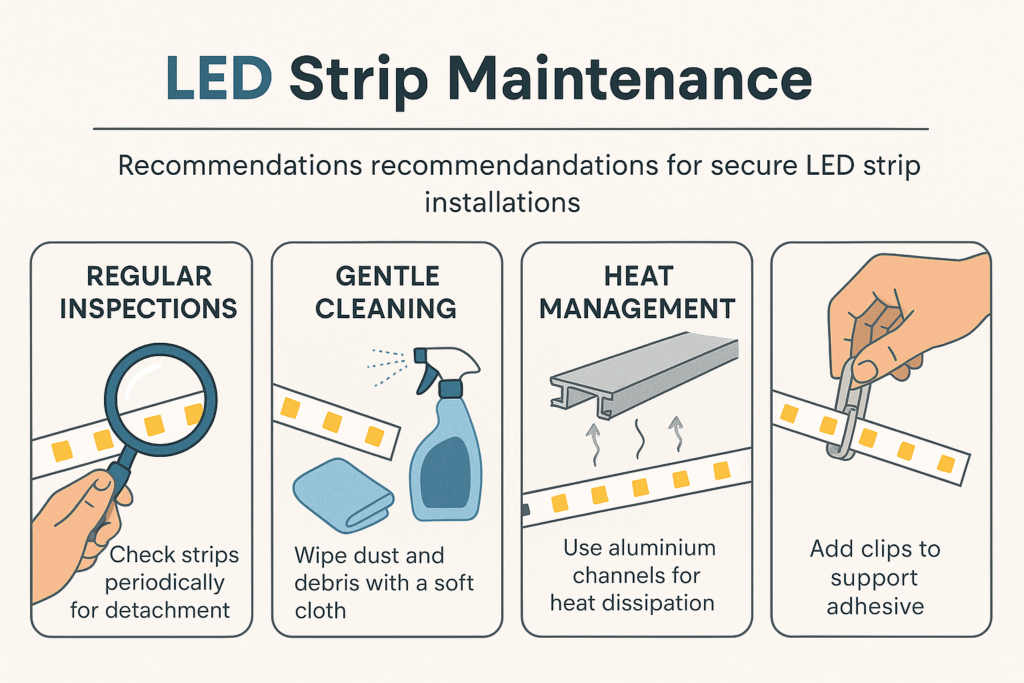
Even a good installation needs simple care. Therefore, inspect the strip, adhesive, clips, and cable stress over time.
Regular visual checks
- Check strip ends, corners, connectors, and bends.
- Also, re-secure loose sections before they fall.
Gentle cleaning
- Clean dust with a soft dry cloth.
- Avoid harsh cleaners and excess moisture.
Heat and moisture checks
- Check warm areas after the strip has been on for a while.
- Then, add channels, clips, or airflow if heat weakens the adhesive.
Reinforce as needed
- Add clips or tape when a section starts to loosen.
- Finally, replace old adhesive when it no longer grips.
FAQs About LED Strip Adhesion Issues
Why do my LED strips keep falling off?
Common reasons include poor surface prep, weak adhesive, heat, humidity, cable pull, or rushed installation. Start by cleaning the surface and supporting corners and ends.
What is the best adhesive for LED strips?
Strong double-sided tape can help on smooth dry surfaces. However, clips or aluminum channels are better when heat, moisture, texture, or gravity is a problem.
Can I reuse LED strips after they fall off?
Yes, in many cases. Remove the old adhesive, clean the surface, and reattach the strip with fresh tape, clips, or a channel.
Are aluminum channels better than adhesive?
For long-term support, yes. Aluminum channels hold the strip more securely and can also improve heat control.
Conclusion: Improve LED Strip Adhesion
LED strip adhesion improves when you clean the surface, choose the right tape, and add clips or channels where stress is high. If the strip keeps falling, the surface or room conditions likely need more than adhesive alone.
Start with surface prep. Then, support corners, ends, and cable points. As a result, your LED strip lights will look cleaner and stay in place longer.
Ready to choose a better mounting setup? Browse Elstar’s LED strip lights, LED aluminum profiles, or contact Elstar for project support.



 English
  Spanish
  French
  Arabic