If you are specifying an RGBW COB LED strip for a project, the product page is only the starting point. You also need to check the white channel, the controller, the wiring plan, and the power layout. As a result, the strip will look and work better in the real install.
RGBW COB LED Strip (What It Is + What to Verify Before Buying)
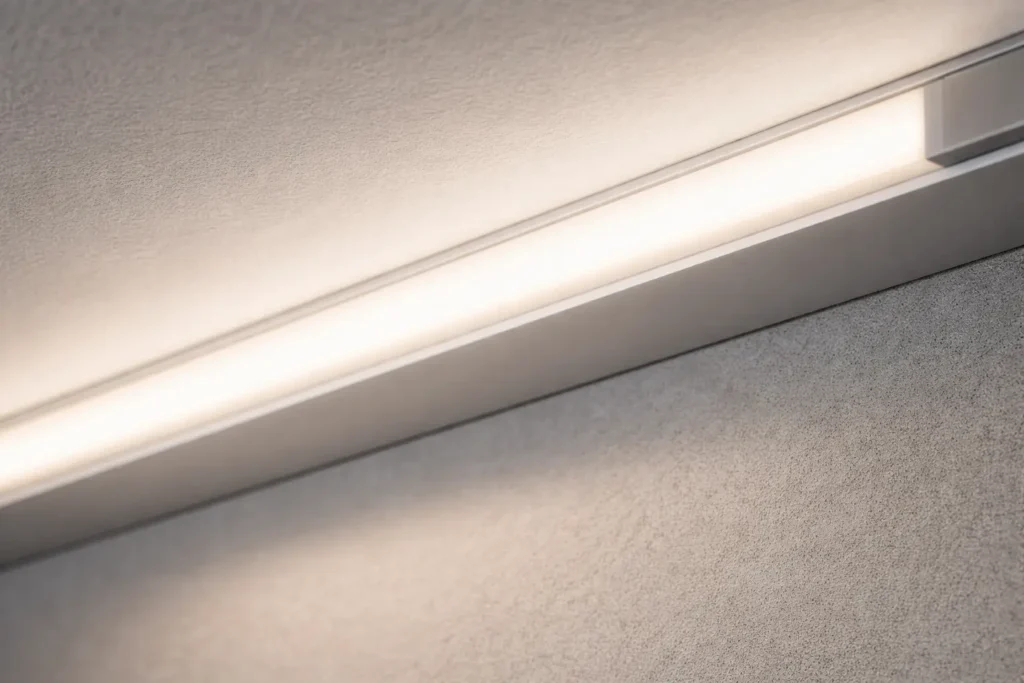
An RGBW COB LED strip is a constant-voltage tape light with red, green, blue, and white channels. It also uses a COB LED layout, so the light line can look smoother than many strips with spaced LED dots.
However, the strip alone does not make a good system. You still need the right driver, RGBW controller, wiring map, power feeds, and IP build.
Why it matters
First, COB can reduce visible dots, especially when used with a good profile and diffuser.
Next, RGBW gives a separate white channel instead of making white only from RGB mixing.
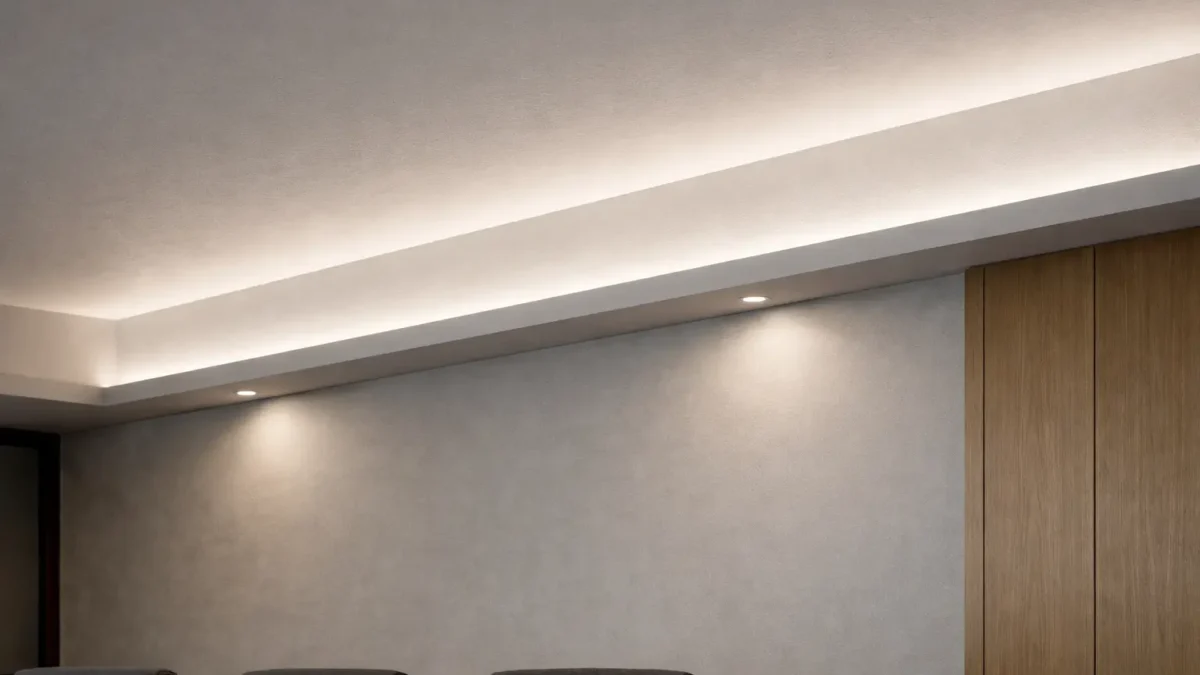
Also, RGBW COB fits coves, reveals, shelves, retail details, and other clean line-of-light uses.
Verify before buying
First, confirm that the strip is RGBW, not RGB, RGBWW, or RGBCCT.
Next, confirm the rated voltage and the constant-voltage power plan.
Then, confirm the controller supports RGBW output and the correct wiring type.
Also, match the IP build to the site, such as dry, splash, rain, or wash-down use.
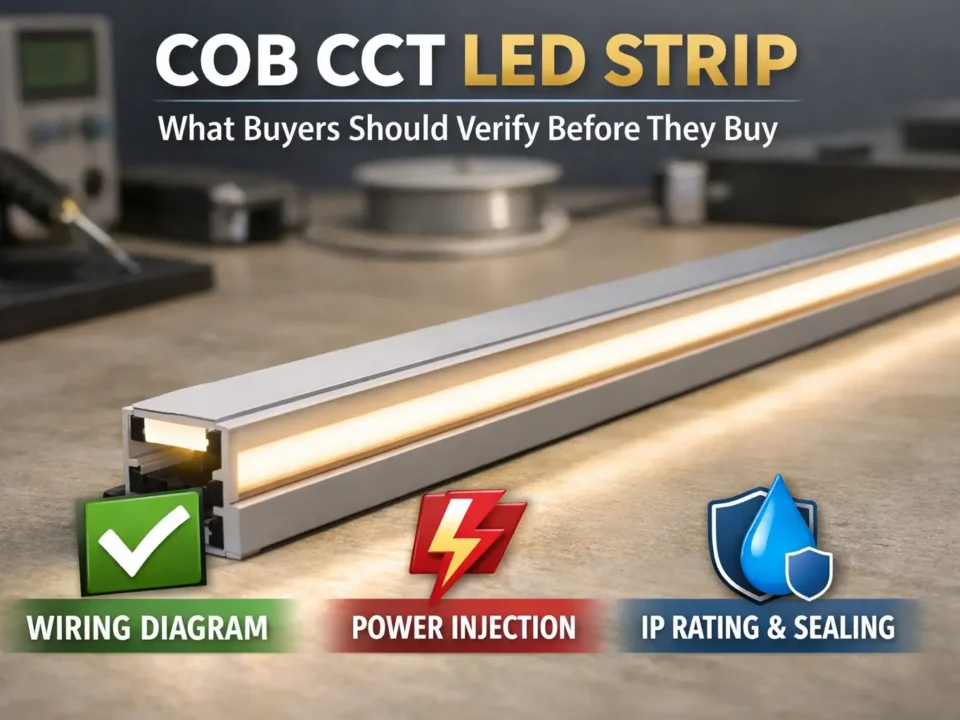
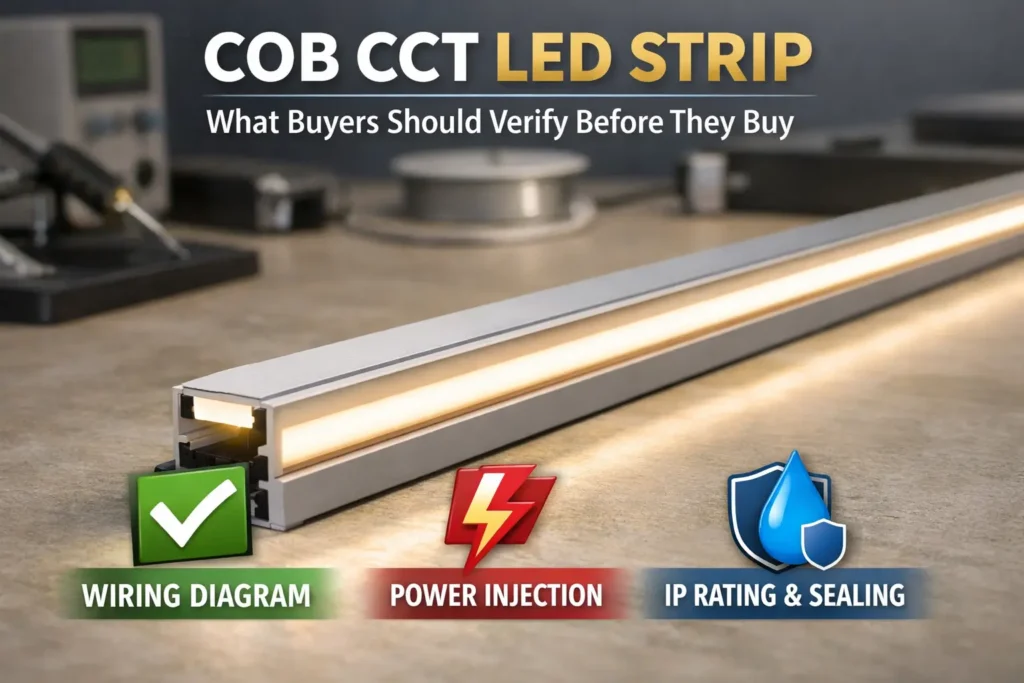
Finally, request the datasheet and wiring diagram for the exact model or series.
Boundary notes
However, “dotless” depends on viewing distance, profile depth, and diffuser choice.
Also, long runs depend on layout, load, wire size, and feed points.
Therefore, test the real setup before final install when the run is long or highly visible.
RGBW COB LED Strip Basics: What It Is, What COB Changes, and Where It Fits
RGBW COB strips are often chosen when a project needs color scenes plus a usable white channel. In addition, the COB layout can help create a cleaner light line.
What COB changes
First, COB places many LED chips close together.
As a result, the emitting surface can look more even than spaced SMD packages.
However, a diffuser and profile still help with glare, finish, and protection.
Where RGBW COB fits well
Use it for cove lighting where a clean light line matters.
Also, use it for wall reveals, feature lines, retail shelves, and hospitality details.
In addition, use it when one strip needs both color scenes and a white channel.
When SMD may be enough
If the strip is hidden behind a strong diffuser, SMD RGBW may be enough. Also, SMD may offer other price or size options. Therefore, choose by the real fixture and view distance, not only by the LED type.
White quality reminder
RGBW does not automatically guarantee perfect white. The actual white depends on the W LEDs in that model and the controller setup. Therefore, confirm the white type in the datasheet and sample it when white quality matters.
Choosing the Right White: RGBW vs RGBWW vs RGBCCT (What Changes + How to Decide)
Choose the white setup based on how flexible the white light must be. For example, RGBW gives one white channel. However, RGBCCT adds warm and cool white channels for tunable white scenes.
Comparison table
Option
White behavior
Best fit
Control impact
RGBW
One dedicated white channel
Color scenes plus practical white
Needs RGBW controller and correct channel map
RGBWW
Often adds warmer white behavior, depending on model
Warmer white scenes plus color
Needs more channel checks
RGBCCT
RGB plus warm and cool white channels
Tunable white plus color scenes
Needs CCT-capable controller and correct wiring
Choose RGBW if
First, you need color scenes plus one dedicated white channel.
Also, you can accept that the white tone is fixed by the model.
Finally, your controller supports RGBW channel output.
Choose RGBWW or RGBCCT if
You need warm-to-cool white control.
Also, the project needs both color scenes and tunable white scenes.
However, your control system must support the extra channels.
Before you decide
Do not assume CCT, CRI, or white quality from the product name. Instead, confirm the datasheet and channel map. Then, test a sample if the white tone is important to the project.
A typical RGBW COB system uses a constant-voltage driver for power and an RGBW controller or decoder for the channels. Therefore, treat power and color control as two separate checks.
Basic setup workflow
First, confirm the strip wiring type from the wiring diagram.
Next, choose a constant-voltage driver that matches the strip voltage and load.
Then, choose an RGBW controller or decoder that supports the strip output type.
Also, plan where power enters the system and where feed points are needed.
After that, connect driver output to controller input according to the controller manual.
Next, map R, G, B, and W outputs to the correct strip channels.
Then, test a short section before the full run.
Finally, secure joints, add strain relief, and protect the connection points.
Common control mistakes
An RGB-only controller usually cannot control the W channel.
Also, wrong channel mapping can cause wrong colors or missing white.
In addition, a dimming method may work differently by controller or decoder.
Verify-first checklist
First, confirm strip wiring type from the diagram.
Next, confirm the controller supports RGBW output.
Also, confirm terminal labels, polarity, and pin order.
Then, confirm the driver is constant-voltage and matches the strip voltage.
Finally, pause and request documents if anything is unclear.
Boundary conditions: Terminal names and wiring rules vary. Therefore, check the strip wiring diagram and controller manual before power-up.
Long Runs & Reliability: 12V vs 24V, Voltage Drop, Power Injection, and Common Mistakes
Voltage drop happens when current moves through wire and strip copper. As a result, long runs can become dimmer, shift color, or act unstable. Therefore, longer RGBW COB runs need a power feed plan.
Layout-first planning checklist
First, map run lengths, turns, feed access, and controller locations.
Next, decide single feed or multi-feed before installation.
Also, keep joints secure and add strain relief.
Then, avoid long and thin feed wires where possible.
After that, test the run at full load.
Finally, record the final channel map and feed points for service.
12V vs 24V principle
For the same load, a higher voltage often lowers current. As a result, 24V can reduce voltage-drop risk. However, a poor 24V layout can still show problems. Therefore, the layout still matters most.
Common long-run mistakes
Daisy-chaining long runs with no feed plan.
Also, using an undersized driver or ignoring controller limits.
Next, using long thin wires and calling the result “strip flicker.”
Then, leaving poor joints or exposed connectors in damp areas.
Finally, skipping the short-section test before full install.
Boundary notes
Do not promise max run length without the exact datasheet and layout. Instead, verify performance under full load with the real wiring, controller, and feed points.
IP Rating and Installation Scenarios: Indoor, Wet Areas, and Outdoor Use
Choose IP construction by exposure. However, the real result depends on how ends, joints, and connectors are sealed. Therefore, IP is both a product choice and an installation choice.
Scenario table
Scenario
Typical IP direction
Install notes that matter
Dry indoor
Lower IP builds are often used
Focus on profile, wire routing, and access
Splash or humidity
Higher protection is often selected
Seal joints and protect connectors
Outdoor rain
Higher protection is often selected
Seal ends, add strain relief, and protect joints
Wash-down or harsh exposure
Project-specific build may be needed
Confirm sealing, parts, and service access
Waterproof install checklist
First, seal ends and cut points using the method for that strip build.
Next, protect connectors and joints from water and movement.
Also, add strain relief so movement does not open small gaps.
Then, route cables away from water collection points.
Finally, consider heat management with profiles or airflow.
Boundary conditions: Outdoor conditions can include UV, heat, cold, rain, and spray. Therefore, describe the real exposure before choosing the IP build.
Pre-Purchase Datasheet Checklist: What to Confirm (and What to Request for Custom Builds)
Before ordering RGBW COB strips, confirm the key details on the datasheet. Also, request the wiring diagram for the exact model or series.
Datasheet checklist
Category
What to confirm
Why it matters
Electrical
Voltage, power, and driver method
Prevents low voltage and unstable output
Channels
RGBW, RGBWW, or RGBCCT
Confirms white behavior
Controlar
Controller or decoder support
Prevents wrong colors or missing white
IP build
Sealing method and install notes
Prevents leaks at ends and joints
Mechanical
PCB width, bend limits, and cut points
Prevents fit and stress issues
Documents
Datasheet, wiring diagram, install notes
Supports buying, install, and service
Compliance
Scope by model or series
Avoids wrong certificate assumptions
Send-to-supplier template
Application and location, such as cove, feature line, or shelf.
Also, exposure type: dry, splash, rain, wash-down, or other.
Next, rough run layout with lengths, turns, and access points.
Then, control method and scene needs.
In addition, white needs: one white channel or tunable white.
Finally, profile size, bend limits, and service access needs.
Boundary conditions: Do not assume long-run behavior or certificate scope. Instead, check the exact model and the real layout.
FAQ (RGBW COB LED Strip)
What is an RGBW COB LED strip?
Answer: An RGBW COB LED strip has RGB color channels plus a dedicated white channel. It also uses a COB LED layout, so the light line often looks smoother than many spaced SMD strips.
Does RGBW give a real white?
Answer: Usually, RGBW gives a more useful white than RGB mixed white because it has a dedicated W channel. However, the exact white look depends on the model’s white LEDs.
RGBW vs RGBWW vs RGBCCT: which should I choose?
Answer: Choose RGBW for color plus one white type. However, choose RGBWW or RGBCCT if you need warm-to-cool white control. Also, make sure the controller supports the extra channels.
Should I choose 12V or 24V for longer runs?
Answer: In many long-run projects, 24V is easier because it can lower current for the same load. However, feed planning and power injection still matter most.
How do you wire an RGBW COB LED strip?
Answer: A common setup is constant-voltage driver to RGBW controller, then controller outputs to R, G, B, W, and common terminals. First, check the wiring diagram. Then, test a short section before the full run.
What should I confirm before ordering?
Answer: Confirm voltage, channel setup, white behavior, controller fit, IP build, strip size, cut points, and documents. Also, request the datasheet and wiring diagram for the exact model.
Summary & Next Steps (Project Checklist)
Finally, choose an RGBW COB LED strip by system fit, not by the product name alone. First, choose the white setup. Next, confirm control. Then, plan power, IP, and documents.
Decision path
First, choose RGBW, RGBWW, or RGBCCT based on white needs.
Next, confirm controller output and channel mapping.
Also, plan power feeds for the real layout.
Then, match IP construction to the site exposure.
Finally, get the datasheet and wiring diagram for the exact model.
Scenario next steps
For long runs, share a layout sketch and confirm feed strategy.
For wet or outdoor builds, confirm sealing and IP details.
For control projects, confirm channel mapping before ordering.
For custom builds, define lengths, leads, connectors, IP build, and documents.
If you want help checking an RGBW COB strip for a project, request the datasheet and wiring diagram for the exact model. Then, share layout limits, control needs, and site exposure for review.


