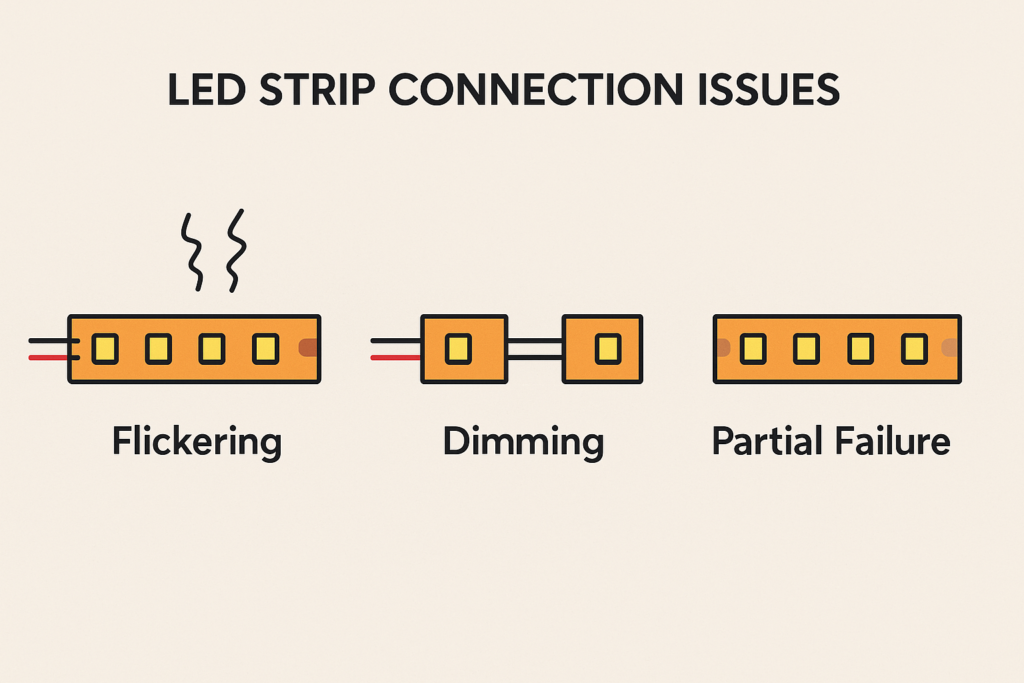
LED strip connection problems often show up as flickering, dimming, partial failure, or sections that do not light. In most cases, the cause is loose wiring, a bad connector, weak power, voltage drop, or a mismatch between the strip, controller, and power supply.
Therefore, do not replace the whole strip right away. First, check each connector. Next, confirm voltage and power supply size. Then, inspect wiring, solder joints, and controller fit.
For related internal resources, review Elstar’s Bande LED, Contrôleurs LED, LED power supplieset Profilés LED en aluminium. For basic electrical reference, see SparkFun’s voltage, current, and resistance guide.
Introduction to LED Strip Connection Problems
A poor LED strip connection can make a light strip flicker, dim, or fail in one section. However, the fix is often simple when you check the parts in the right order.
Common LED strip connection symptoms
- The strip flickers when touched or moved.
- One section is dimmer than the rest.
- A cut section does not light after reconnecting.
- The strip works near the power supply but fails farther away.
Why quick repair matters
Quick repair helps keep the lighting stable and safe. Also, it can stop small wiring faults from becoming larger failures.
Fast answer
To fix an LED strip connection, check loose connectors, confirm voltage, inspect power supply size, test the controller, and repair weak solder joints.
Common Causes of LED Strip Connection Issues
Most connection faults come from a few basic areas. Therefore, check wiring, connectors, power, and solder joints before buying replacement strips.
First, check physical contact because loose parts cause many strip faults.
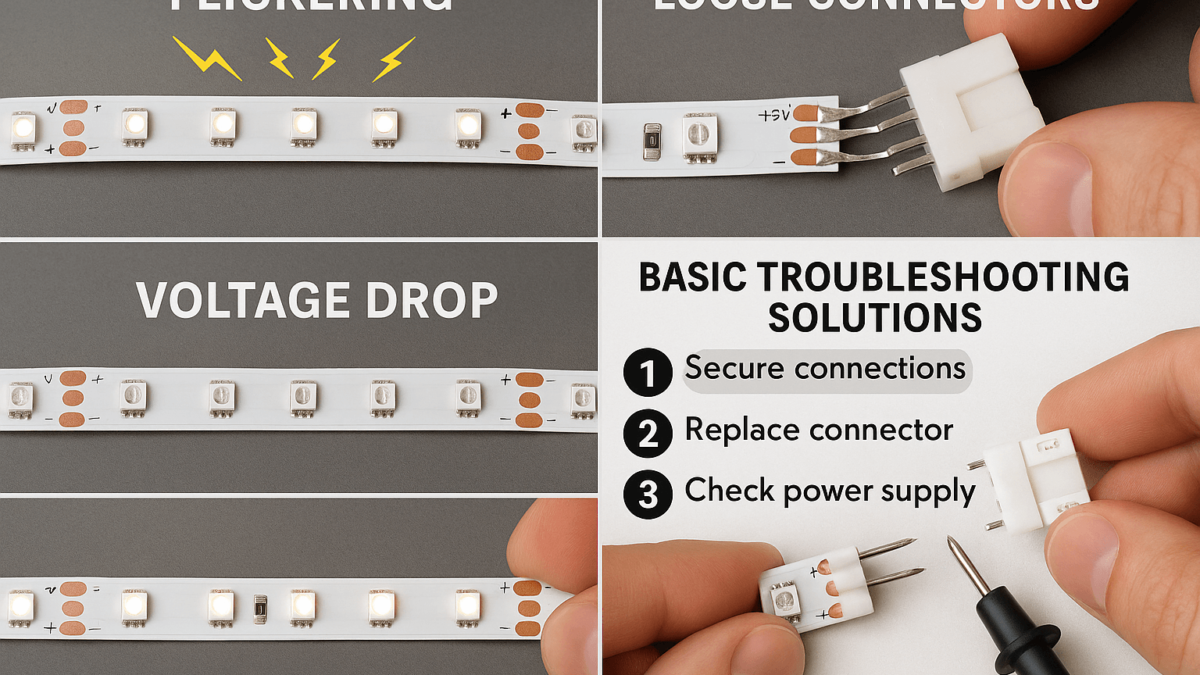
Loose or poor connections
- Issue: a loose connector or wire can break contact.
- Sign: the strip flickers or turns off when moved.
- Fix: reseat the connector and secure the wire.
Next, check connector fit because strip width and pin count must match.
Bad or mismatched connectors
- Issue: the connector may not match strip width, pin count, or color type.
- Sign: one section does not light even when power is present.
- Fix: replace it with a matching connector.
After that, check power because a weak supply can make good connections look bad.
Voltage drop or weak power supply
- Issue: long runs or weak power supplies can reduce voltage.
- Sign: brightness drops along the strip length.
- Fix: use power injection or a correctly sized power supply.
Finally, inspect solder joints because weak joints often fail under movement.
Poor soldering
- Issue: weak solder joints can cause unstable contact.
- Sign: flicker appears near the soldered area.
- Fix: re-solder the joint and insulate it well.
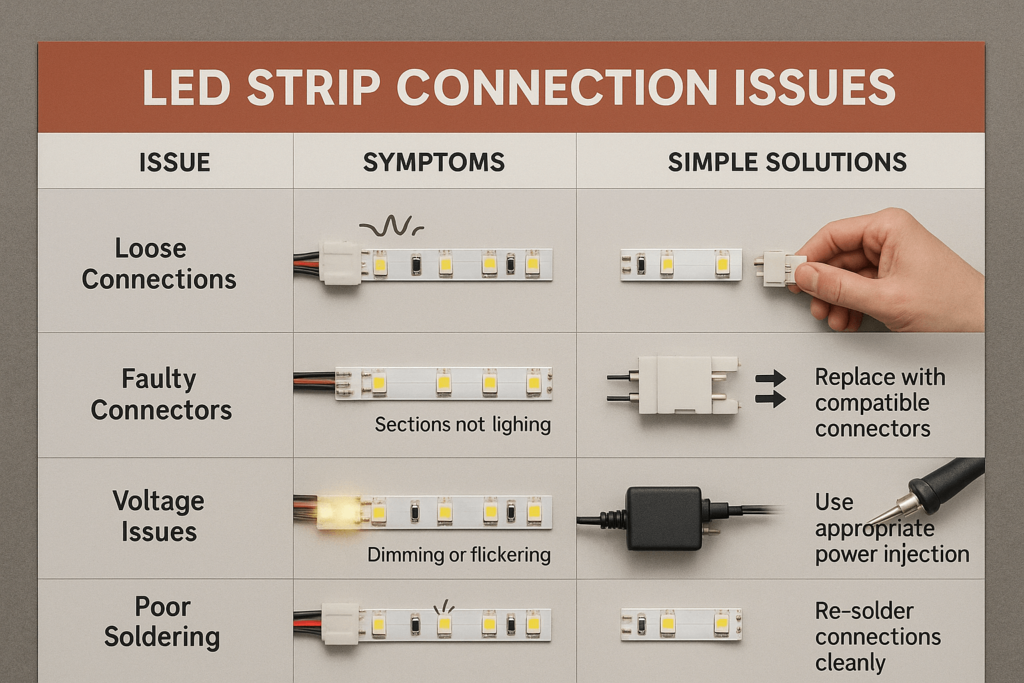
Use this table after the first visual check.
LED strip connection cause table
| Enjeu |
Symptoms |
Simple solution |
| Loose connection |
Flicker or intermittent light |
Reseat and secure the connector |
| Bad connector |
One section does not light |
Use a matching connector |
| Voltage issue |
Dimming or flickering |
Add power injection or upgrade supply |
| Poor soldering |
Unstable light near joint |
Re-solder and insulate the joint |
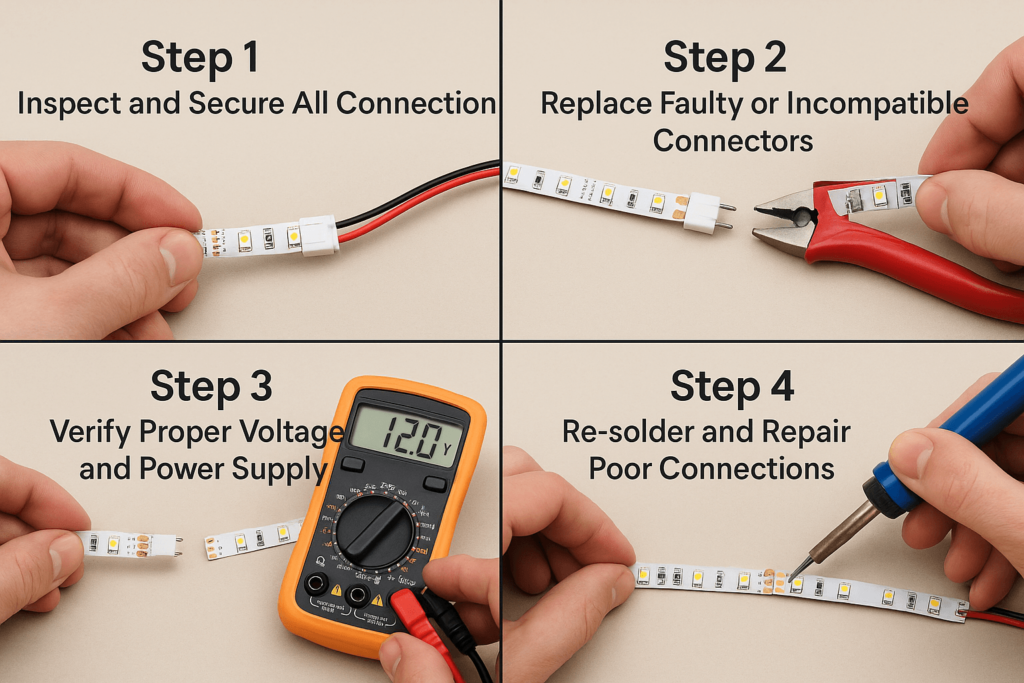
Step-by-Step LED Strip Connection Fix
Use this repair order before replacing parts. In many cases, a loose connector or wrong power feed causes the problem.
To begin the repair, start with the easiest parts to reach.
Inspect and secure all connections
- Start by checking every connector, wire, and strip joint.
- Then, press connectors firmly into place.
- After that, test the strip while gently moving the cable.
Replace bad connectors
- Next, review strip width, pin count, and strip type.
- Next, replace damaged or loose connectors.
- Also, make sure the connector teeth touch the copper pads.
Verify voltage and power supply
- Measure voltage at the power supply and near the far end of the strip.
- If voltage drops, add power injection or shorten the run.
- Then, check that the power supply wattage fits the full strip load.
Repair poor solder joints
- Inspect solder joints for cracks, dull finish, or loose wires.
- Re-solder weak joints with clean contact.
- Finally, add heat-shrink or insulation after the repair.
Quick answer: Most LED strip connection problems can be fixed by securing connectors, replacing mismatched parts, adding power injection, or repairing weak solder joints.
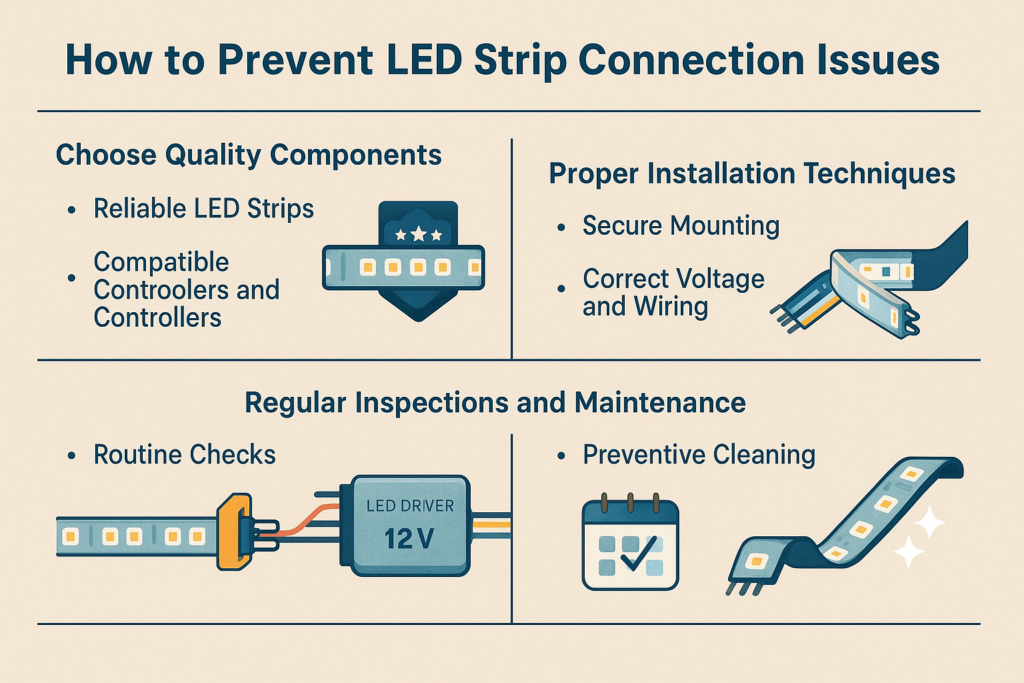
How to Prevent LED Strip Connection Problems
Prevention starts before installation. First, choose matching parts. Then, mount the strip so the wires and connectors do not move under stress.
Before installation, reduce risk by choosing parts that fit each other.
Choose quality parts
- First, select LED strips with clear voltage, wattage, and pin information.
- Also, use connectors that match strip width and color type.
Use proper installation methods
- Mount strips with clips, channels, or good adhesive support.
- Then, avoid tight bends near connectors.
- Keep cable pull away from solder joints and connector points.
Check power and wiring
- Match the power supply to the strip voltage.
- Then, use the right wire size for the run length and current.
- Also, add power injection for long or high-output runs.
Inspect and clean regularly
- Every few months, inspect connectors and wires.
- Then, clean dust with a soft dry cloth.
- Fix loose sections before they become full failures.
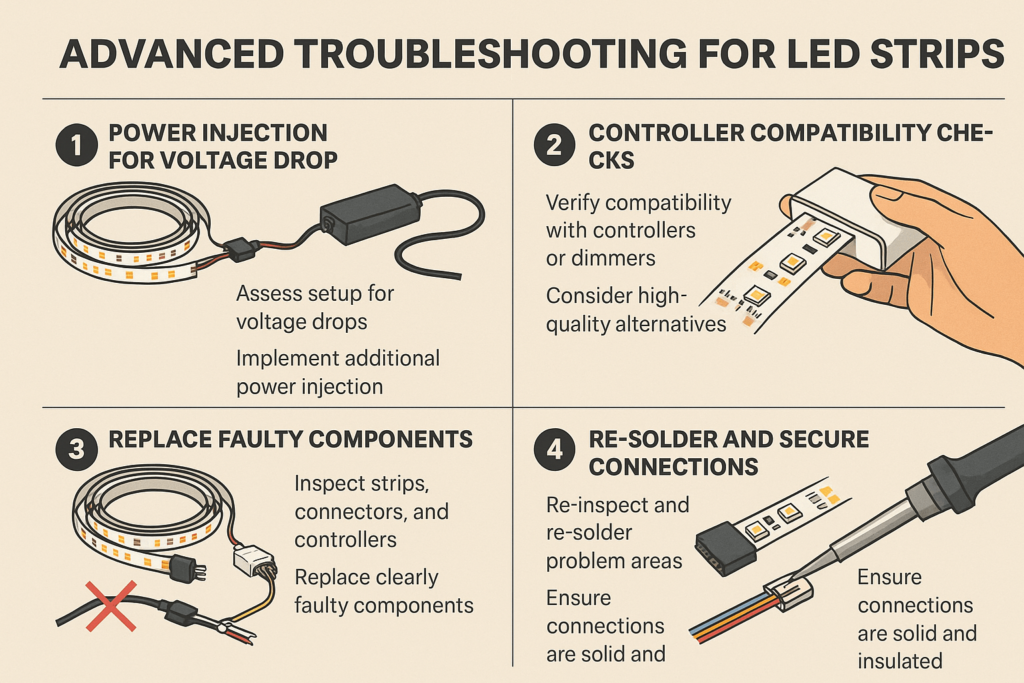
Advanced LED Strip Connection Troubleshooting
If the basic checks do not solve the issue, move to deeper tests. Also, test one section at a time so you can find the weak point faster.
If basic checks do not solve the issue, move to deeper layout tests.
Add power injection
- Measure voltage at the start, middle, and end of the strip.
- If the far end is low, add another power feed.
- For long layouts, split the strip into shorter powered sections.
Check controller and dimmer match
- Confirm controller voltage, load rating, and color channel type.
- Then, test the strip with a known-good controller if possible.
Replace faulty parts
- Inspect strips, connectors, controllers, and wires for hidden damage.
- Finally, replace damaged sections rather than patching weak parts again and again.
Re-solder and secure joints
- Re-solder weak joints with clean copper pad contact.
- After that, insulate the joint and add strain relief.
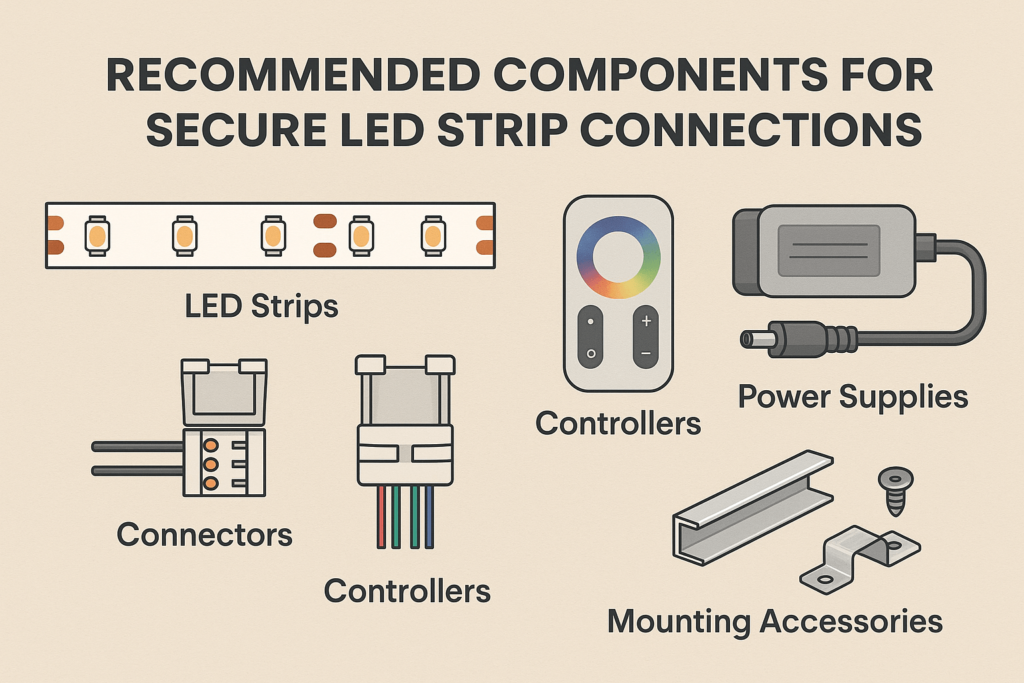
Recommended Parts for Secure LED Strip Connections
Good parts reduce flicker and failure. Therefore, buy parts that match your strip type, voltage, power, and installation area.
For better reliability, start with parts that match the job.
Reliable LED strips
- Choose strips from trusted suppliers with clear data.
- Also, check the strip voltage, width, and color type before buying connectors.
Matching connectors and wiring
- Next, select connectors made for the strip width and pin count.
- Use wire that can carry the current without heat or voltage drop.
Correct controllers and dimmers
- Choose controllers that match the strip color type, such as single color, RGB, RGBW, or RGBCCT.
- Then, check the rated load before powering long runs.
Proper power supplies
- After that, select a power supply with the correct voltage and enough wattage.
- Also, leave headroom instead of running the supply at its limit.
Mounting tools and accessories
- Add aluminum channels for support and heat control.
- Also, use clips or stronger adhesive where cable movement may stress the connection.
Maintenance for Stable LED Strip Connections
Regular care helps prevent repeat failures. In addition, it helps you catch loose wires and weak parts early.
After installation, simple care helps prevent repeat failures.
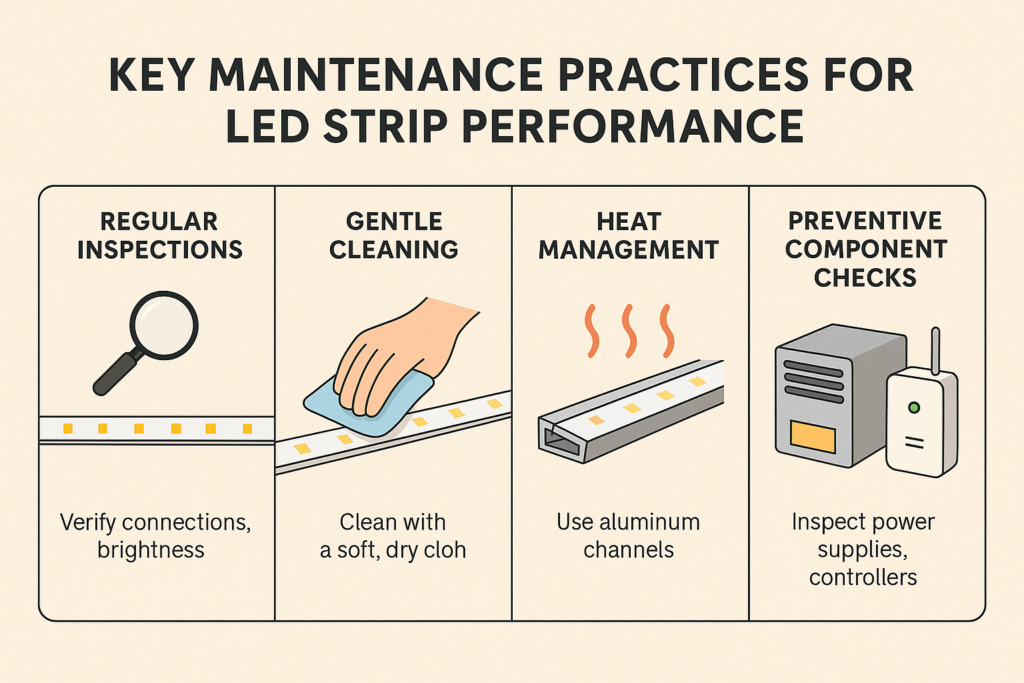
Visual inspections
- During inspection, review connectors, solder joints, wires, controllers, and power supplies.
- Also, look for dim spots, flicker, heat marks, or loose areas.
Gentle cleaning
- Clean the strip and connectors with a soft dry cloth.
- Avoid harsh cleaners and too much moisture.
Heat control
- For high-output strips, add aluminum channels.
- Then, check that power supplies and controllers have airflow.
Routine part checks
- Inspect connectors every few months.
- Replace loose or worn parts before they fail.
FAQs About LED Strip Connection Issues
Why are my LED strips not connecting properly?
In most cases, loose connectors, wrong wiring, mismatched parts, weak power, or voltage drop cause the problem. Start by checking the connector and power supply.
How can I quickly fix LED strip connection issues?
First, reseat the connectors. Then, replace bad connectors, verify voltage, add power injection if needed, and repair weak solder joints.
Are LED strip connection issues common?
Yes. They are common when connectors do not match, wires are loose, or power is not planned well. Good parts and careful installation prevent most issues.
Should I use connectors or soldering?
For quick setups, connectors are easier. However, soldering can be stronger when done well and insulated properly.
Conclusion: Fixing an LED Strip Connection
A stable LED strip connection depends on matched parts, secure wiring, proper voltage, enough power, and careful installation. If the strip flickers, dims, or fails in one section, check the connector first and then test power and wiring.
With good connectors, correct power, and routine checks, LED strip lighting can stay bright and reliable for the long term.
Ready to improve your LED strip setup? Browse Elstar’s Bande LED, Contrôleurs LED, LED power supplies, or contact Elstar for project support.



 English
  Spanish
  French
  Arabic