Vous avez besoin d'un produit de qualité en peu de temps ? Nous avons un plan pour vous.


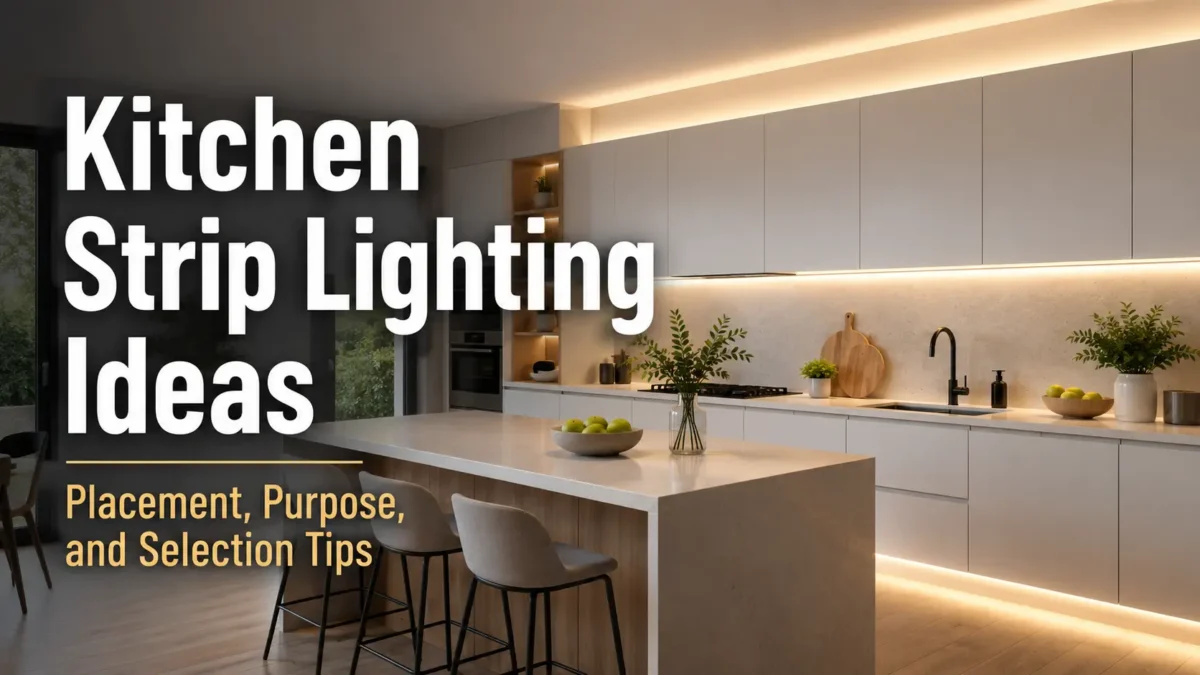
Kitchen strip lighting can do more than add a soft glow. It can help with counter work, guide people at night, show off shelves, and make a room feel calm. However, the best place to start is not “Which strip should I buy?” The better question is “Where will the strip go, and what job should it do?”
Also, plan for real kitchen use from the start. Splash, steam, heat, shiny counters, and cleaning can all change the result. As a result, this guide sorts kitchen strip lighting ideas by place, job, and simple buying checks.
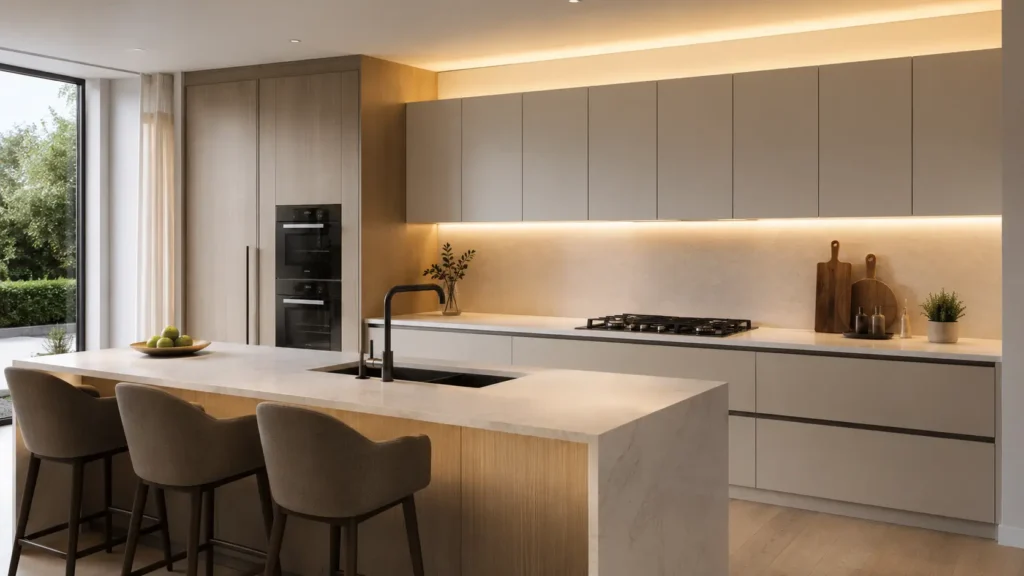
In most kitchens, strip lights work well under wall cabinets, above cabinets, inside shelves, in glass cabinets, in pantry spaces, at toe kicks, and near island fronts. First, choose the job: counter light, soft glow, display light, storage light, or night guide. Then check glare, wire paths, controls, splash, steam, heat, and service access before you choose the strip.
First, match each strip to one clear job. A strip that looks good on a shelf may not give enough light for food prep. Likewise, a toe-kick glow can help at night, but it should not be the main work light.
Therefore, use the table below as a simple map. It links each common place with the light effect, strip type, and main risk to check before you buy.
| Placement | Main job | Light effect | Useful light type | Check first | Caution |
|---|---|---|---|---|---|
| Under wall cabinets | Counter work | Brighter work area with fewer shadows | LED strip or slim linear light with a channel if needed | Counter finish, view angle, brightness, and control | Hidden or hardwired routes need a qualified review |
| Above cabinets or coves | Soft room glow | Light on the ceiling or upper wall | Hidden LED strip or tape light | Keep the strip out of direct view | Plan for dust, heat, driver space, and access |
| Open shelves | Display | Highlights dishes, decor, or feature shelves | Low-profile strip with hidden mount | Eye-level glare and visible dots | Bright points can pull focus from the display |
| Glass-front or inside cabinets | Display or access | Lights glassware, dishes, or dark storage spots | Small strip, cabinet light, or slim profile | Place the strip so it does not shine into the eyes | Door sensors and hidden wires may need a pro |
| Pantry and drawers | Access | Makes stored items easier to find | Low-profile strip or small cabinet light | Switch, sensor, and service access | Do not trap drivers or joints where they cannot be reached |
| Toe kicks and baseboards | Night guide or accent | Low glow near the floor | Hidden strip in a protected channel | Keep the light low and soft | Cleaning tools, shoes, and wet floors can cause wear |
| Island or bar face | Accent or task support | Floating edge or soft front glow | Hidden strip, channel, or slim linear light | Mock up the view from seats and doors | Avoid exposed cords and direct glare toward seated users |
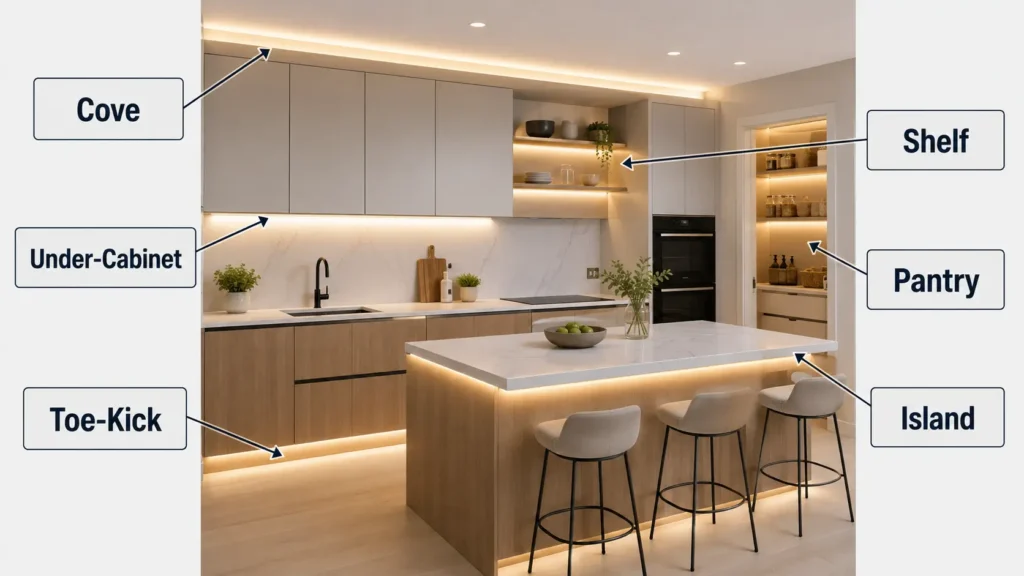
In short, choose the place and job before you compare products. Next, take a photo of the area and mark the likely strip line. Finally, note any splash, steam, heat, shiny surface, or hard-to-reach space that may affect the choice.
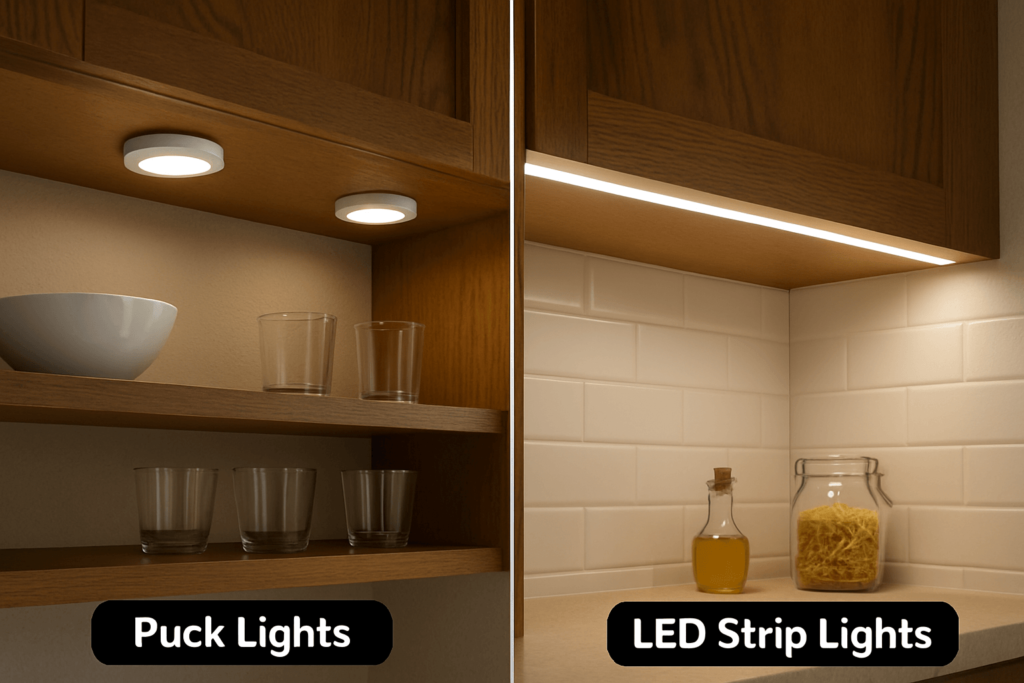
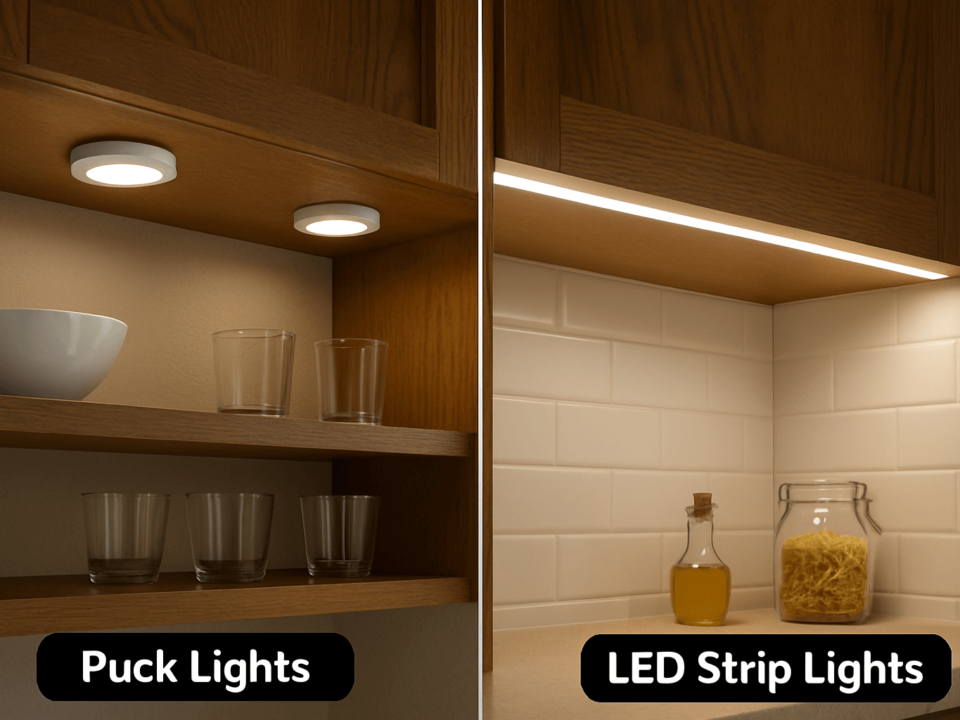
Under-cabinet strip lighting is one of the most useful kitchen strip lighting ideas. It sits close to the counter, so it can light prep zones, coffee stations, sinks, and other work spots that ceiling lights may miss.
However, the strip line still needs care. If it sits too far forward, people may see the LEDs from the dining area. If it sits too far back, it may light the backsplash more than the counter.
Also, shiny stone, glass, or polished counters can show LED dots or diffuser lines. For that reason, test the strip with tape before the final mount. A quick mockup can reveal glare, shadows, and color issues while changes are still easy.
In many kitchens, under-cabinet light helps daily work more than a purely decorative strip. Still, it should work with the room’s ceiling lights, pendants, and daylight rather than act as the only light source.
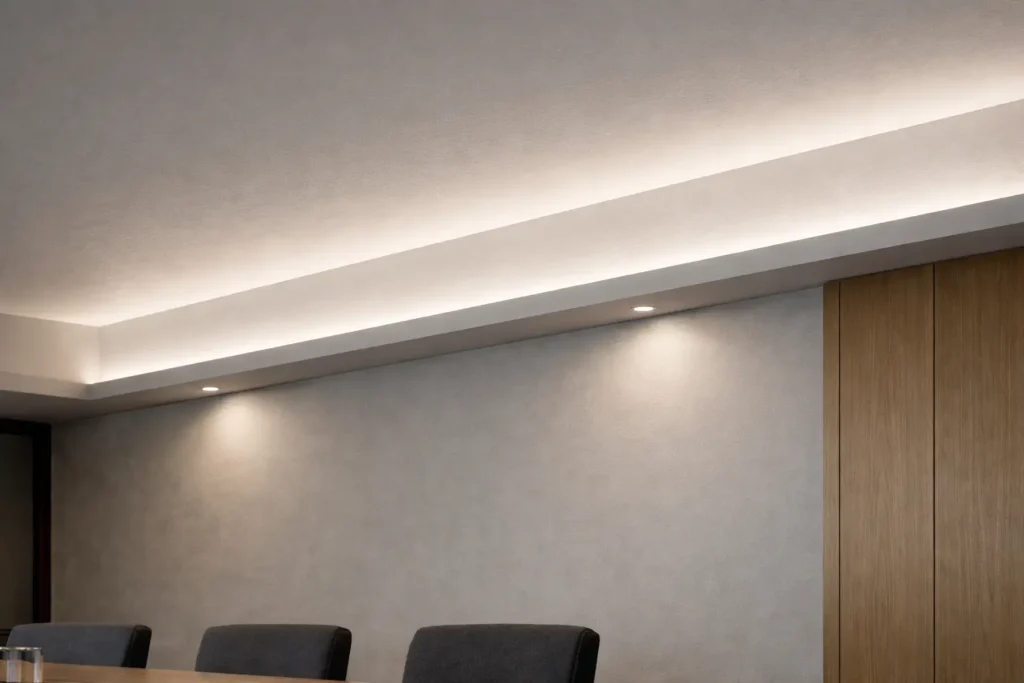
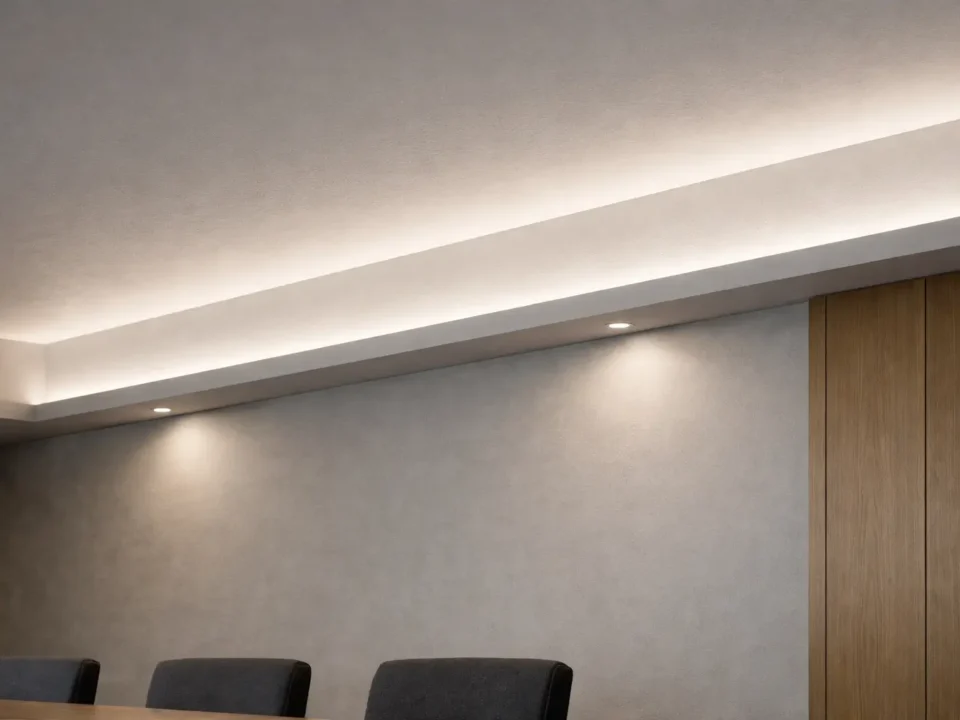
Above-cabinet and cove strip lighting can soften a kitchen that feels harsh with only ceiling lights. Because the strip is hidden, the eye sees a wash of light instead of bare LED points.
However, the hidden parts still matter. The strip, driver, and wire path should not become the main thing people notice. Therefore, check the cabinet height, gap to the ceiling, dust build-up, and driver location before the final plan.
Also, ask how the strip or driver can be reached later. If the top of the cabinet or cove is hard to reach, service access should be part of the plan from the start.
Strip lighting can also help with storage and display. For example, open shelves can use hidden strips to show dishes or decor. Glass-front cabinets can add a soft glow, while pantries and drawers can help users find items without turning on bright room lights.
Even so, these ideas usually work best as display, accent, or access light. They should not replace the main counter light unless the layout has been checked.
To keep the look neat, hide the strip from normal view. In addition, consider a diffuser, channel, sensor, or small cabinet light if the shelf is shallow or close to eye level.
Toe-kick and baseboard lighting creates a low glow near the floor. It can help with night movement and can also make cabinets or an island look like they float.
However, the light should stay soft. If it is too bright, it can reflect on polished floors or compete with the main lights in the room.
Also, low strips sit near shoes, mops, dust, and water. For that reason, they often need a protected channel and a clear service path. For island or bar fronts, test the line of sight from seated spots before you mount the strip.
Many weak kitchen lighting plans start with a product and then search for a use. A better plan starts with the job. Once the job is clear, brightness, light color, mounting, controls, and diffuser choices are easier to compare.
| Light job | Good places | Reader goal | Common mistake | Plan note |
|---|---|---|---|---|
| Task light | Under cabinets, counters, prep zones | Make work areas easier to see | Choosing a strip that is too dim or badly aimed | Compare brightness, position, and glare risk |
| Soft room glow | Coves, above cabinets, upper shelves | Make the room feel calmer at night | Leaving the strip in direct view | Hide the strip and test the wall or ceiling wash |
| Display light | Open shelves, glass cabinets, feature niches | Show objects or surfaces | Creating dots or hard shine | Use hidden placement and check a diffuser or channel |
| Access light | Pantries, drawers, inside cabinets | Find stored items with ease | Forgetting switch or sensor behavior | Plan controls and service access before mounting |
| Night guide | Toe kicks, baseboards, island edges | Give low-level guidance | Making the light too bright or exposed | Keep the light low, hidden, and protected |
A kitchen strip lighting idea can look good in a photo but poor in a real room. For example, bare LED points, loose cords, a visible driver, or harsh glare can make the result look unfinished.
Therefore, the clean finish often comes from the mount, channel, diffuser, and wire path. The strip alone is only one part of the result.
In close-view areas, a strip in an aluminum channel can look cleaner than a bare strip. However, the final look still depends on channel depth, diffuser type, strip density, surface shine, and heat.
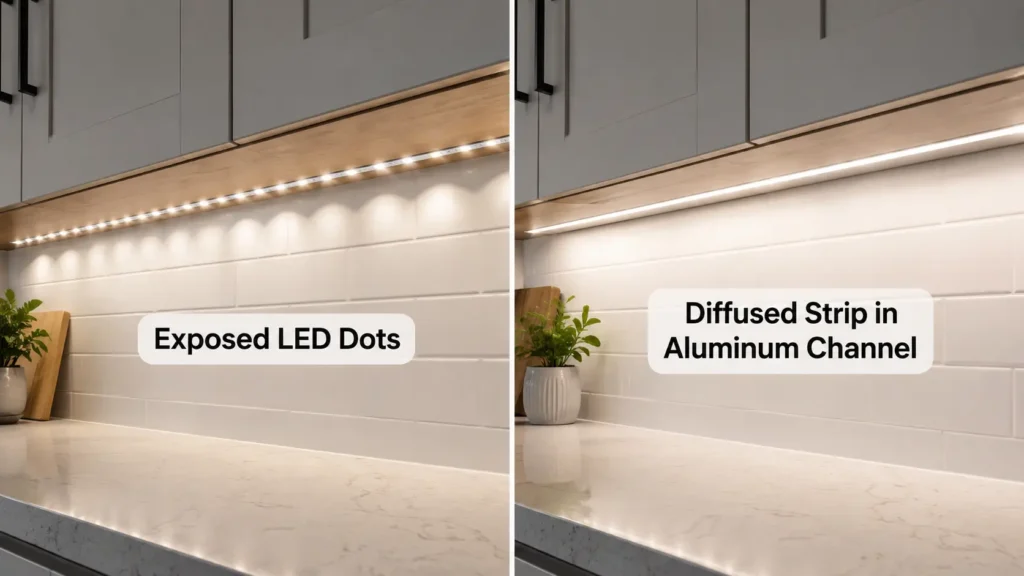
You do not need every spec at the idea stage. However, a few basic details make product talks much easier. The U.S. Department of Energy explains that lumens compare brightness, while light color is shown on the Kelvin scale through correlated color temperature. Therefore, wattage alone does not show how much useful light a strip will give.
| Detail | Why it matters | What to prepare |
|---|---|---|
| Place and length | Sets the strip run, mount path, and power plan | Cabinet, cove, shelf, island, or toe-kick size |
| Luminosité | Work areas often need more light than accent zones | State the job and compare lumens when listed |
| Light color | Warm or cool light changes the room mood and material look | Preferred Kelvin range or photo examples |
| Controls | Affects daily use and wiring plans | Switch, dimmer, remote, sensor, smart control, or on/off |
| Power route | Changes install needs | Plug-in, battery, low-voltage driver, or hidden hardwired route |
| Diffuser or channel | Helps with glare, dots, mount, and finish | Photos of visible spots and the finish you want |
| CRI, when color matters | Helps food, finishes, and display items look more true | Use case and color-quality need |
| Splash, steam, heat, and cleaning | Can affect product choice and install plan | Note sinks, cooktops, ovens, dishwashers, and cleaning zones |
Also, ask for clear product data when the strip will be used for counter work or display. A photo can help show the style you want, but it should not replace the light output, color data, and install notes.
Kitchen strip lighting is not only a style choice. Some spots add heat, splash, steam, or access concerns. As a result, those spots should be reviewed before product choice or install work.
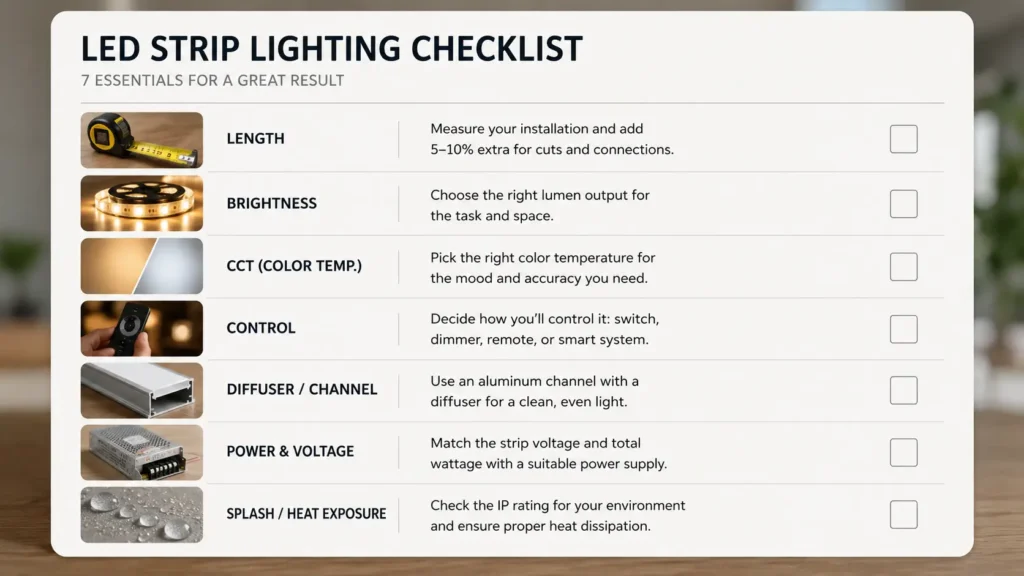
A clear project brief helps a supplier, installer, or project team understand the goal. Instead of asking, “Which strip light should I use?” share the use case first.
Also, keep the brief simple. Photos, rough sizes, and the job of each strip are often enough to start a better product talk.
Before you ask for product help, prepare the area, sizes, quantity, preferred light color, controls, power-route limits, and splash or heat notes. Then send those details through the approved contact or RFQ path so the project can be reviewed with clearer inputs.
Yes, strip lights can be useful in kitchens when the place, brightness, controls, exposure, and install route fit the space. For example, they are often used for under-cabinet task light, soft cove glow, shelf display, and toe-kick night guide. However, check the product rating and install needs before using a strip in any kitchen spot.
Common places include under cabinets, above cabinets, coves, shelves, glass-front cabinets, pantries, drawers, toe kicks, baseboards, and island edges. First, choose the job of the light. Then choose the place that supports that job.
Under-cabinet strip lights are usually better for task light because they sit close to the counter. However, they can also add a softer glow when dimmed or used with other lights. For a broad indirect glow, above-cabinet or cove lighting is often a better fit.
Start with hidden placement. Next, check the view angle, shiny counters, and backsplash shine. A diffuser or channel can help, but the final result depends on strip position, channel depth, diffuser type, surface shine, and room layout.
Prepare the place, length, brightness need, light color, power route, controls, diffuser or channel choice, CRI need if color matters, and exposure notes such as splash, steam, cleaning, or heat.
Some projects use hardwired or hidden power routes. However, this article should not be used as a wiring guide. Hardwired, hidden, ceiling-integrated, or code-sensitive work should be reviewed by a qualified electrician or installer.
Not always. A dry shelf and a splash-prone sink area have different needs. Therefore, for areas near water, steam, cleaning, or moisture, verify the product rating and use notes with the seller or installer.
Send the area, sizes, quantity, light job, preferred light color, controls, power-route limits, photos or drawings, and any splash, steam, heat, cleaning, or shiny-surface concerns. As a result, the supplier or installer can review the project with less guesswork.
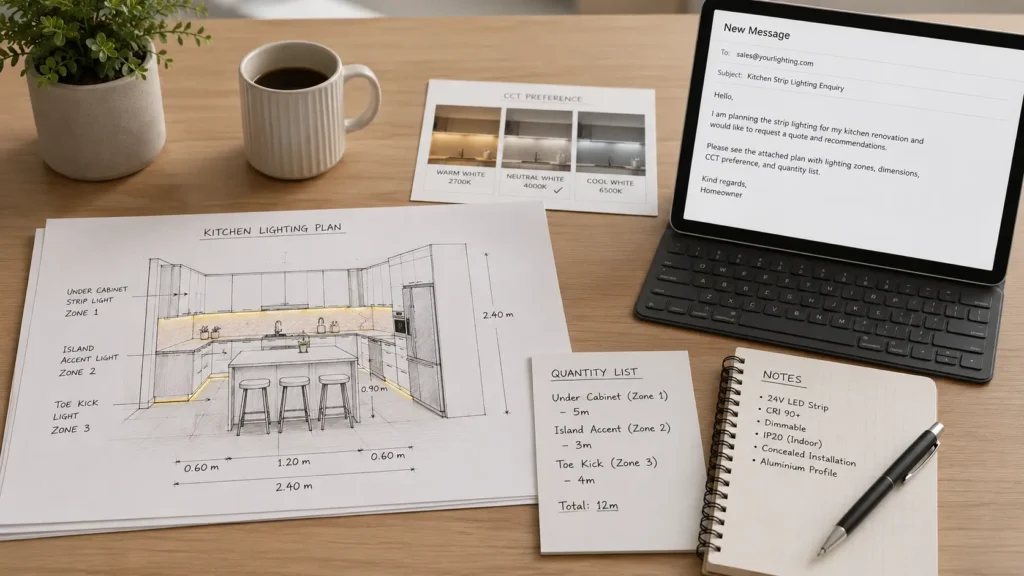
Prepare the application area, dimensions, quantity, preferred light appearance, control method, power-route constraints, and any splash or heat exposure notes. Send those details through the approved contact or RFQ path so the project can be reviewed with clearer selection inputs.
Strip lights can be useful in kitchens when the placement, brightness, control method, exposure conditions, and installation route match the space. They are often used for under-cabinet task lighting, indirect ambient light, shelf display lighting, and toe-kick navigation. They should not be treated as suitable for every kitchen location without checking the product rating and installation conditions.
Common placements include under cabinets, above cabinets, coves, shelves, glass-front cabinets, pantry areas, drawers, toe kicks, baseboards, and island edges. Choose the placement by purpose: task, ambient, display, access, or navigation.
Under-cabinet strip lights are usually more task-oriented because they sit close to countertop work areas. They can also add ambience when dimmed or paired with other lighting layers, but above-cabinet or cove placements are usually better for a soft indirect glow.
Start with hidden placement, then check the viewing angle, glossy surfaces, and backsplash reflections. A diffuser or channel can help soften visible LED points, but the final result depends on strip position, channel depth, diffuser style, surface reflection, and the room layout.
Prepare the placement, length, brightness needs, color appearance, power route, control method, diffuser or channel preference, CRI needs if color quality matters, and any exposure conditions such as splash, steam, cleaning, or heat.
Some kitchen lighting projects use hardwired or concealed power routes, but the article should not be used as a wiring guide. Hardwired, concealed, ceiling-integrated, or code-sensitive electrical work should be reviewed by a qualified electrician or installer.
There is no single universal answer. A dry display shelf and a splash-prone sink area have different exposure conditions. For areas exposed to splash, steam, cleaning, or moisture, verify the product rating and application requirements with the supplier or installer.
Prepare the application area, dimensions, quantity, lighting purpose, preferred color appearance, control method, power-route constraints, photos or drawings, and any splash, steam, heat, cleaning, or reflective-surface concerns.

 English
  Spanish
  French
  Arabic