LED strip light setup can go wrong before the strip is ever mounted. For example, the strip may be cut too short, paired with the wrong power supply, placed on a weak surface, or used in a place it was not chosen for.
Therefore, this guide starts with planning. It shows what to check before you cut or mount the strip, how to follow a safe basic setup flow, and what project details to share before you ask a supplier to review the job.
First, plan the route, length, voltage, power supply, controller, surface, and site conditions. Then test the strip before you cut or mount it. Next, cut only at marked cut points, connect matching parts with the right polarity, clean the surface, mount the strip according to the product instructions and site needs, and test again.
Before you install مصابيح شريطية LED, check the site and parts. This is useful for long runs, wet or damp areas, ceiling coves, retail displays, cabinets, signs, and custom jobs.
| Item to Check | Why It Matters | What to Prepare |
|---|---|---|
| Total strip length | It affects layout, cuts, power drop, and wiring. | Measure the route and mark corners, gaps, and joint points. |
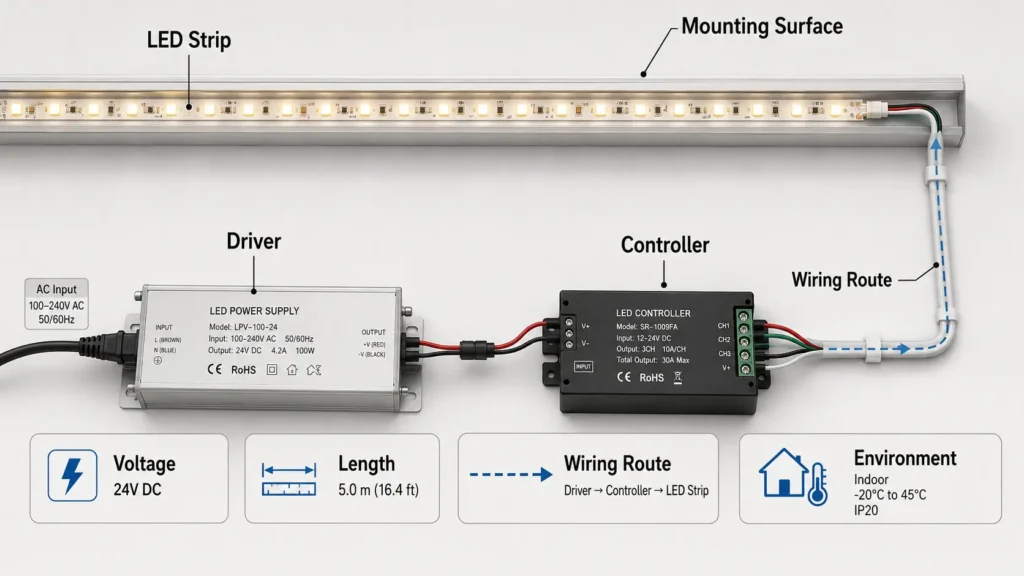
| الفولتية | The strip, driver, controller, and parts need to match. | Confirm the strip voltage before you choose power parts. |
| Power supply or driver | The driver should be chosen based on load, product instructions, and site needs. | Prepare strip load details and planned run length. |
| Controller or dimmer | RGB, tunable white, dimming, or smart control may need matching parts. | Confirm the control type before you order. |
| Mounting surface | Tape may not hold well on dusty, rough, oily, or uneven surfaces. | Clean and check the surface before mounting. |
| Indoor, outdoor, or damp area | Moisture, heat, dust, and touch can affect part choice. | Confirm the real site conditions. |
| Cut points and joint method | Strips should only be cut where they are made to be cut. | Check the marked cut points and connector or solder method. |
| Wire route and access | Poor routing can make repair and checks harder later. | Plan where wires, driver, and controller will sit. |
Also, do this check before you buy parts for a project. For a small job, do it before you peel the backing. As a result, you reduce the chance of cuts, wire runs, or mounting choices that are hard to undo.
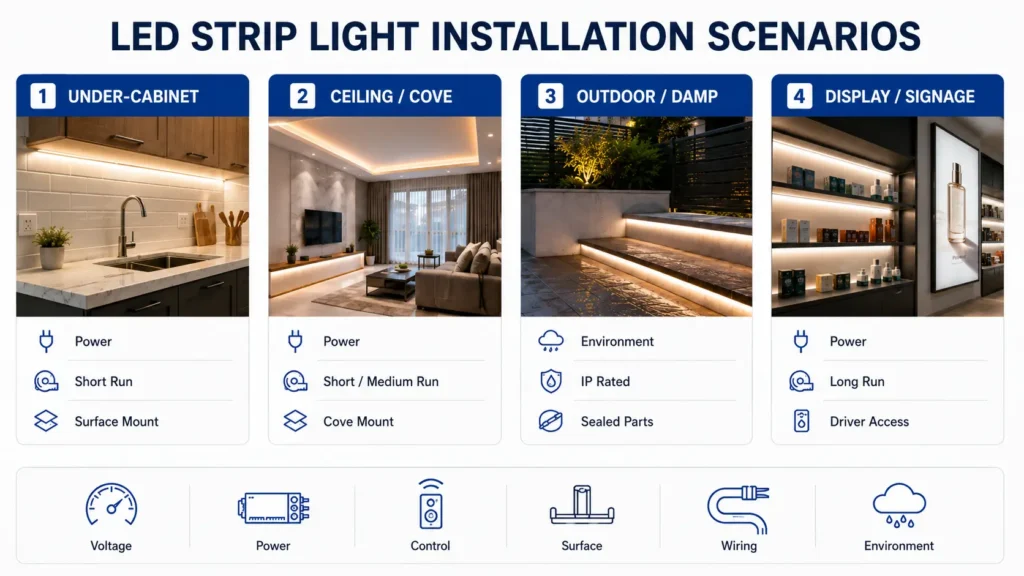
The right method depends on where the strip will be used. For instance, shelf lighting, a ceiling cove, an outdoor sign, and a long store display do not need the same plan.
| Setup Scenario | Key Check | Common Risk | What to Confirm |
|---|---|---|---|
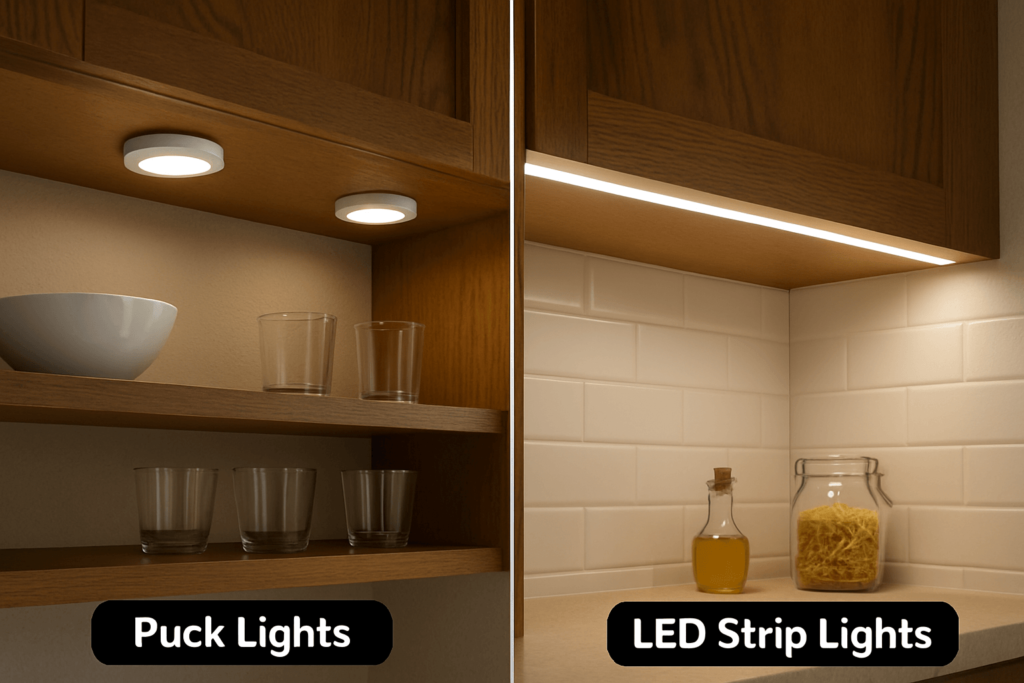
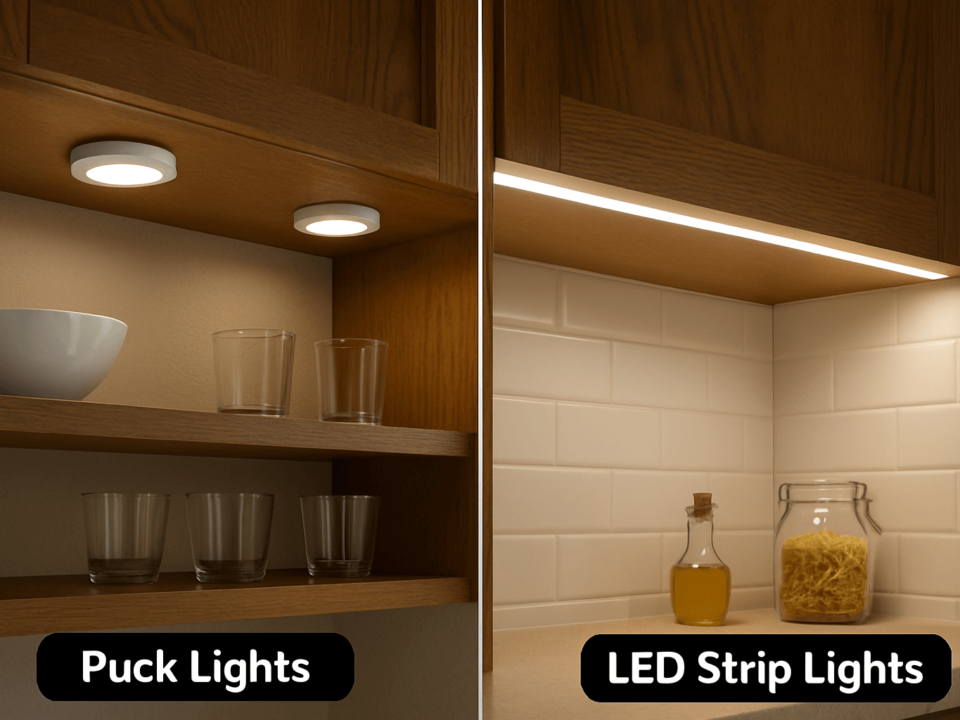
| إضاءة تحت الخزانة | Clean surface, shadow line, power access. | Weak tape hold or visible wires. | Check surface and cable route. |
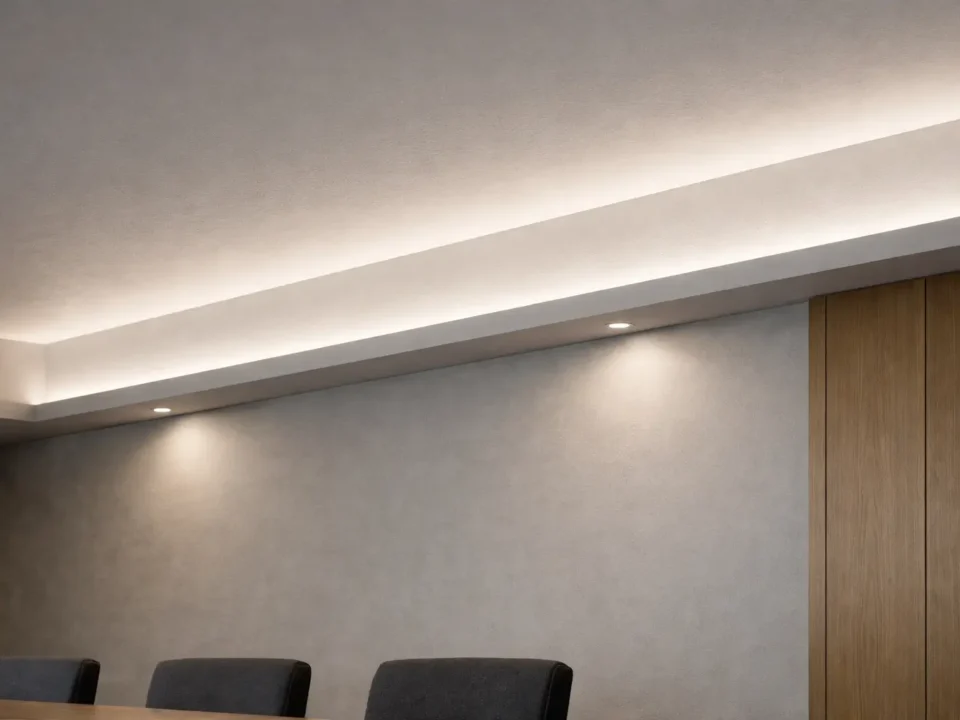
| Ceiling or cove lighting | Long run, light goal, driver spot. | Uneven light or hard service access. | Confirm run length and access. |
| Outdoor or damp area | Strip and part fit for the site. | Moisture risk or wrong box. | Confirm strip, connector, driver box, and mounting parts. |
| Long straight run | Voltage, load, wire route, control spot. | Power drop or uneven light. | Review the layout with support if needed. |
| RGB or controlled lighting | Controller type, strip type, wire order. | Wrong color or no response. | Confirm controller and strip fit. |
| Rough or porous surface | Mounting support and surface prep. | Tape failure. | Consider clips or channel if suitable. |
| Display or sign project | Layout, light goal, service access. | Hard repair after install. | Prepare drawings or photos before ordering. |
However, do not assume one strip, connector, tape, or driver works for every space. Instead, use the site conditions to guide the product and part check.
The exact tools and parts depend on the strip type and setup method. In most cases, you may need:
Next, plan before you cut. Once the strip is cut or fixed in place, errors are harder to fix.
The steps below give a general setup flow. Still, product instructions, ratings, labels, and local electrical requirements should come first.
For a shorter DIY walkthrough, see Elstar’s step-by-step LED strip installation guide.
First, mark the full route before you remove the backing. Check where the strip starts, where it ends, where the driver will sit, and where the controller or dimmer will go.
For longer runs, do not assume one power point is enough. Instead, review the power layout based on strip voltage, load, run length, and the product instructions.
Next, connect the strip, driver, and controller as the product guide shows. Then test the strip before you cut or mount it.
This check helps you see whether the parts work together. It also helps you find a wire or part issue before the strip is fixed in place.
Then measure the route again. Mark corners, gaps, cable exits, and driver or controller spots.
Also, leave room for connectors, cable bends, and service access. A tight layout can make repair harder later.
If the strip must be shortened, cut only at the marked cut points. Do not cut through random parts of the strip.
Cut spacing, pads, and joint methods vary by product. Therefore, follow the product guide if it gives a different rule.
After cutting, connect the strip with a matching connector or another approved method. Then check polarity before you turn the power on.
For RGB, tunable white, or controlled strips, wire order matters. If the order is wrong, the strip may show wrong colors, no response, flicker, or weak control.
Before mounting, clean the surface. Dust, oil, paint dust, rough texture, moisture, and heat can weaken the tape.
If tape may not hold well, consider added support, such as clips or aluminum channels, when suitable for the job.
Then peel a short part of the backing at a time. Press the strip along the planned route without twisting, pulling, or sharp bending beyond the product limits.
Also, keep service points, connectors, and driver access clear. If the strip must go around corners, check the recommended bend or connector method.
Finally, power on the system and check the full run. Look for dark spots, flicker, weak joints, uneven light, or control mismatch.
If something does not work, turn power off before you check the wires. For mains wiring, hardwired drivers, code questions, or uncertainty, consult a qualified electrician or local authority.
Many setup problems come from planning or part mismatch, not from the strip alone. Therefore, check these points before and after mounting.
| Mistake | Why It Happens | How to Prevent It | When to Ask for Help |
|---|---|---|---|
| Cutting in the wrong place | The strip is cut outside the marked point. | Check the cut marks and manual before cutting. | If the strip has no clear cut marks. |
| Using the wrong voltage | Strip, driver, or controller voltage does not match. | Confirm voltage across all parts. | If power details are unclear. |
| Underestimating power needs | Driver size or wire layout is not reviewed. | Check load, run length, and driver needs. | For long runs or complex layouts. |
| Poor surface prep | Surface is dusty, rough, oily, or damp. | Clean and test the surface first. | If tape will not hold well. |
| Wrong connector or polarity | Connector type or positive/negative direction is wrong. | Use matching connectors and check polarity. | If the strip does not light or acts oddly. |
| Control mismatch | Controller does not match strip type. | Confirm RGB, tunable white, dimming, or smart-control needs. | If colors, dimming, or scenes act oddly. |
| Ignoring the site | Indoor parts are used in damp, outdoor, hot, or dusty areas. | Confirm product and part fit for the site. | For outdoor, damp, hot, or dusty areas. |
| Hiding the driver | The driver is hard to inspect or replace. | Plan service access before mounting. | If the driver must sit in a tight space. |
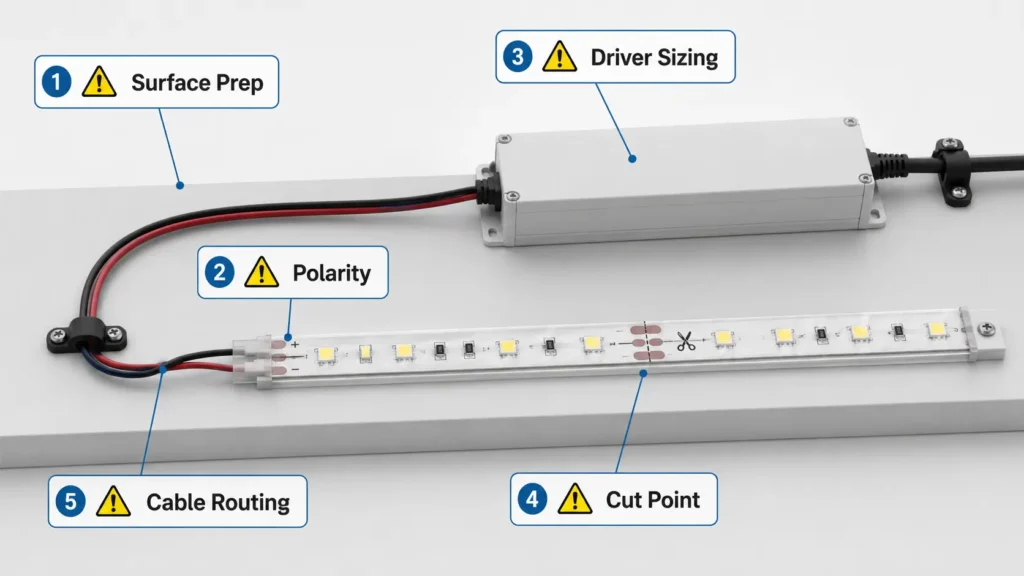
In short, good setup is not just about sticking the strip in place. It is about matching the strip, driver, controller, connectors, mount method, and site.
It depends on the job.
Some low-voltage plug-in kits may be simple to set up when the guide is clear and no mains wiring is involved. However, mains wiring, hardwired power supplies, code questions, commercial wiring, or any doubt should be handled by a qualified electrician or local authority.
Therefore, do not guess on electrical work. If the job involves building wiring, fixed wiring, or local inspection rules, get skilled help before you proceed.
Outdoor and damp-area jobs need extra review. Do not assume any LED strip can be used outside.
Before you install in an outdoor, damp, or exposed area, confirm:
For project work, send site photos or drawings before you order. As a result, the strip, parts, mount method, and wire plan can be reviewed with the real site in mind.
LED strip setup cost depends on project scope. For example, a short plug-in accent strip is different from a long ceiling cove, store display, outdoor job, or custom build.
Main cost factors may include:
Therefore, use clear project details when you ask for a quote. A generic price can miss key site or part needs.
If you are preparing an LED strip project for supplier review, include the details below.
| RFQ Detail | What to Provide |
|---|---|
| Use case | Cabinet, ceiling, sign, display, building, outdoor, or other use. |
| Total length | Length per run and number of runs. |
| Quantity | Number of sets, reels, or project units. |
| الفولتية | Required system voltage if already known. |
| Color need | Single color, CCT, tunable white, RGB, RGBW, or other. |
| Control method | On/off, dimming, remote, smart control, DMX, or other control need. |
| Site conditions | Indoor, outdoor, damp, dusty, high-heat, or other condition. |
| Mounting surface | Wood, metal, glass, painted wall, cabinet, channel, or other surface. |
| Cut and joint needs | Cut lengths, connectors, solder choice, and cable exits. |
| Power location | Driver spot, cable path, and access needs. |
| Drawings or photos | Site photos, layout drawings, sizes, or sketches. |
| Destination and timing | Delivery destination and schedule needs for quote review. |
Also, this information helps the supplier or tech team review the project. It does not replace the product manual, local electrical rules, or site check when those are needed.
First, plan the route and confirm voltage and power needs. Then test the strip, measure, cut only at marked cut points, connect matching parts with the right polarity, clean the surface, mount the strip according to the product guide, and test again.
Check length, voltage, load, driver size, controller or dimmer type, mount surface, indoor or outdoor site, cut points, connector method, wire route, and service access.
For simple low-voltage plug-in products, setup may be clear if you follow the product guide. However, for mains wiring, hardwired drivers, code questions, commercial wiring, or doubt, consult a qualified electrician or local authority.
Common mistakes include cutting in the wrong place, using the wrong voltage, choosing the wrong power supply, skipping surface prep, using mismatched connectors, reversing polarity, ignoring control fit, and using parts in the wrong site conditions.
Cost depends on strip type, length, controls, mount method, wiring, labor, parts, and site conditions. Therefore, for project work, request a quote based on your layout, quantity, site, and control needs.
Many LED strips have marked cut points, but cut spacing and joint methods vary. Therefore, cut only where the product is designed to be cut, and use matching connectors or another approved method.
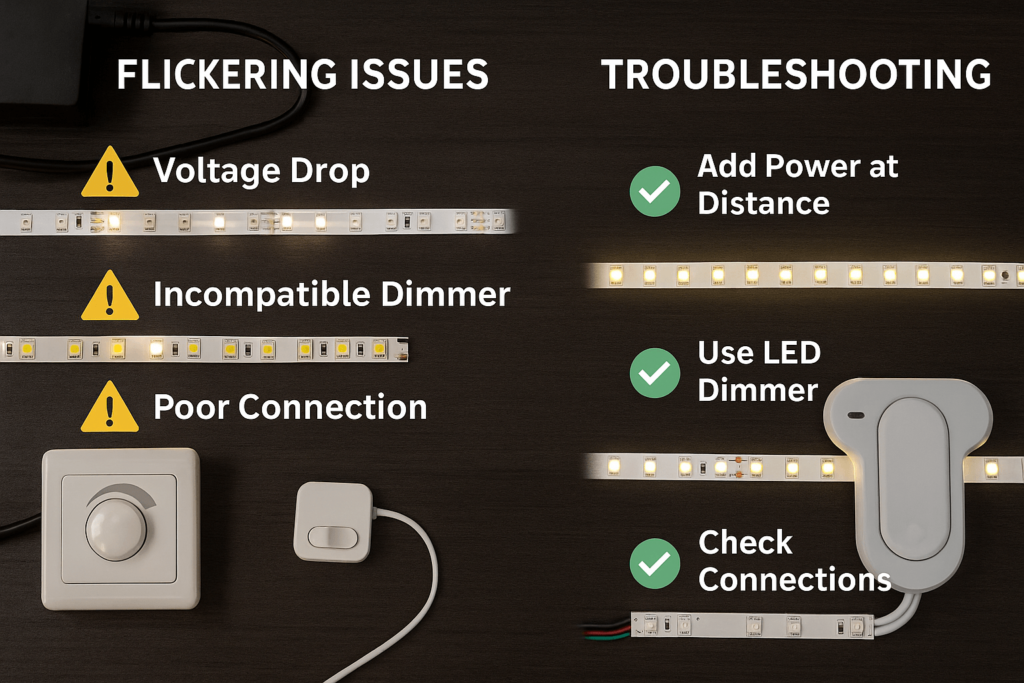
Possible causes include power mismatch, loose wires, polarity issues, voltage drop, controller or dimmer mismatch, or wiring problems. First, turn off power before checking wires. If you are unsure, ask a qualified electrician.
Only if the strip and related parts suit the real outdoor or damp site. Before you install, confirm the strip, connectors, power supply box, mount method, and local needs.
Before you order LED strip lights for a project, prepare your details: length, quantity, voltage, color or CCT, control method, indoor or outdoor site, mount surface, drawings or photos, and destination.
Then send these details to the supplier or tech team for review before you confirm the order. For custom sizes, control needs, or hard site conditions, include drawings, site photos, and any document requests.

 English
  Spanish
  French
  Arabic